Manage Custom Status#
In this section, you can find information about managing the case status. You can add, delete, and edit the case status.
Add Custom Status#
To add a custom status:
-
On the Entities Management page, in the Case Status tab, click the + button.
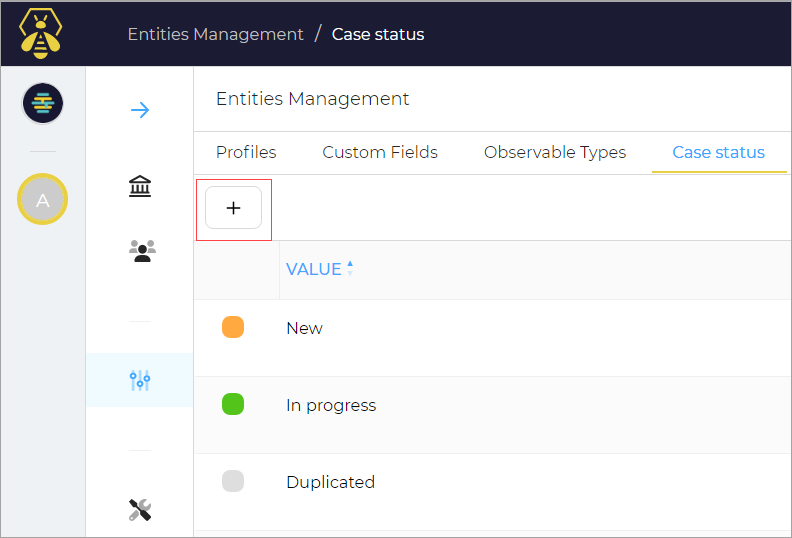
Add a Custom Status window opens.
-
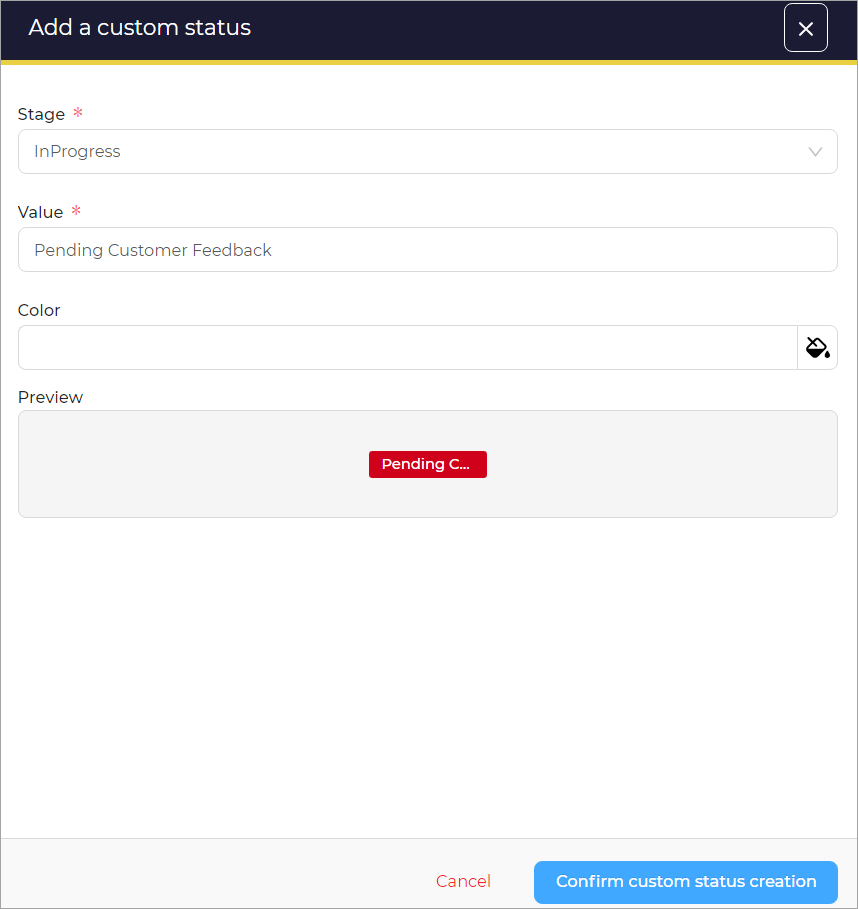
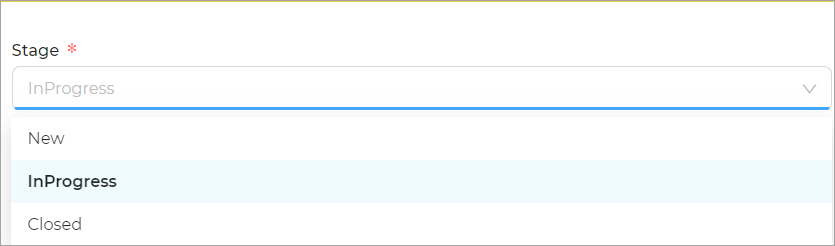
Select the Stage from the list.
-
Enter a custom Value if you want to customize the case label.
-
Select a Color for the label.
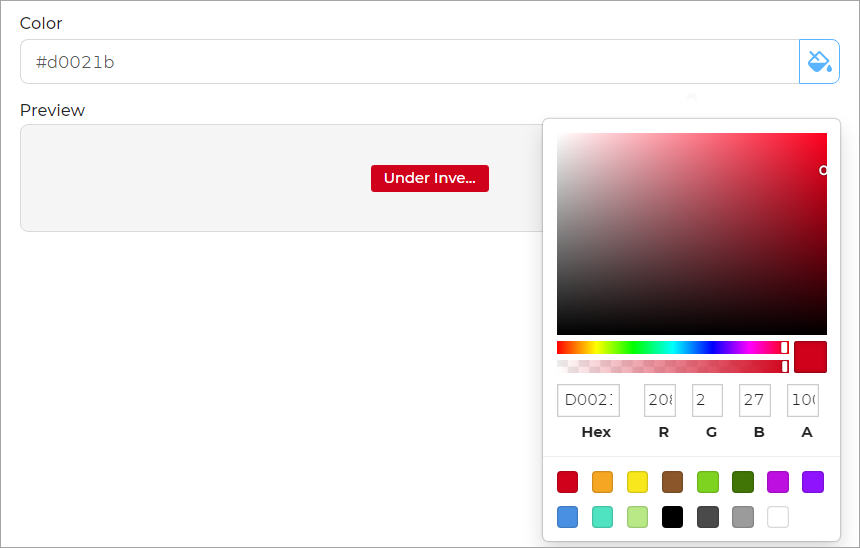
-
Click the Confirm custom status creation button.
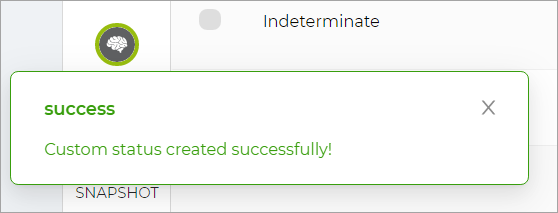
A custom status created successfully message appears.
Edit Custom Status#
To edit a custom status:
-
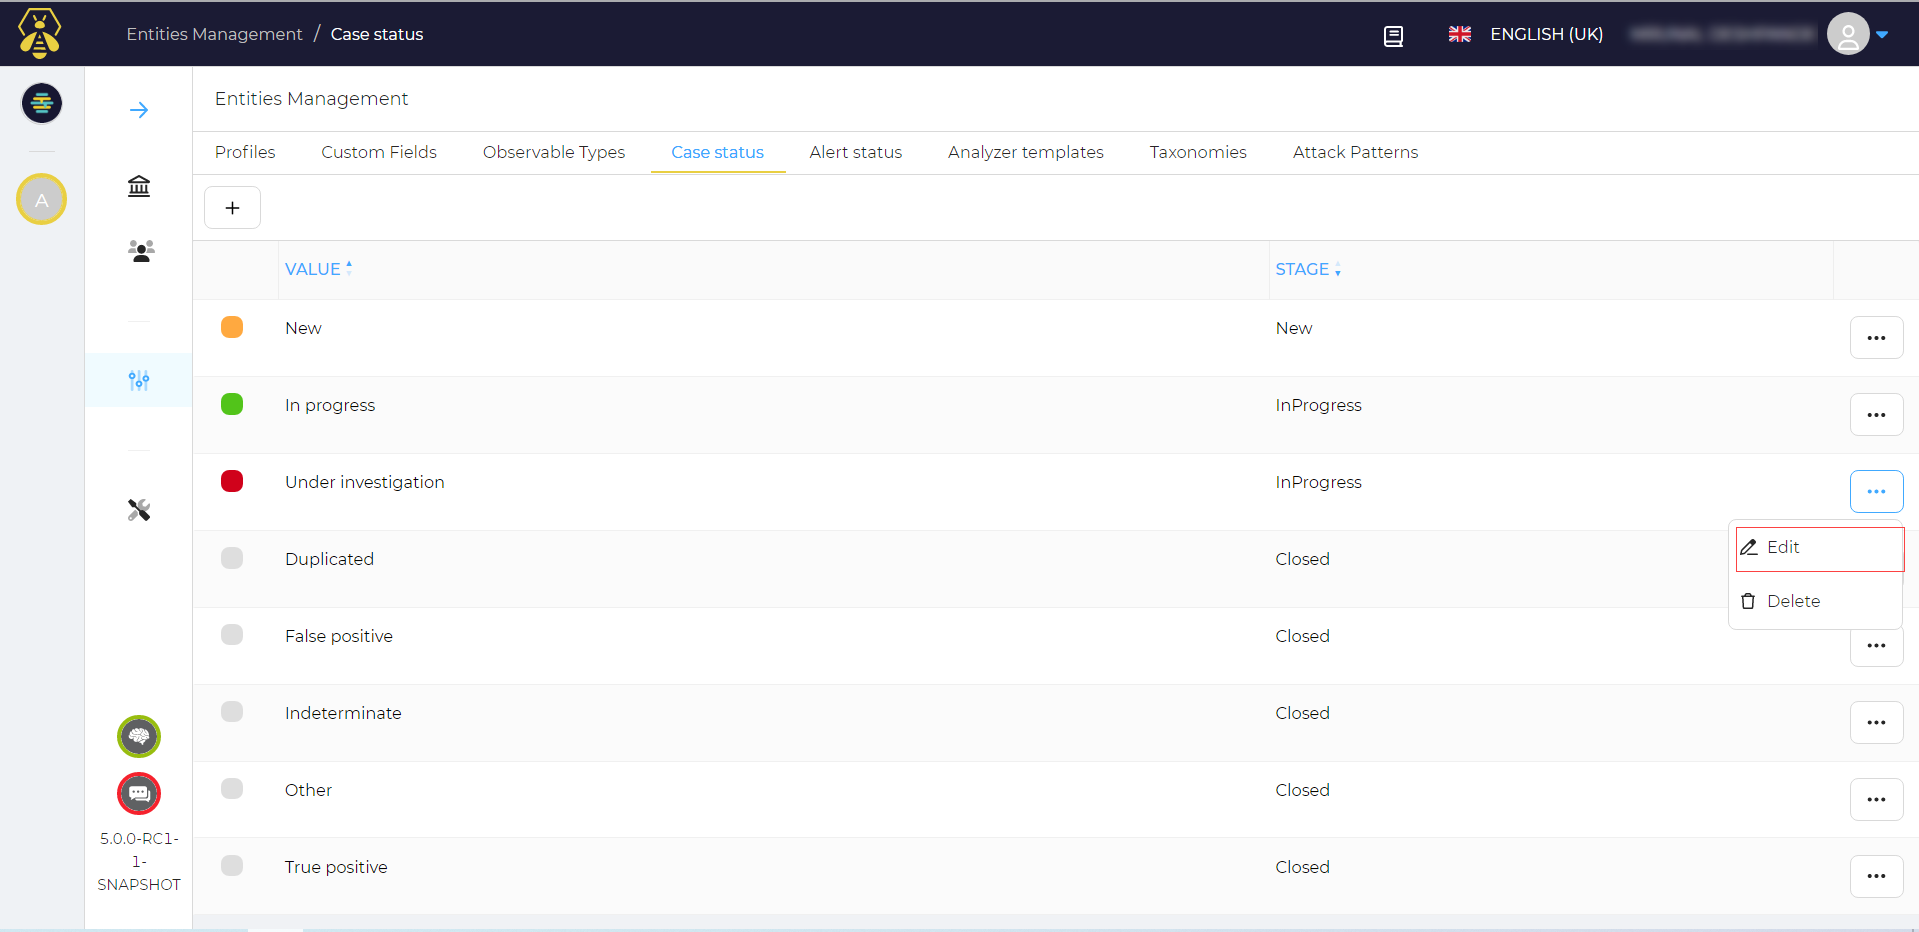
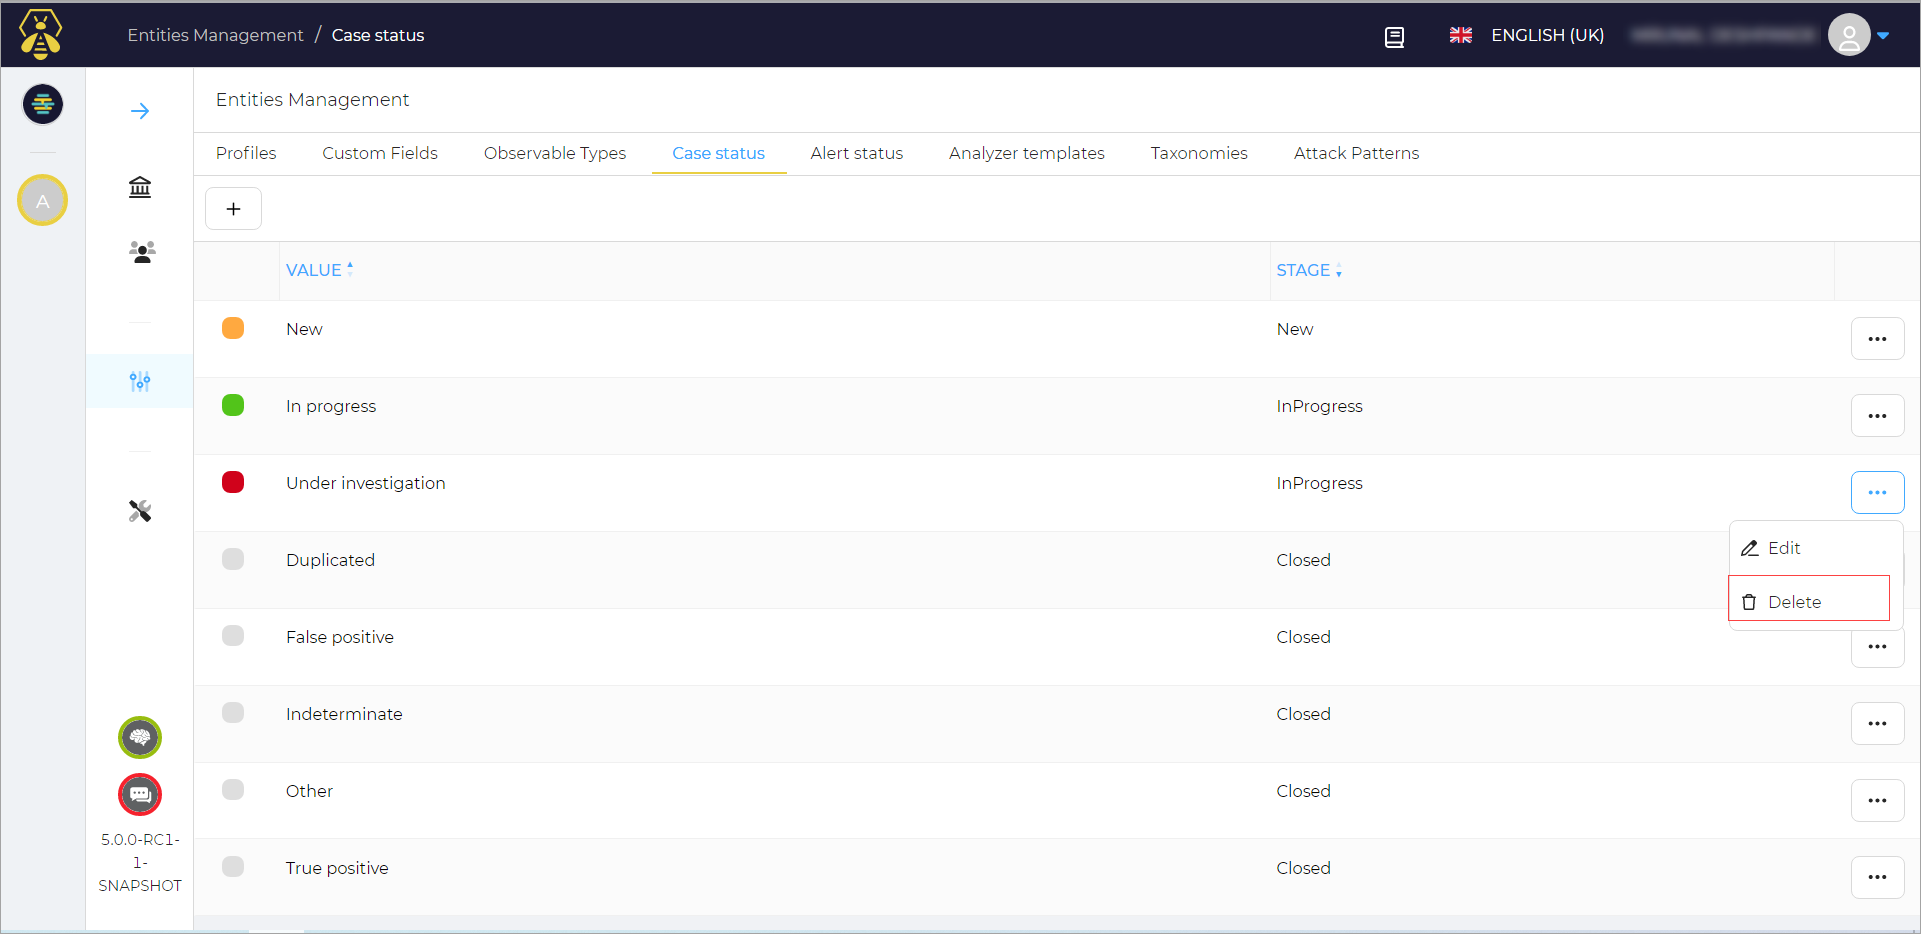
On the Entities Management page, in the case status tab, click the ellipsis(...) corresponding to the value you want to edit.
-
Click Edit.
Edit a Custom Case window opens.
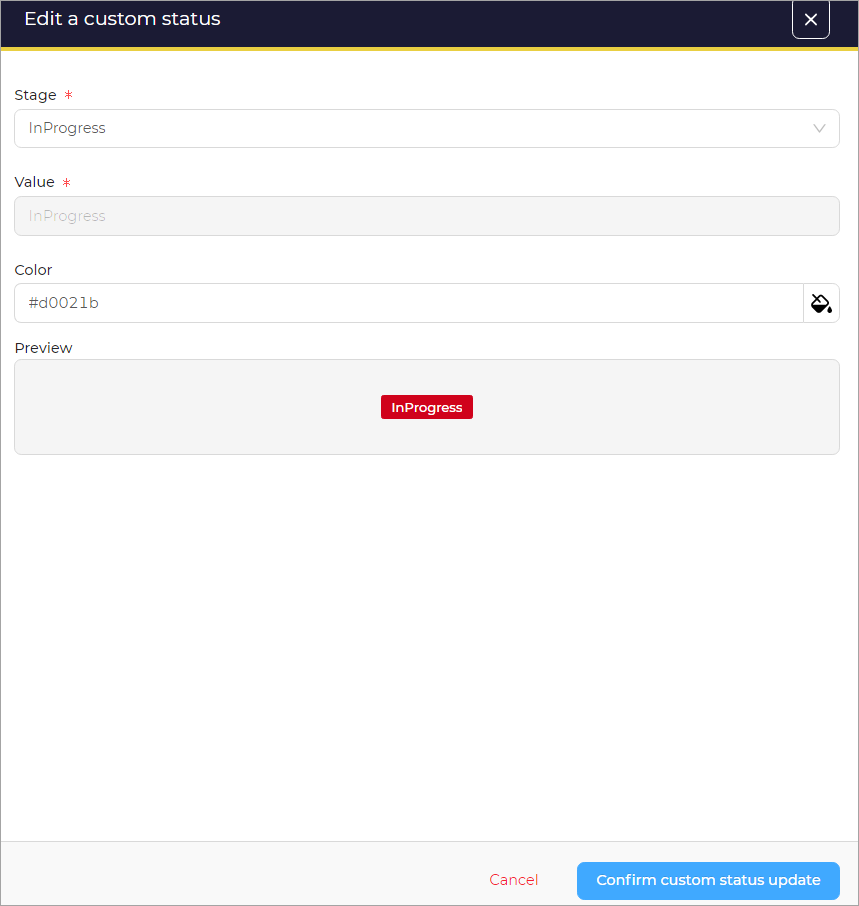
-
Edit the required fields.
-
Click the Confirm custom status update button.
Case status edited succesfully message appears.
Delete Custom Status#
To delete a custom status:
-
On the Entities Management page, in the case status tab, click the ellipsis(...) corresponding to the value you want to delete.
-
Click Delete.
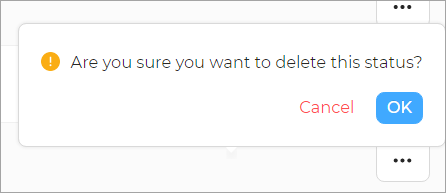
A delete confirmation dialog box appears.
-
Click OK.
Custom Status deleted succesfully message appears.