Configure an OAuth 2.0 Authentication Provider#
Configure an OAuth 2.0 authentication provider—such as Keycloak, Okta, GitHub, Microsoft 365, and Google—in TheHive.
Deprecated since version 5.5
5.5 The OAuth 2.0 authentication provider is deprecated and will be removed in a future release. It's recommended to use the OpenID authentication provider instead.
Procedure
Prerequisites
- Users must have an existing account in TheHive local database to authenticate successfully.
- These steps assume that you have already followed the instructions to configure the authentication settings.
-
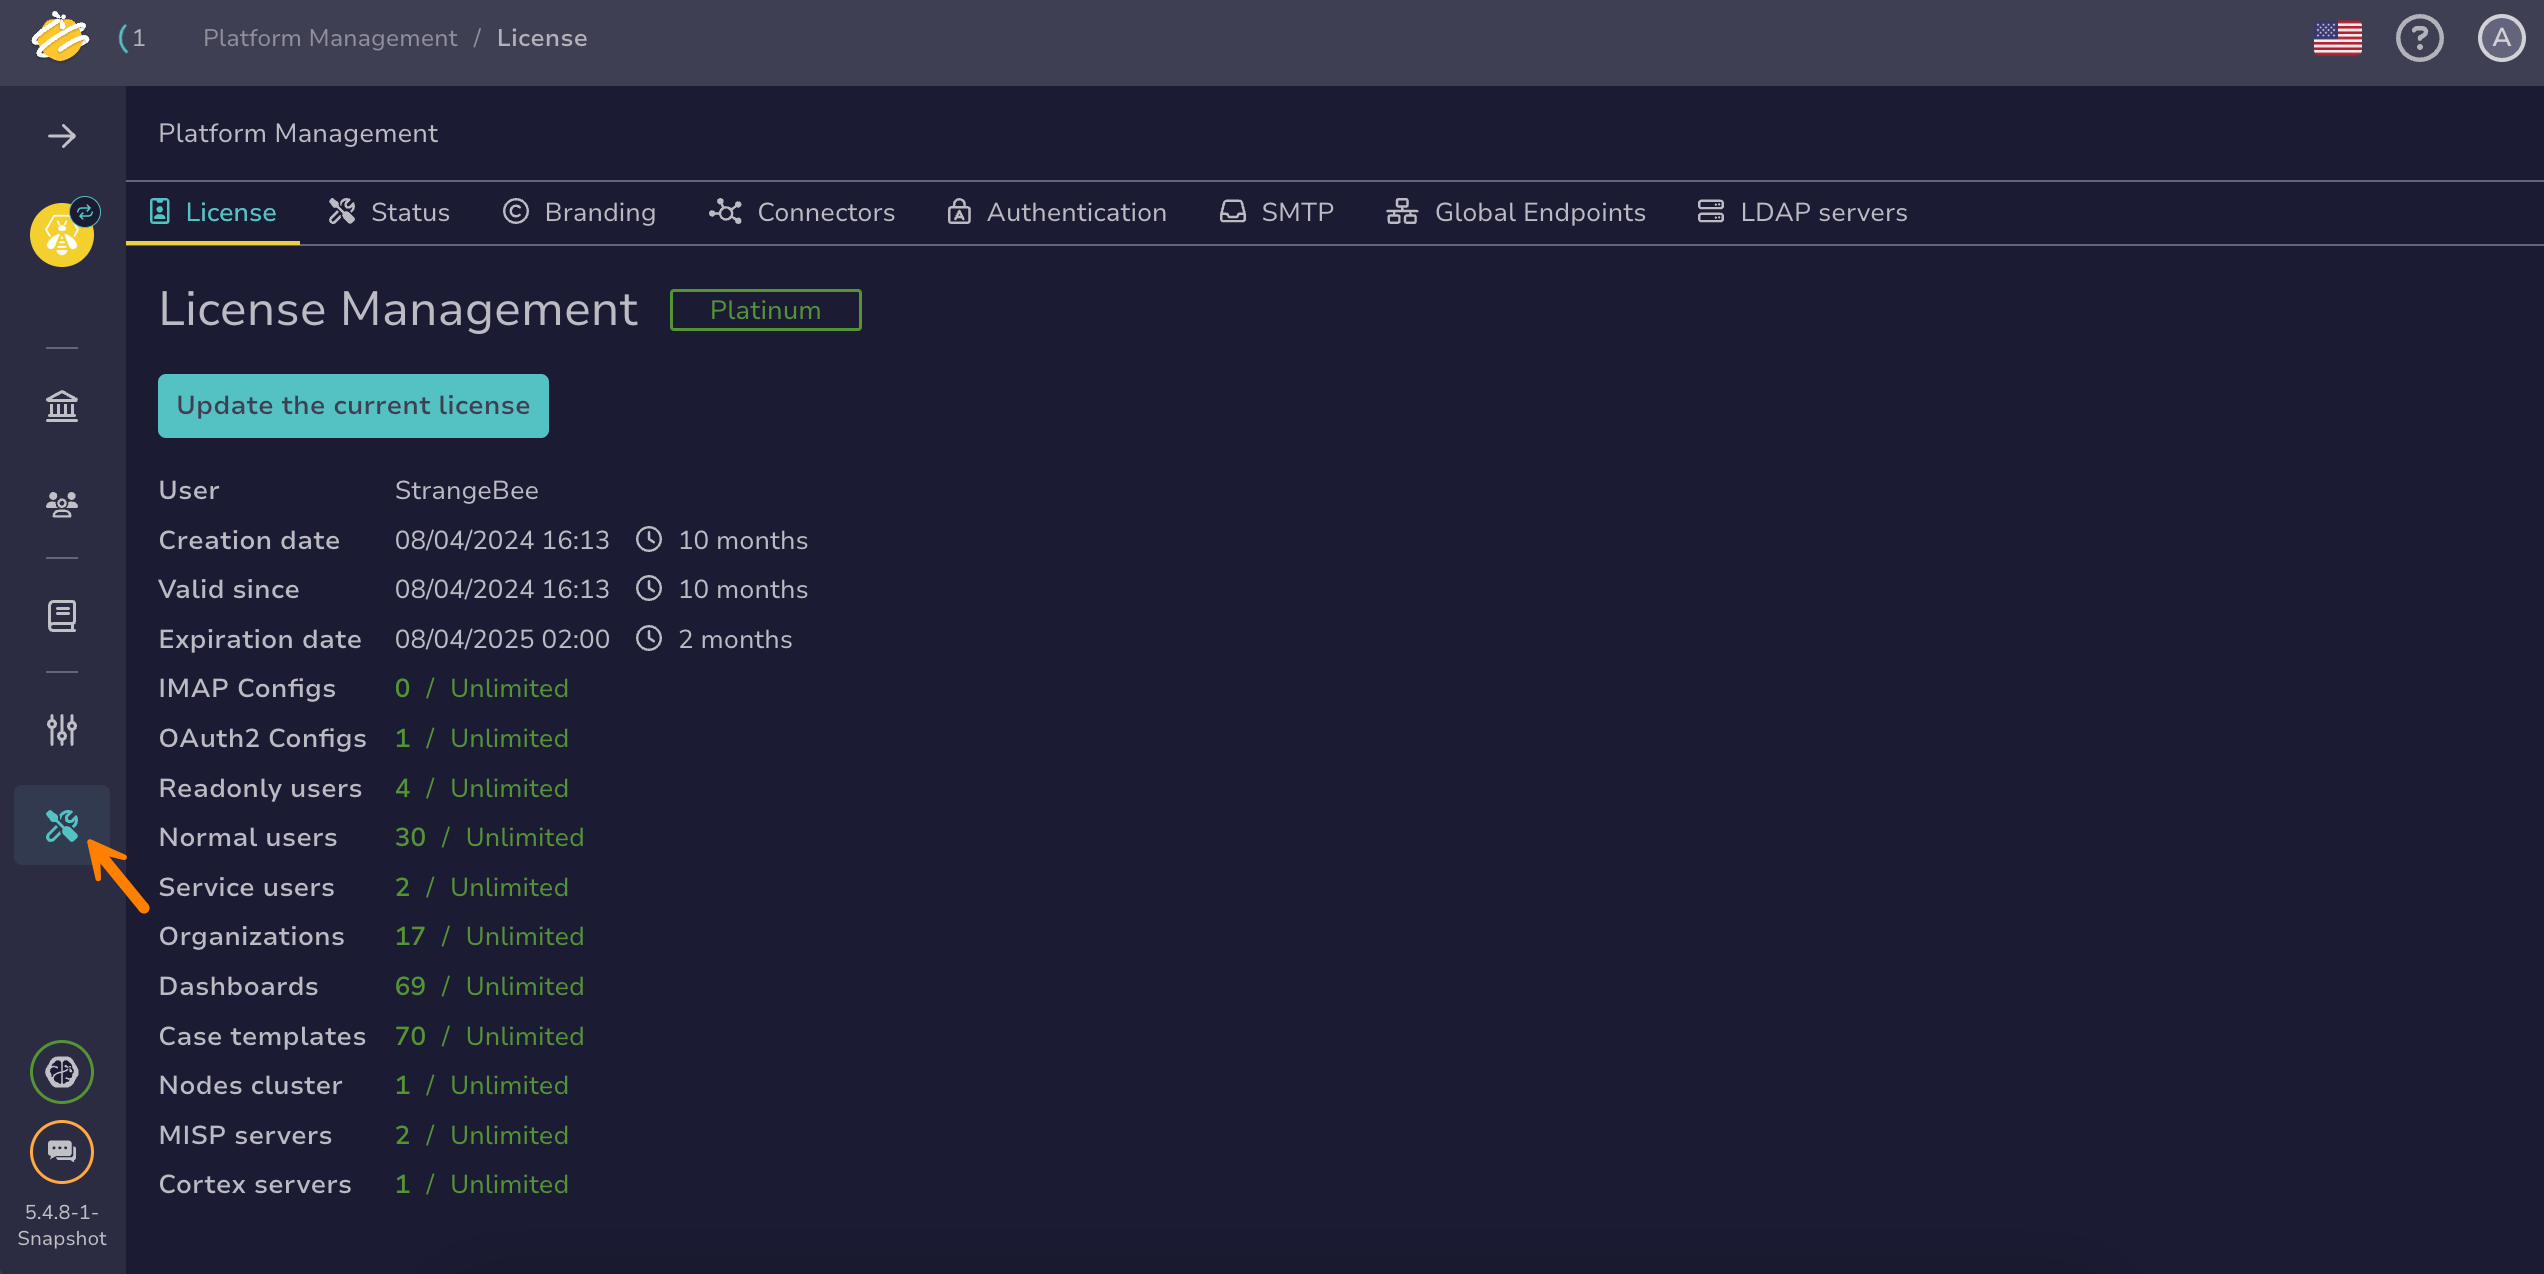
Go to the Platform management view from the sidebar menu.
-
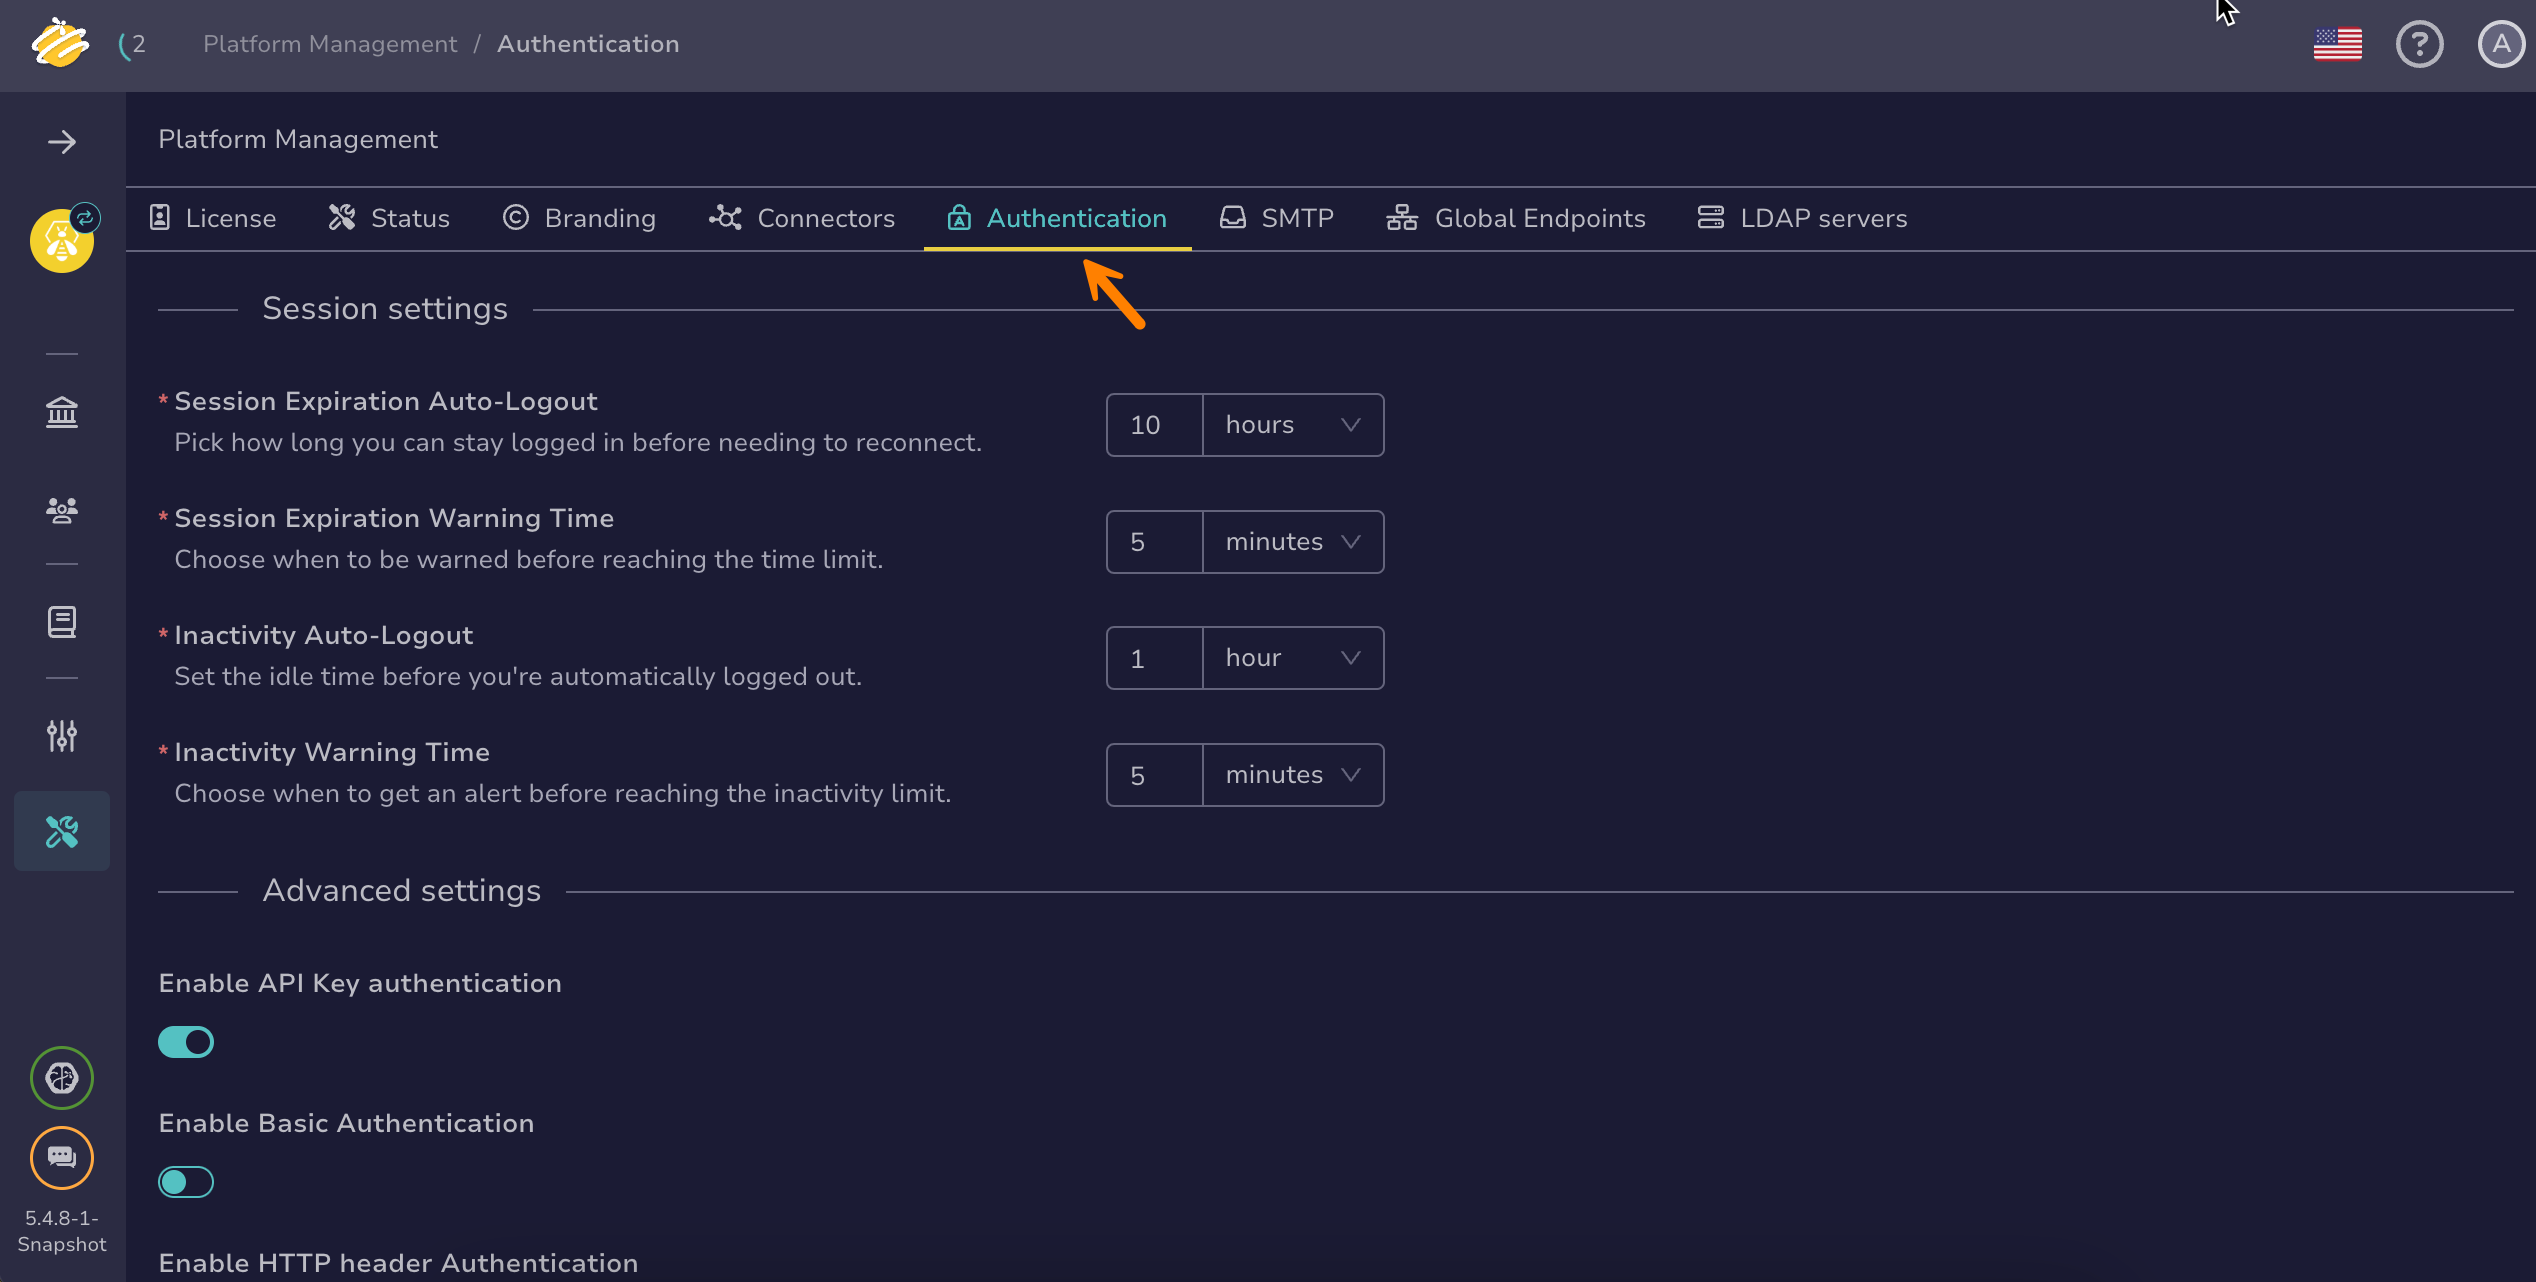
Select the Authentication tab.
-
Select OAuth 2 authentication in the Authentication providers section.
-
In the OAuth 2 authentication drawer, turn on the Enable OAuth 2 provider toggle.
-
Enter the following information:
Fields marked with * are mandatory.
- Client ID *
The unique identifier assigned to TheHive by the OAuth 2.0 provider when you register the application. TheHive uses this identifier to authenticate with the OAuth server during the authorization process.
- Client secret *
A confidential string issued by the OAuth 2.0 provider, used along with the client ID to authenticate TheHive securely.
- TheHive redirect URL *
The URL where the OAuth 2.0 server redirects users after authentication.
Format:
https://<your-hive-domain>/api/ssoLogin- Grant type *
Specifies the OAuth 2.0 authorization flow used for authentication.
Common types include:
- Authorization code (recommended for server-side apps)
- Client credentials (used for machine-to-machine authentication)
- Implicit (used for browser-based apps, though less secure)
- Authorization URL *
The endpoint of the OAuth 2.0 provider where users are redirected to authenticate and authorize access.
- Prefix of the authorization header *
Defines the type of token to pass in the authorization header, typically:
- Bearer (most common)
- Basic (used for Basic authentication)
- Token URL *
The endpoint used by TheHive to exchange the authorization code for an access token.
- User information URL *
The endpoint that TheHive calls using the access token to retrieve user details (such as ID, email, or name).
- List of scope *
Specifies the access permissions that TheHive requests from the OAuth 2.0 server.
Examples include:
- openid: Access to basic user information
- email: Access to the user’s email address
- profile: Access to profile information
- Field that contains the id of the user in user info *
The specific field in the user information response that holds the user's unique identifier. TheHive uses this field to map authenticated users.
-
Turn on the Enable user auto creation to automatically create a user account in TheHive when a new user successfully authenticates through the OAuth 2.0 provider.
Then enter the following information:
- Field that contains the name of the user in user info
- Field that contains the name of the organization in user info
- Default organization used to create TheHive user
- Default profile used to create TheHive user
Turn on the Allow admin user auto creation to automatically assign administrative privileges to newly created users upon successful authentication.
-
In the Proxy settings section, select the proxy settings you want to apply:
- Default configuration
- Disabled
- Enabled:
- Enter the type of protocol, either HTTP or HTTPS.
- Enter the IP address or domain name of the proxy server.
- Enter the port number used by the proxy server.
- Turn on the Authentication toggle if you want to require a username and password to authenticate with the proxy server.
-
Add a certificate authority (CA).
The server's SSL/TLS certificate must be trusted by the Java virtual machine (JVM) truststore for secure connections. If your server uses a certificate from an internal CA or self-signed certificate, add it to the JVM truststore first. See Configure JVM Trust for SSL/TLS Certificates for instructions.
You can turn off the Don't check certificate authority toggle to bypass certificate validation, but this isn't recommended as it may compromise connection security.
-
Turn on the Disable host name verification toggle if you want to bypass the verification of the server's host name against the certificate.
-
Select Confirm.
Examples#
| Parameter | Value |
|---|---|
| Client ID | <client_id> |
| Client secret | <client_secret> |
| TheHive redirect URL | https://<thehive_url>/api/ssoLogin |
| Grant type | authorization_code |
| Authorization URL | https://<keycloak_url>/auth/realms/<realm_name>/protocol/openid-connect/auth |
| Prefix of the authorization header | Bearer |
| Token URL | https://<keycloak_url>/auth/realms/<realm_name>/protocol/openid-connect/token |
| User information URL | https://<keycloak_url>/auth/realms/<realm_name>/protocol/openid-connect/userinfo |
| List of scopes | ["openid", "email"] |
| Field that contains the id of the user in user info | "email" |
Keycloak URL
The /auth prefix may vary depending on your Keycloak version.
| Parameter | Value |
|---|---|
| Client ID | <client_id> |
| Client secret | <client_secret> |
| TheHive redirect URL | https://<thehive_url>/api/ssoLogin |
| Grant type | authorization_code |
| Authorization URL | https://<okta_domain>/oauth2/<auth_server_id>/v1/authorize |
| Prefix of the authorization header | Bearer |
| Token URL | https://<okta_domain>/oauth2/<auth_server_id>/v1/token |
| User information URL | https://<okta_domain>/oauth2/<auth_server_id>/v1/userinfo |
| List of scopes | ["openid", "email"] |
| Field that contains the id of the user in user info | "email" |
| Parameter | Value |
|---|---|
| Client ID | <client_id> |
| Client secret | <client_secret> |
| TheHive redirect URL | https://<thehive_url>/api/ssoLogin |
| Grant type | authorization_code |
| Authorization URL | https://github.com/login/oauth/authorize |
| Prefix of the authorization header | Bearer |
| Token URL | https://github.com/login/oauth/access_token |
| User information URL | https://api.github.com/user |
| List of scopes | ["user"] |
| Field that contains the id of the user in user info | "email" |
GitHub configuration
- Generate the
<client_id>and<client_secret>in the OAuth Apps section at GitHub Developer Settings. - Ensure users set a public email address in their profile at GitHub Profile Settings for this configuration to work correctly.
| Parameter | Value |
|---|---|
| Client ID | <client_id> |
| Client secret | <client_secret> |
| TheHive redirect URL | https://<thehive_url>/api/ssoLogin |
| Grant type | authorization_code |
| Authorization URL | https://login.microsoftonline.com/<tenant>/oauth2/v2.0/authorize |
| Prefix of the authorization header | Bearer |
| Token URL | https://login.microsoftonline.com/<tenant>/oauth2/v2.0/token |
| User information URL | https://graph.microsoft.com/v1.0/me |
| List of scopes | ["User.Read"] |
| Field that contains the id of the user in user info | "mail" |
Microsoft configuration
To generate the <client_id>, <client_secret> and <tenant>, register a new application in the Azure Active Directory App Registrations portal.
| Parameter | Value |
|---|---|
| Client ID | <client_id> |
| Client secret | <client_secret> |
| TheHive redirect URL | https://<thehive_url>/api/ssoLogin |
| Grant type | authorization_code |
| Authorization URL | https://accounts.google.com/o/oauth2/v2/auth |
| Prefix of the authorization header | Bearer |
| Token URL | https://oauth2.googleapis.com/token |
| User information URL | https://openidconnect.googleapis.com/v1/userinfo |
| List of scopes | ["email", "profile", "openid"] |
| Field that contains the id of the user in user info | "email" |
Google configuration
- Generate the
<client_id>and<client_secret>in the APIs & Services > Credentials section of the Google Cloud Console. - Follow the Google OAuth 2.0 credentials guide for step-by-step instructions.
- Refer to Google OpenID Connect configuration for the latest authentication URLs.