Configure a SAML Authentication Provider#
Configure a SAML authentication provider in TheHive.
Procedure
Prerequisites
- Users must have an existing account in TheHive local database to authenticate successfully.
- These steps assume that you have already followed the instructions to configure the authentication settings.
Login flow with multiple SAML providers
You can configure multiple SAML providers in TheHive. When a user attempts to log in, TheHive queries each provider sequentially, following the defined order. The process stops as soon as a provider grants authorization.
-
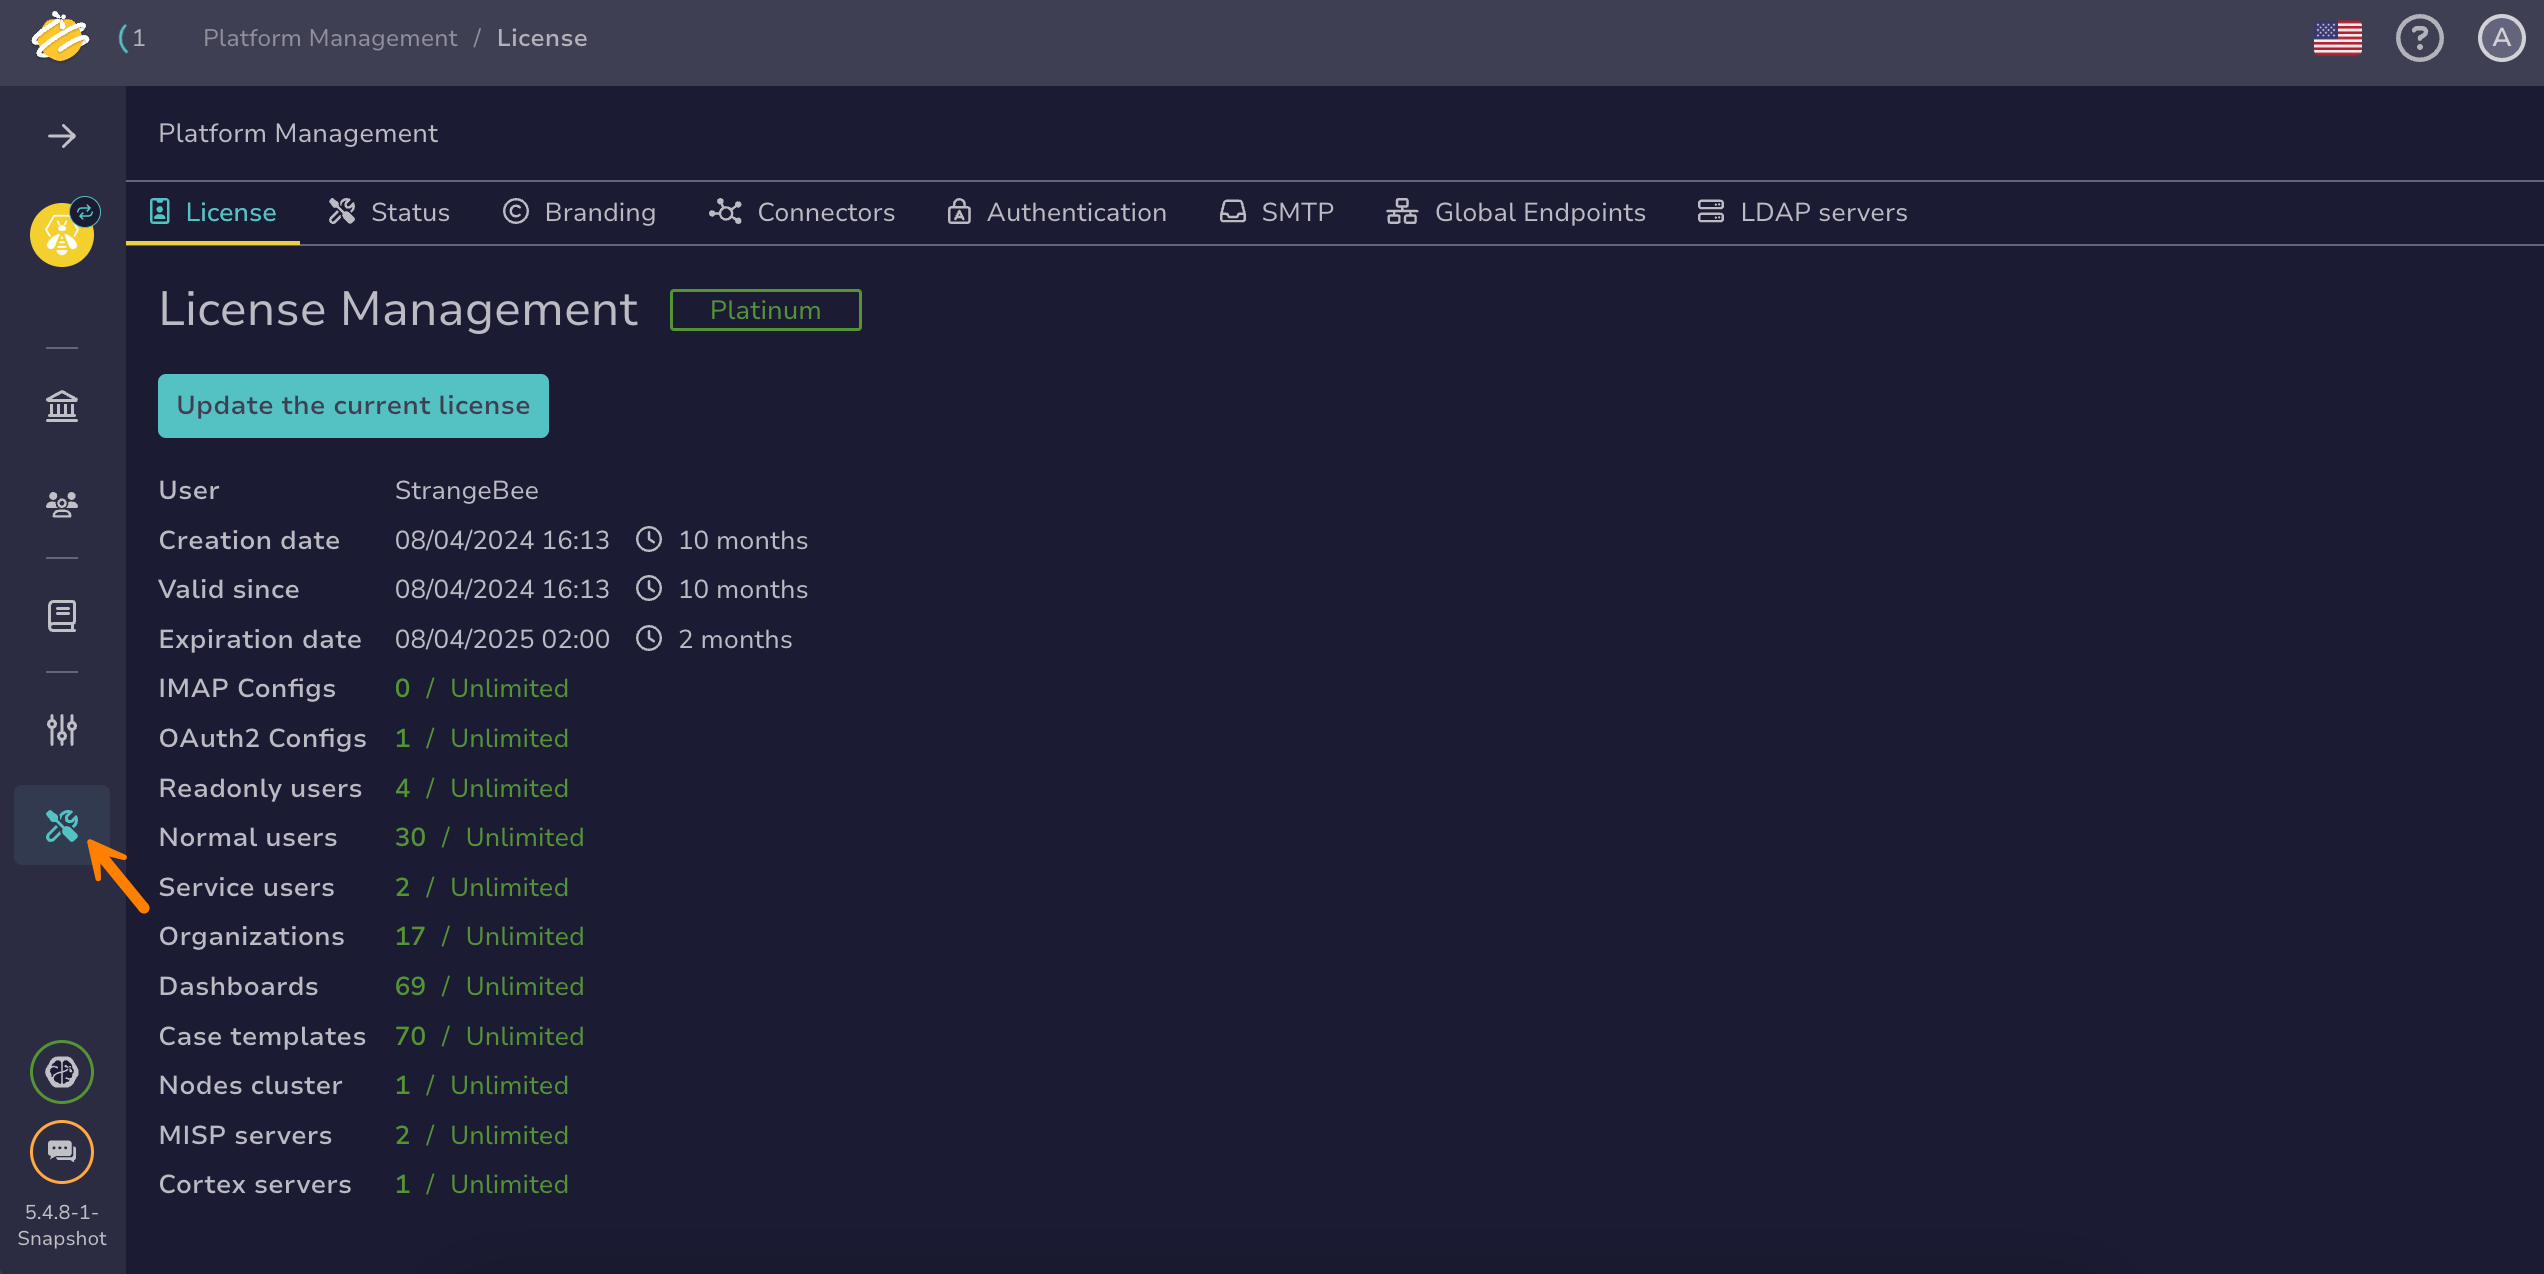
Go to the Platform management view from the sidebar menu.
-
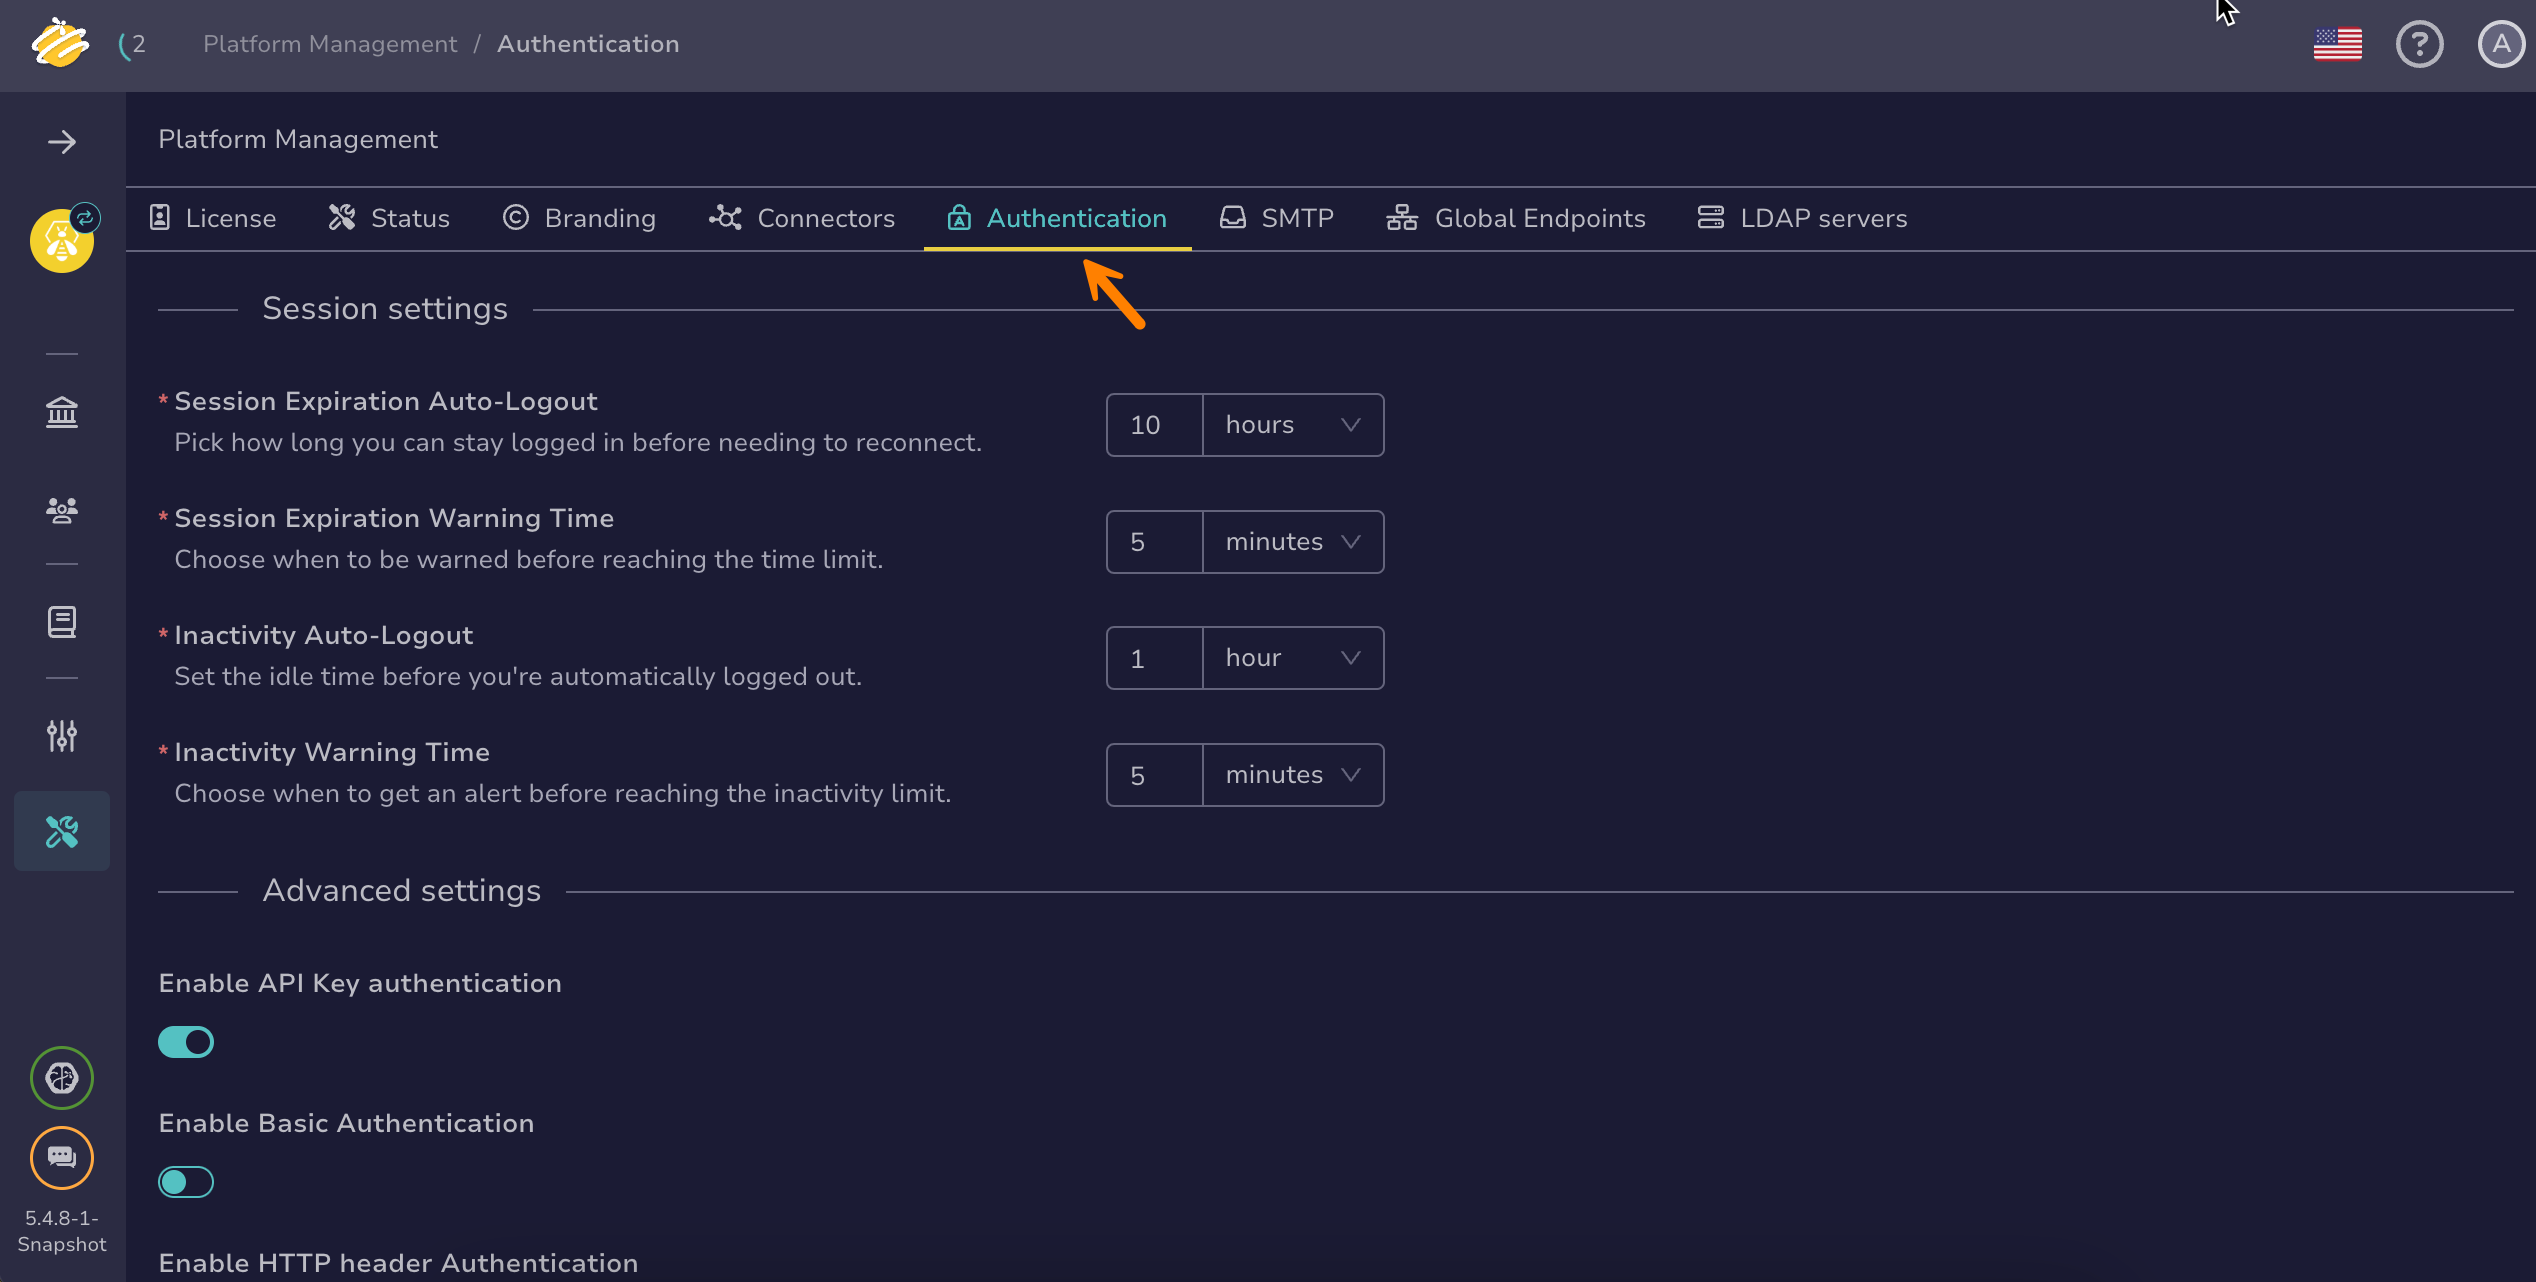
Select the Authentication tab.
-
-
Select SAML authentication in the Authentication providers section.
-
In the SAML authentication drawer, turn on the Enable SAML toggle.
-
Select Add a provider or select .
-
Select SSO authentication in the Authentication providers section.
-
In the SSO authentication drawer, turn on the Enable SSO toggle.
-
Select Add a provider or select . Then select SAML from the dropdown list.
-
-
Enter the following information:
- Name *
A recognizable name for the IdP in TheHive.
Example: Microsoft Entra ID
- Identity provider metadata type *
Select how TheHive retrieves configuration information for the IdP—either from an XML file or a URL.
-
If you choose url, provide the full link to the metadata document.
Example:
https://login.microsoftonline.com/{tenant-id}/federationmetadata/2007-06/federationmetadata.xml -
If you choose xml, paste the XML metadata content directly into the field.
Example:
<?xml version="1.0" encoding="UTF-8"?>
<md: EntityDescriptor entityID="http://www.okta.com/<entity-id>"               xmlns="urn:oasis:names:tc:SAML:2.0:metadata">
    <md:IDPSSODescriptor WantAuthnRequestsSigned="false" protocolSupportEnumeration="urn:oasis:names:tc:SAML:2.0:protocol">
        <md:KeyDescriptor use="signing">
            <ds:KeyInfo xmlns:ds="http://www.w3.org/2000/09/xmldsig#">
            <!-- Replace with your key information -->
- User login attribute
The name of the attribute from the IdP that contains the user's login information (such as email or username).
- Maximum authentication life time *
The maximum session duration for user authentication. This value must align with the session timeout configured on the IdP to ensure consistent session behavior.
If you're unsure of the value set in your IdP, we recommend setting it to 90 days, as this is the default for most IdPs.
-