Connect a Mailbox#
Connect a mailbox if your organization receives alerts via email and you want to automatically convert them into alerts within TheHive.
Procedure
-
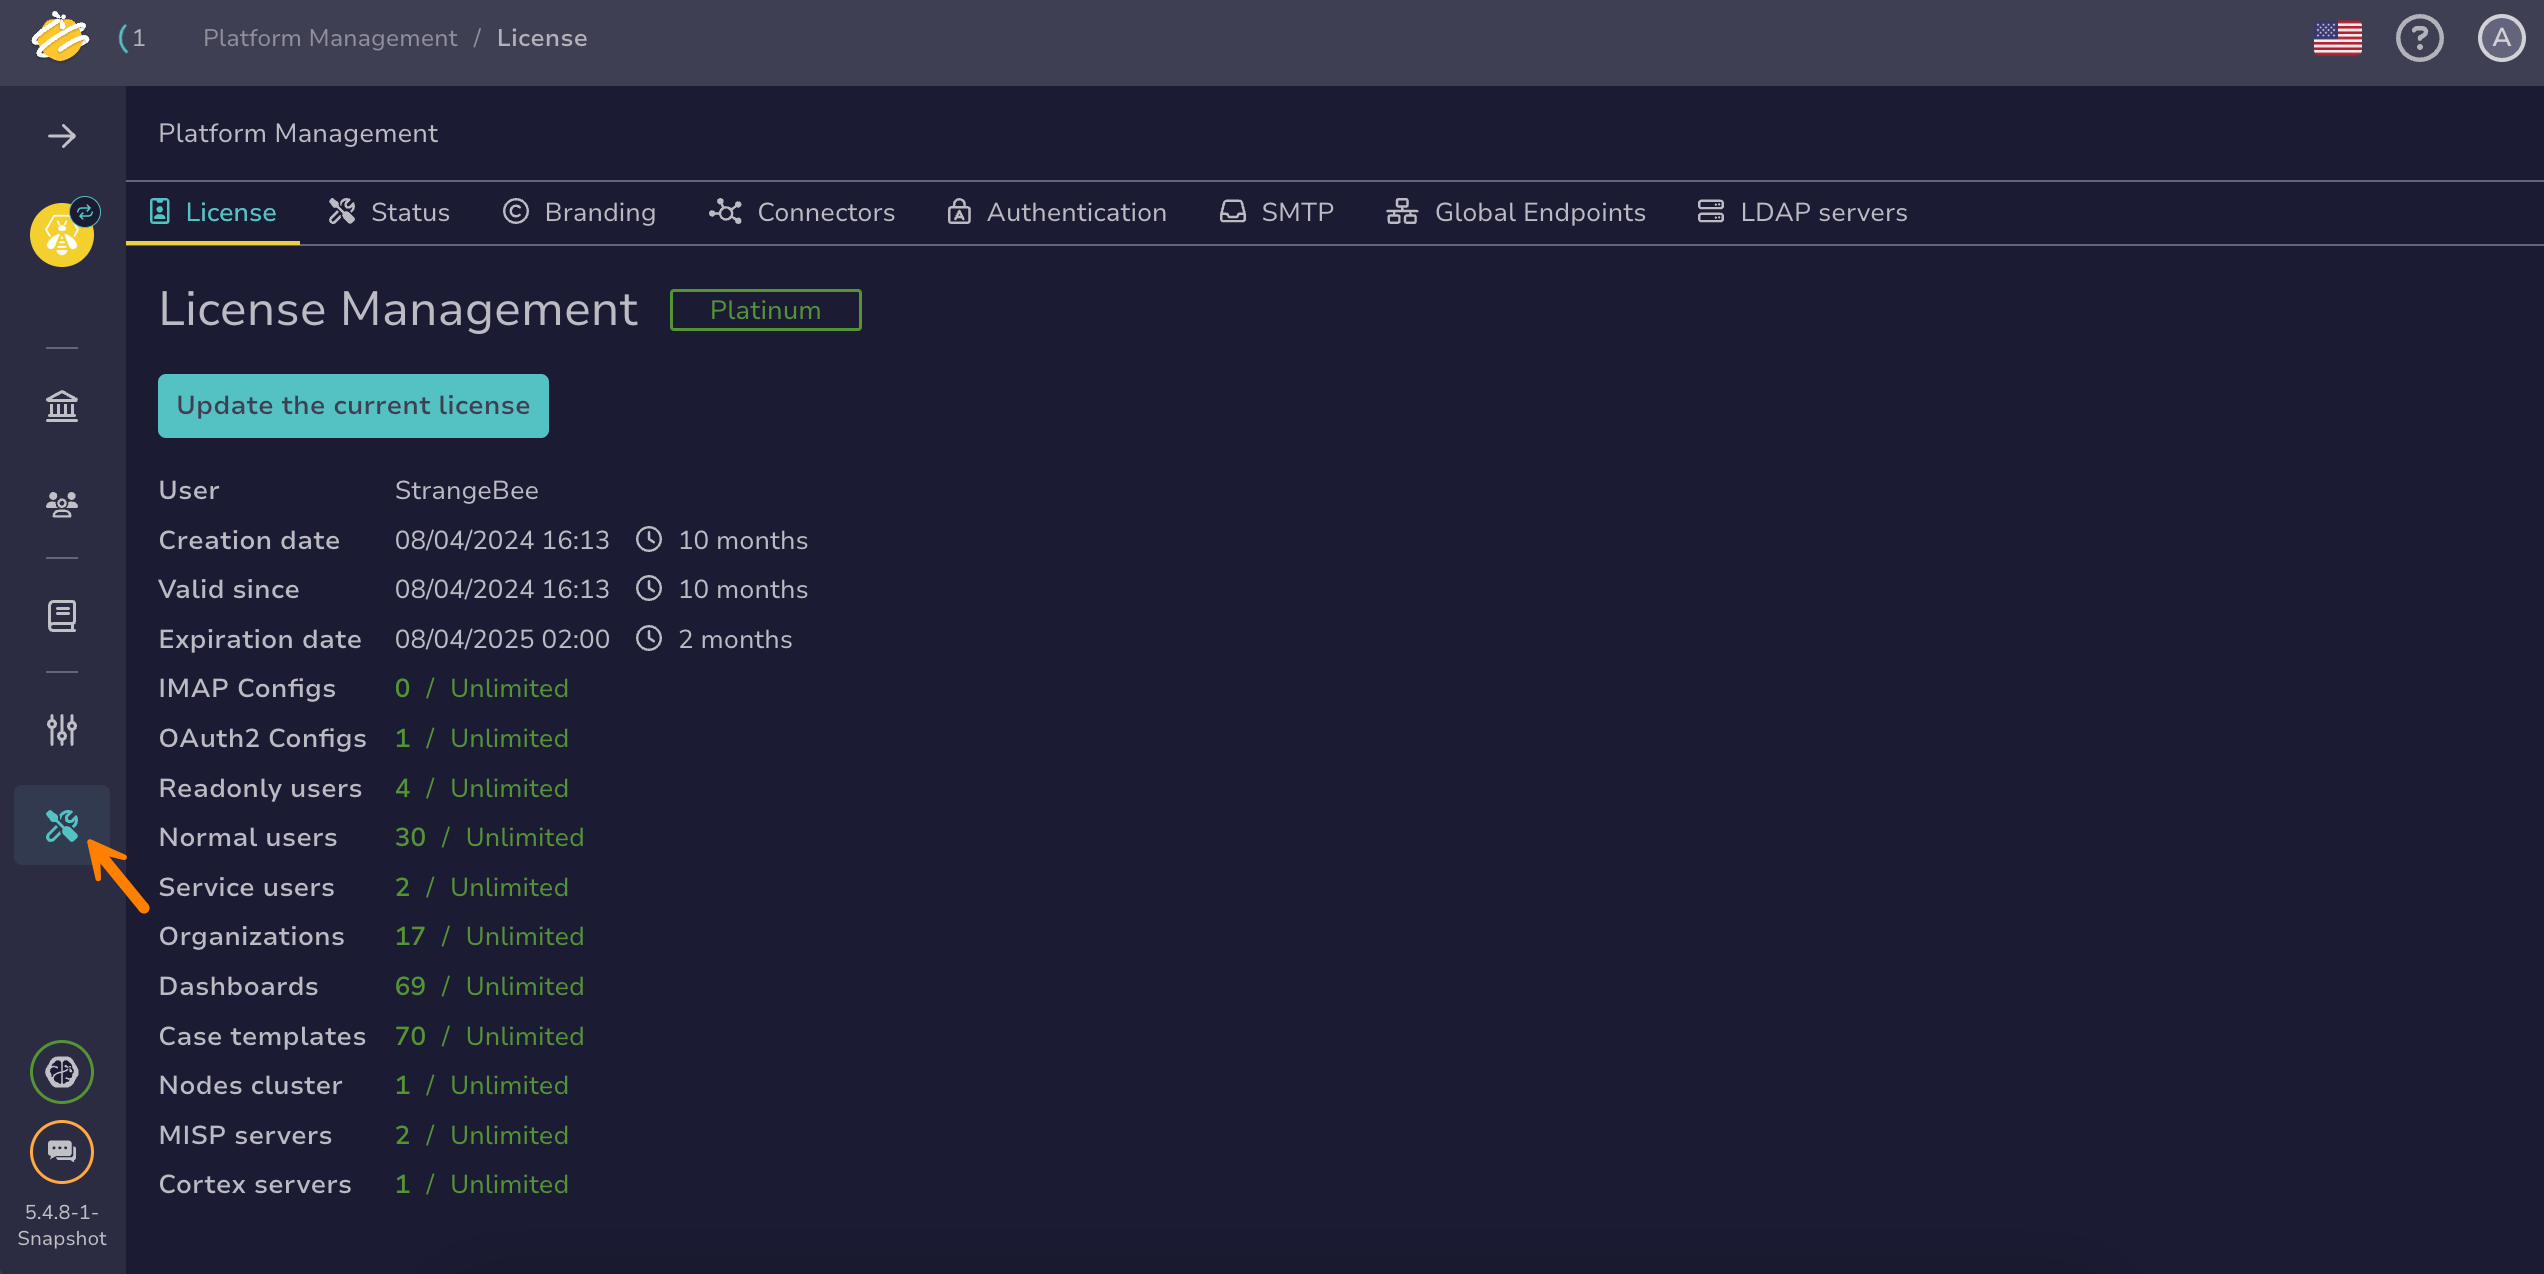
Go to the Platform management view from the sidebar menu.
-
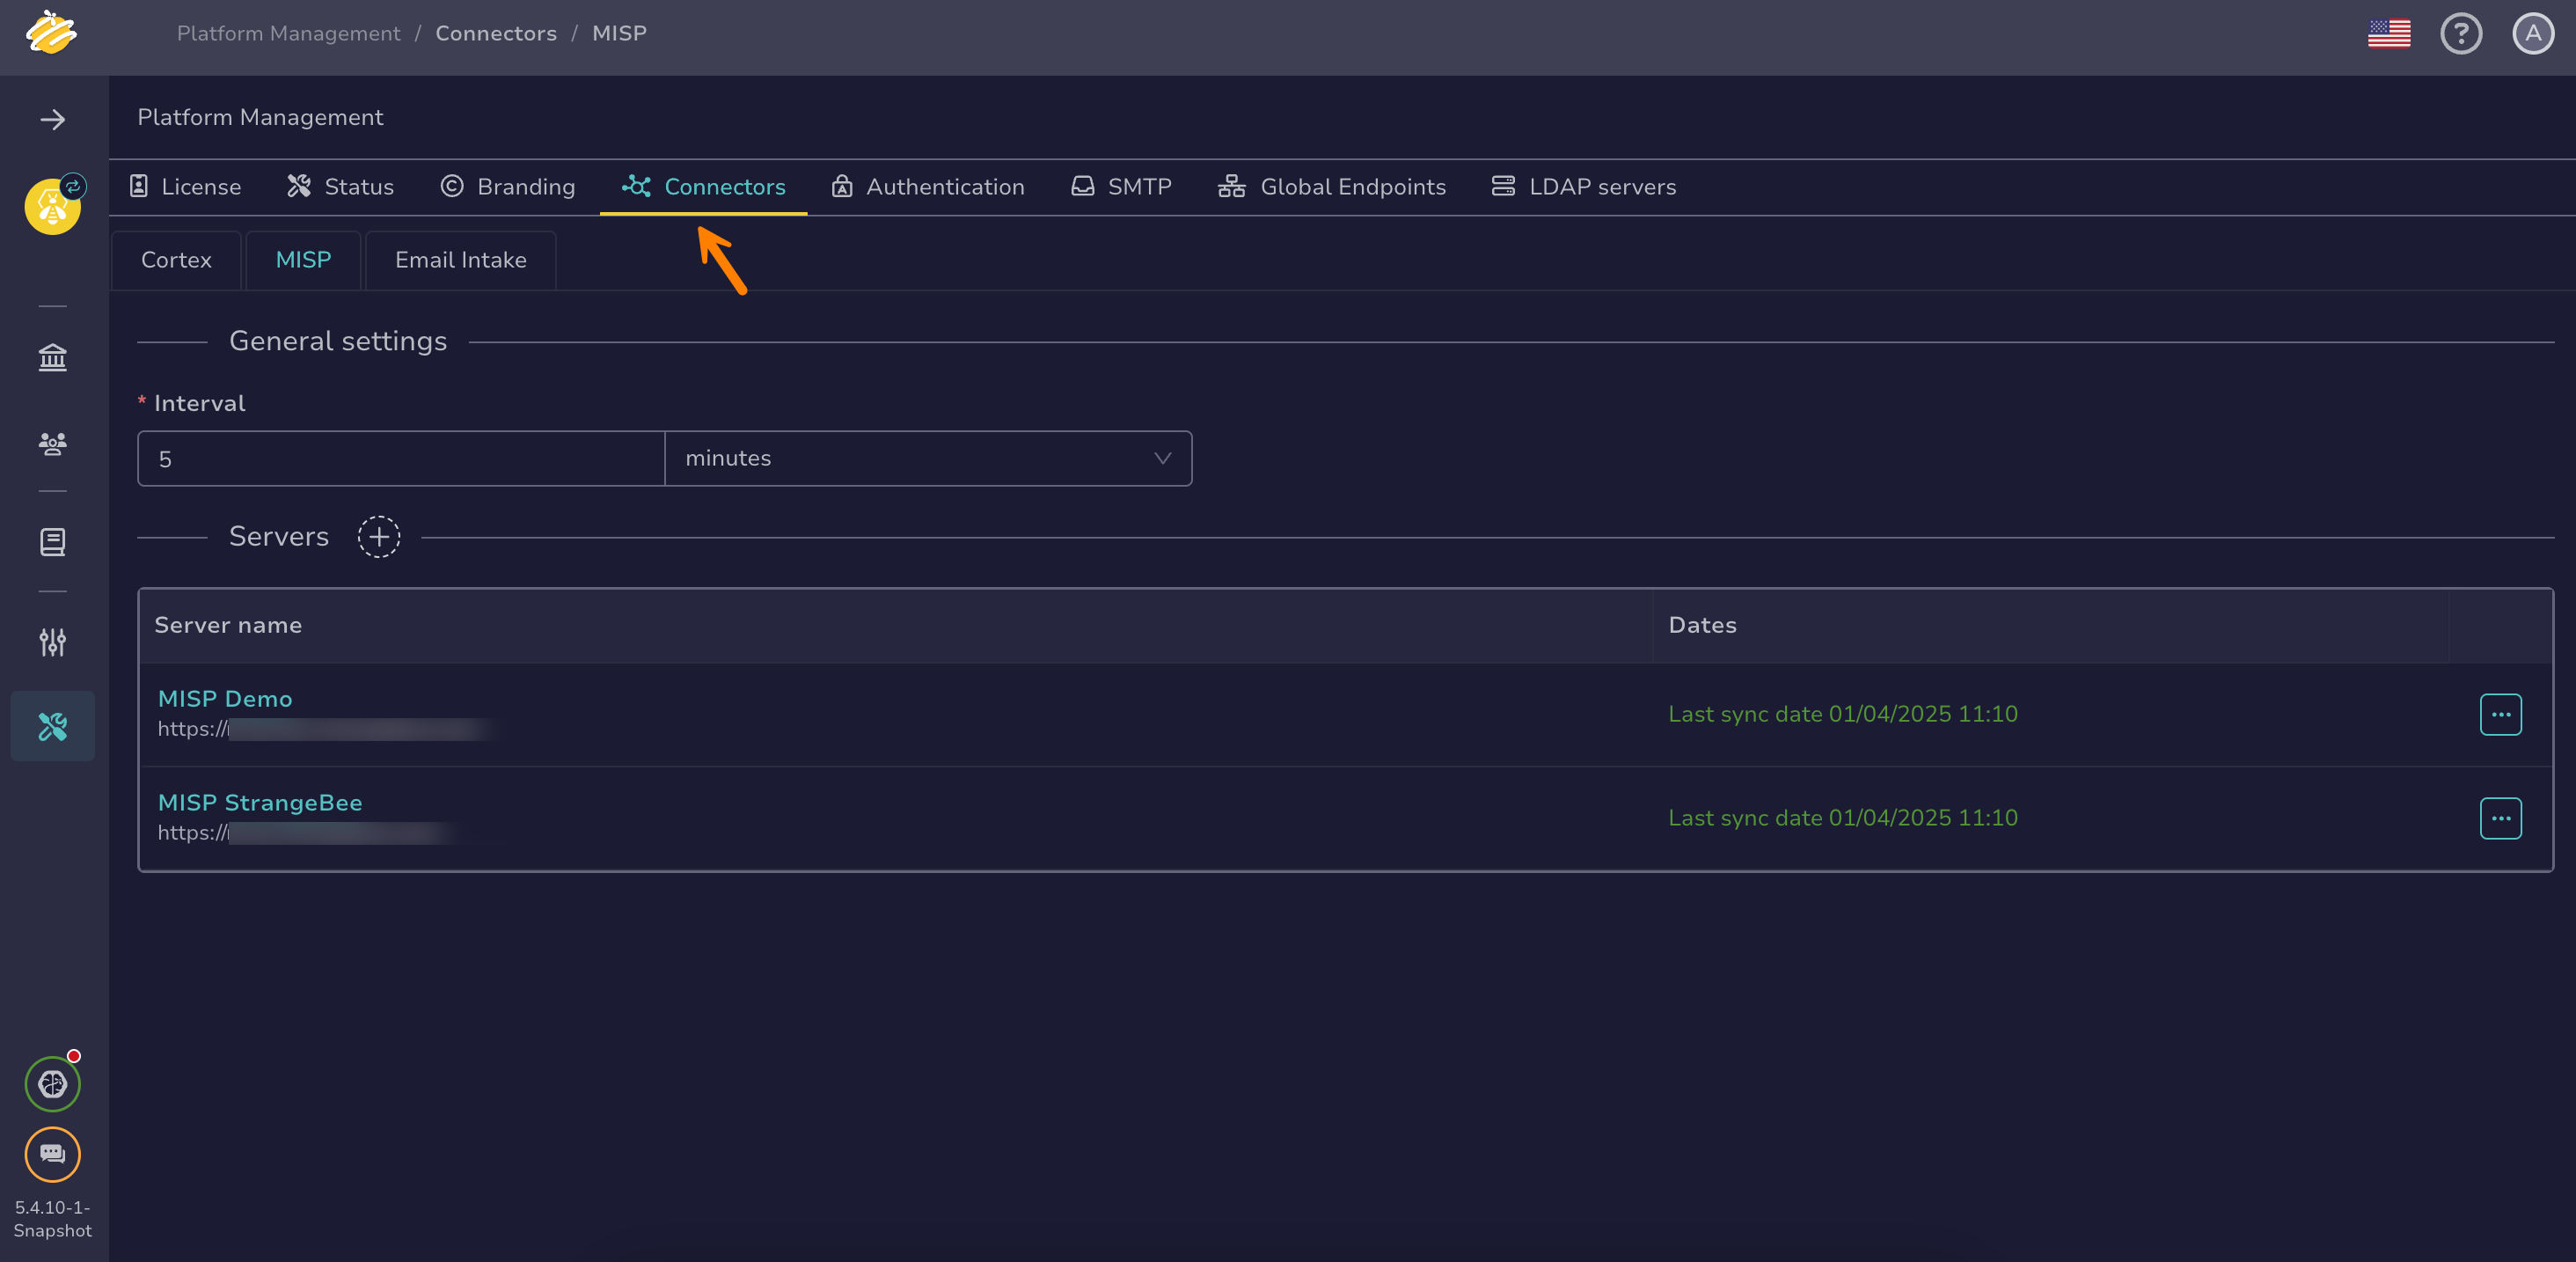
Select the Connectors tab.
-
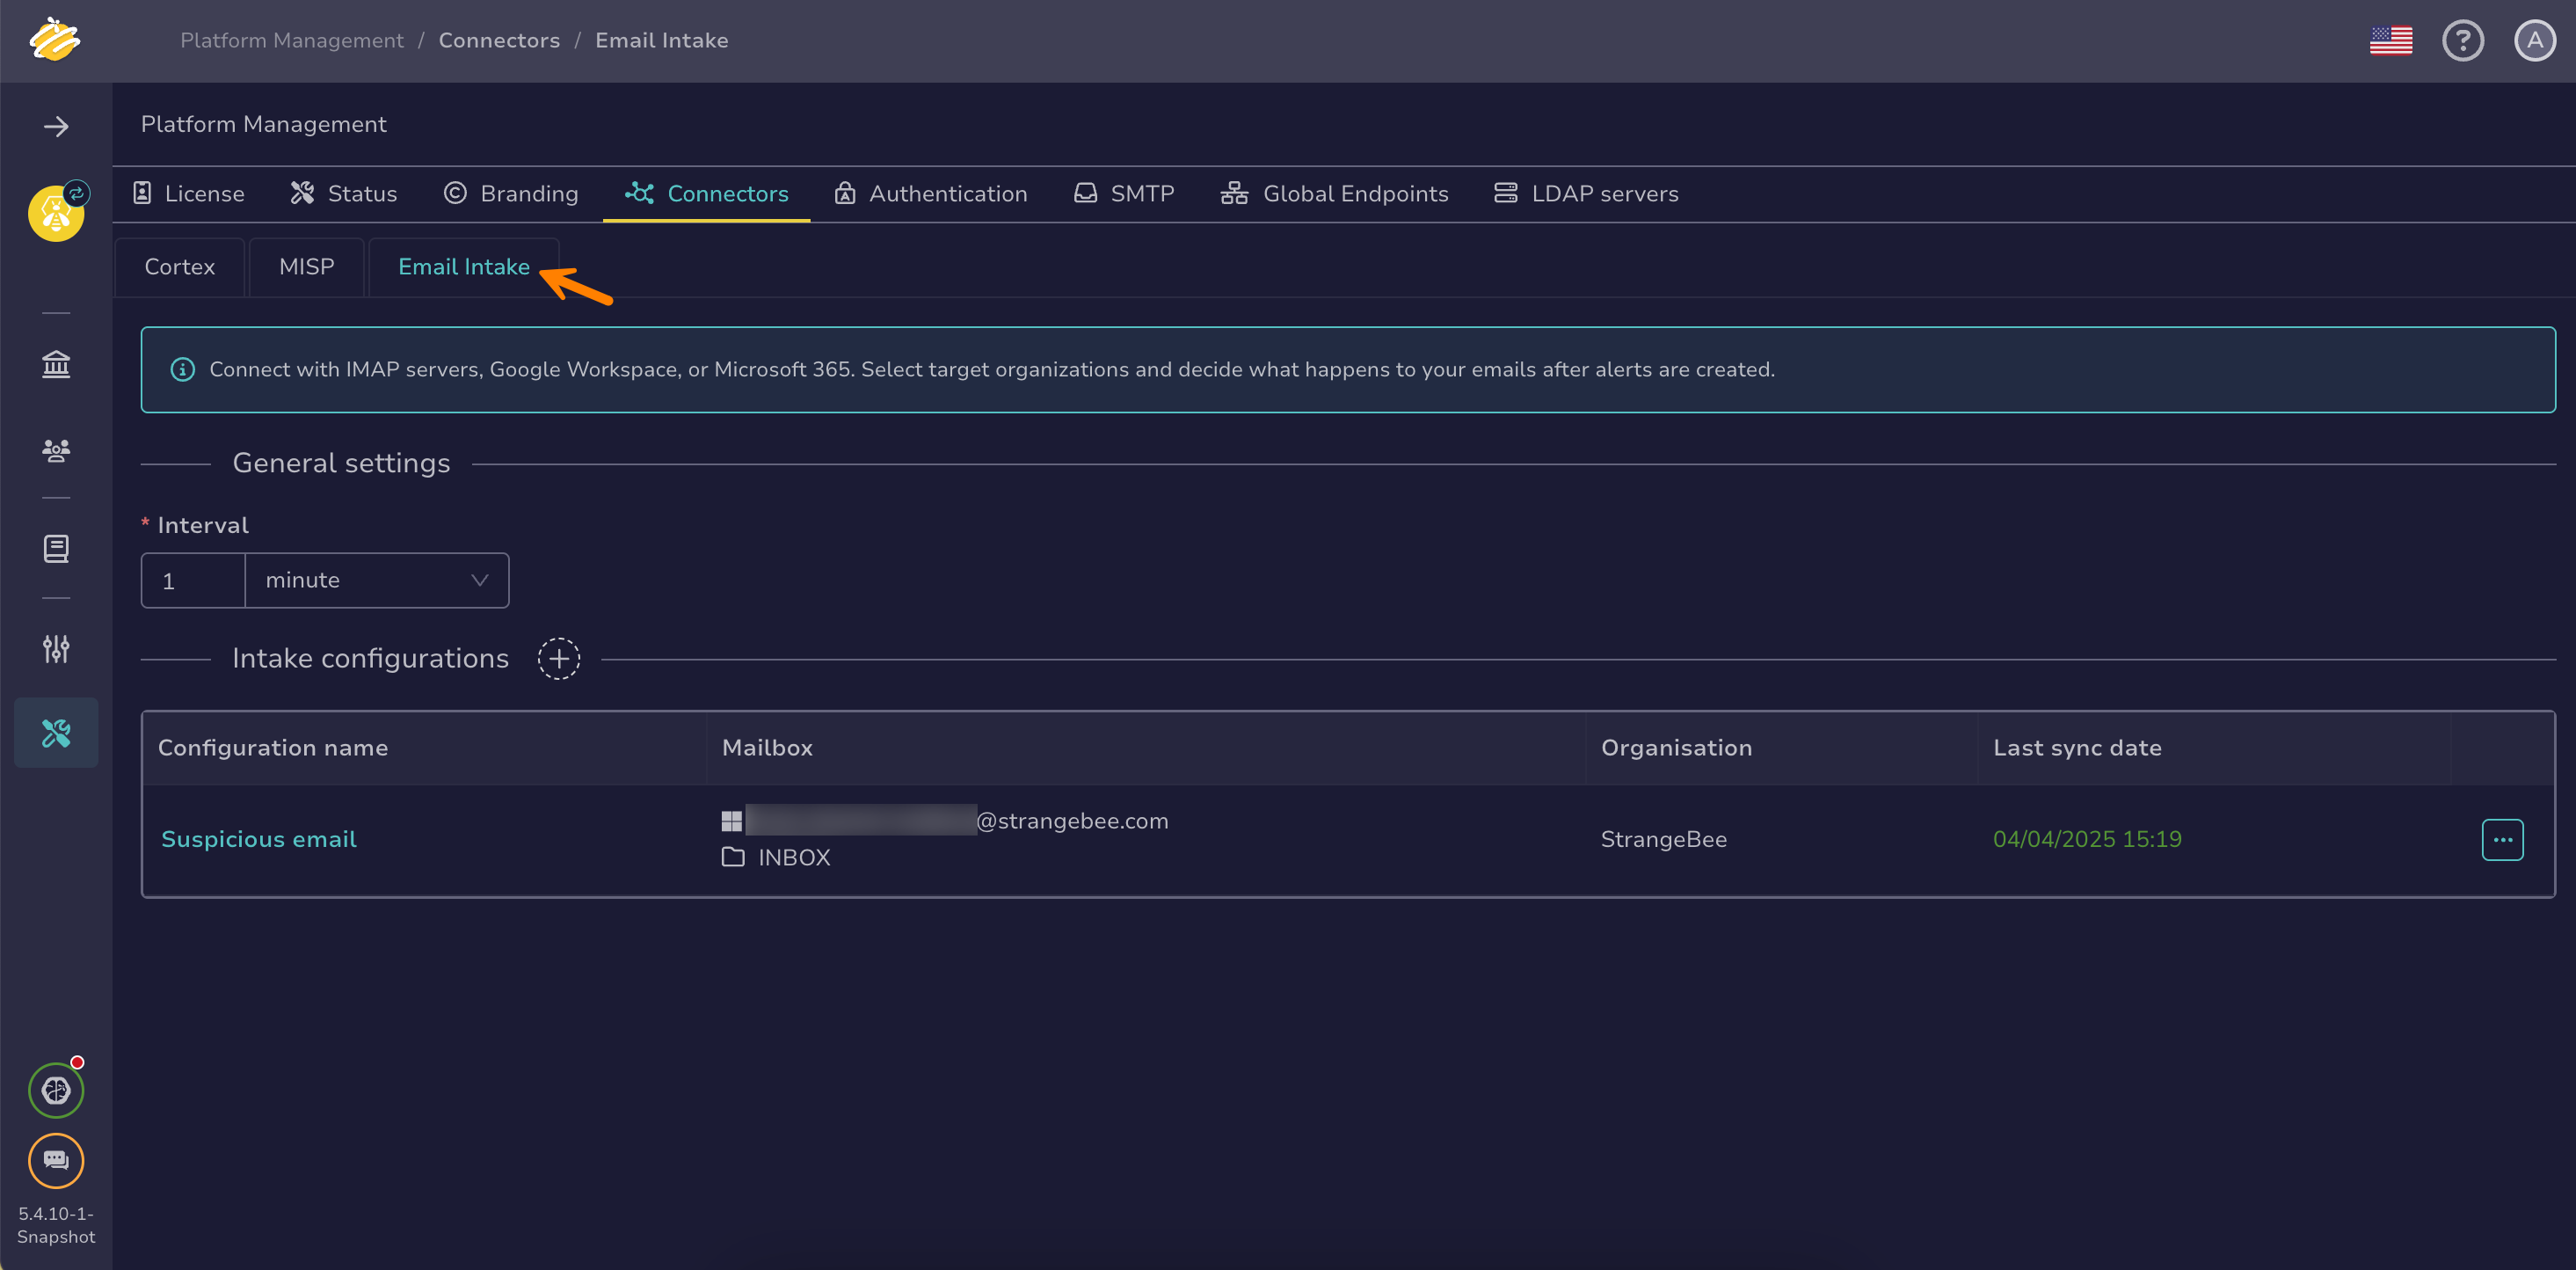
Select the Email intake tab.
-
Enter the time interval between refresh attempts. This setting applies to all connected mailboxes.
Manual refresh
If needed, you can also manually trigger an email fetch for a mailbox.
-
Select .
-
Configure your email intake connector by following these steps. IMAP configuration is required if your email provider is neither Google nor Microsoft.
Prerequisites
You must have administrator access to the Google Cloud Console, with the necessary permissions to create projects and configure OAuth 2.0 credentials.
Step 1: Create a project in the Google Cloud Console#
-
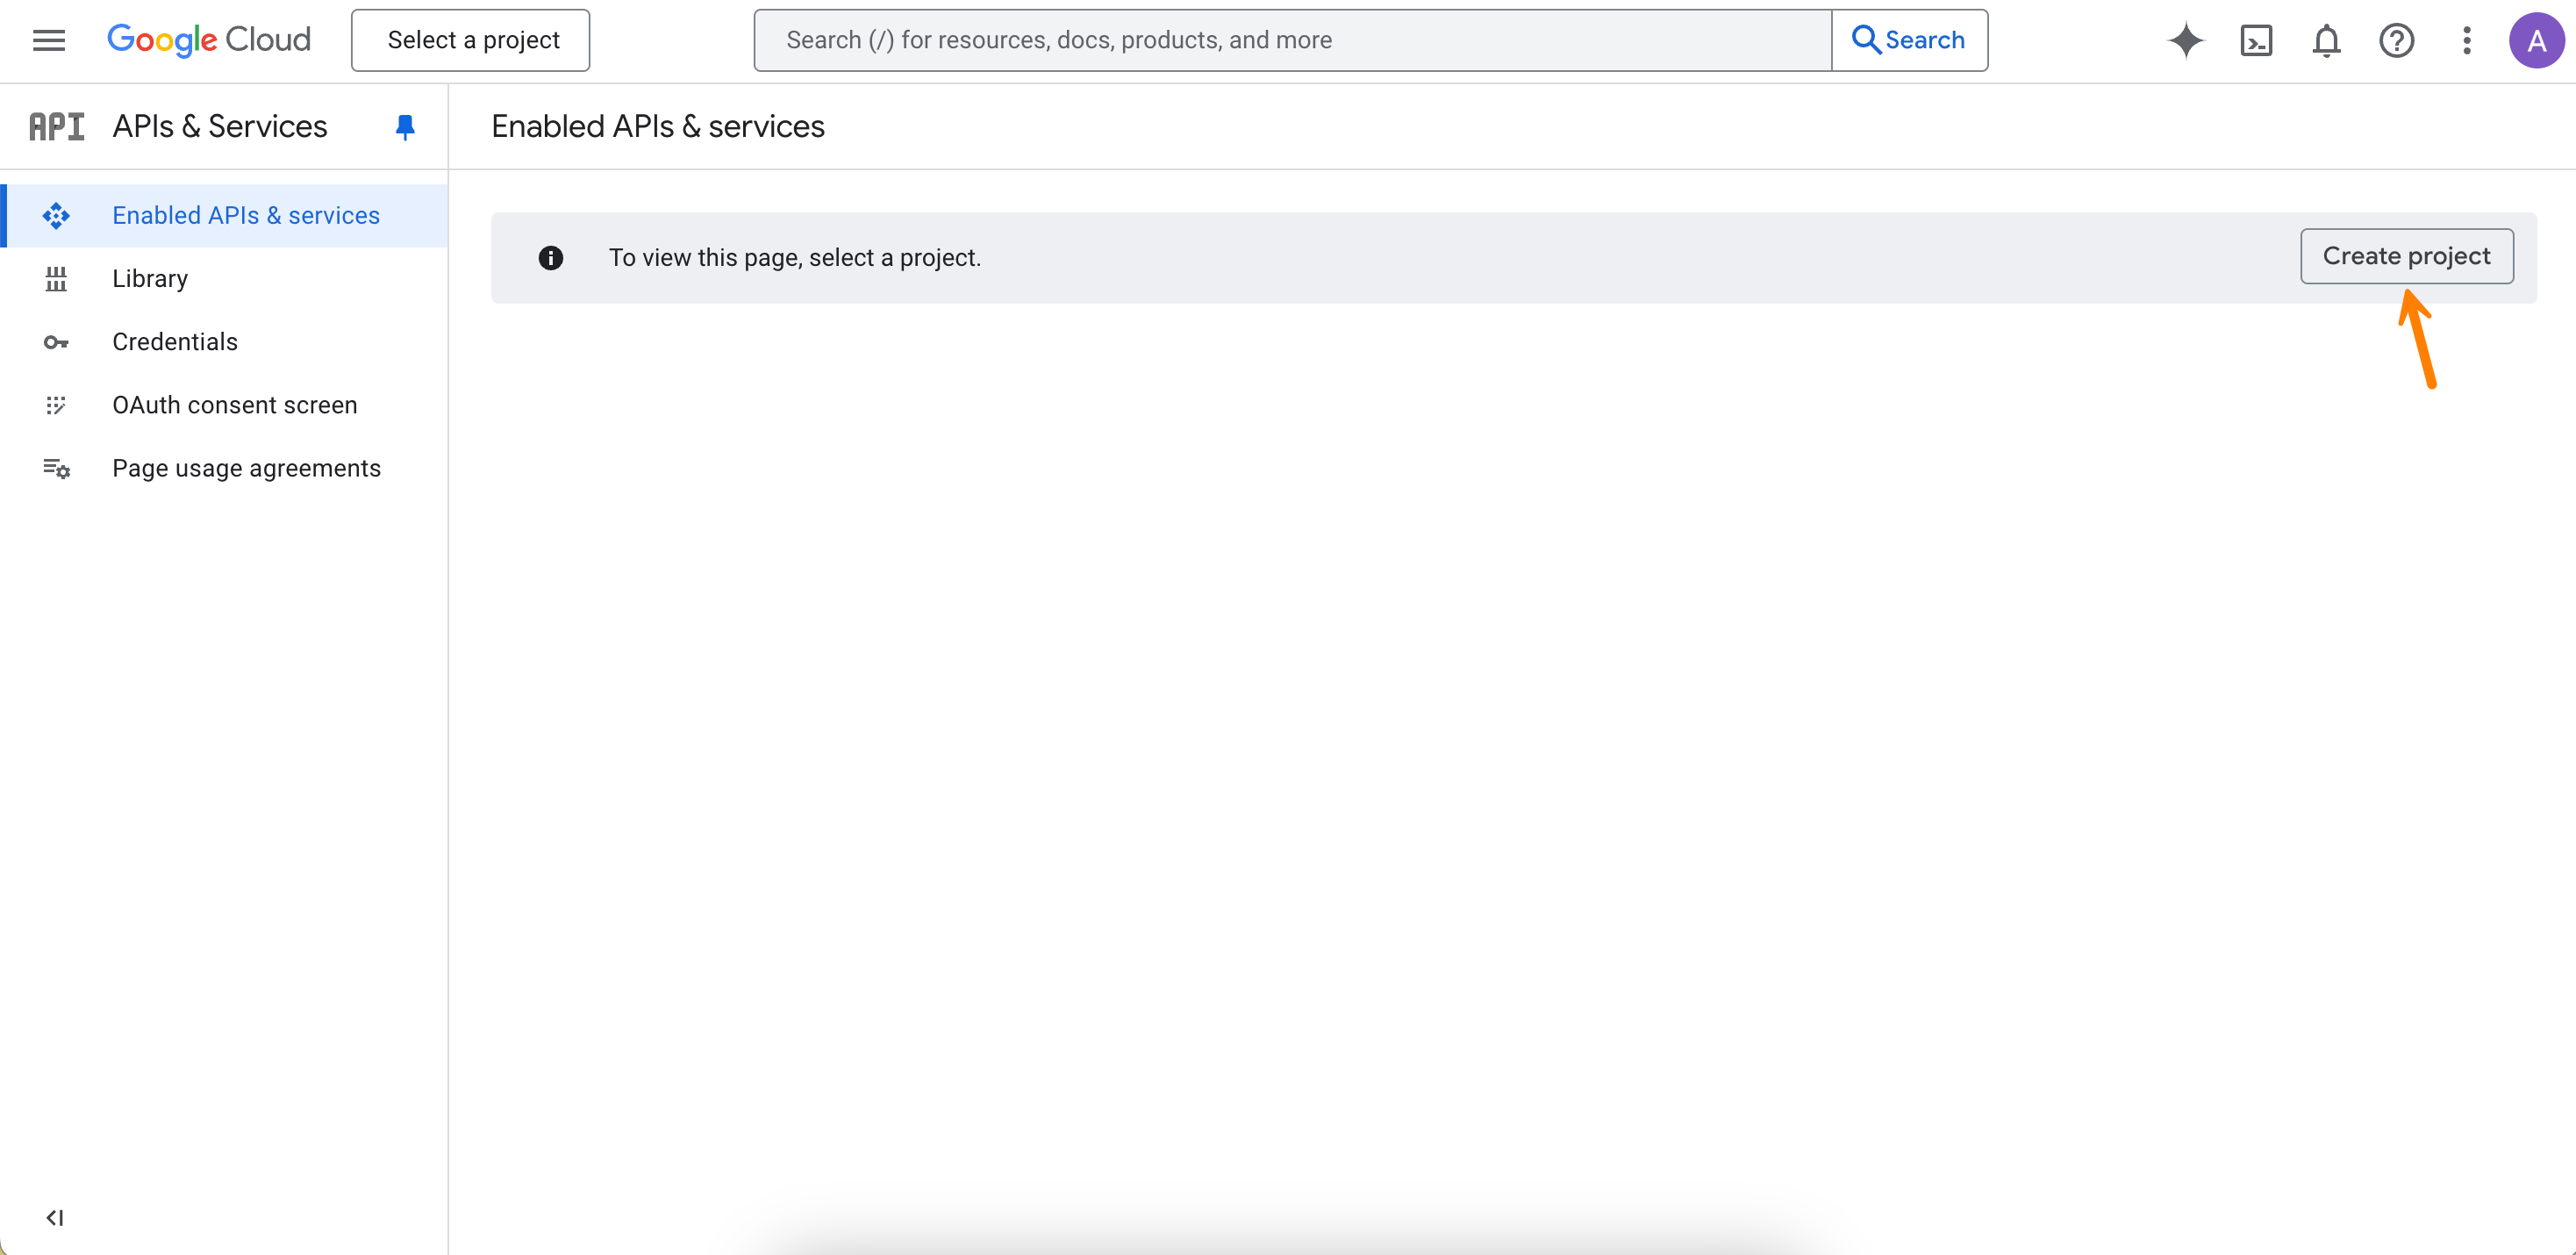
Go to the Google Admin Console.
-
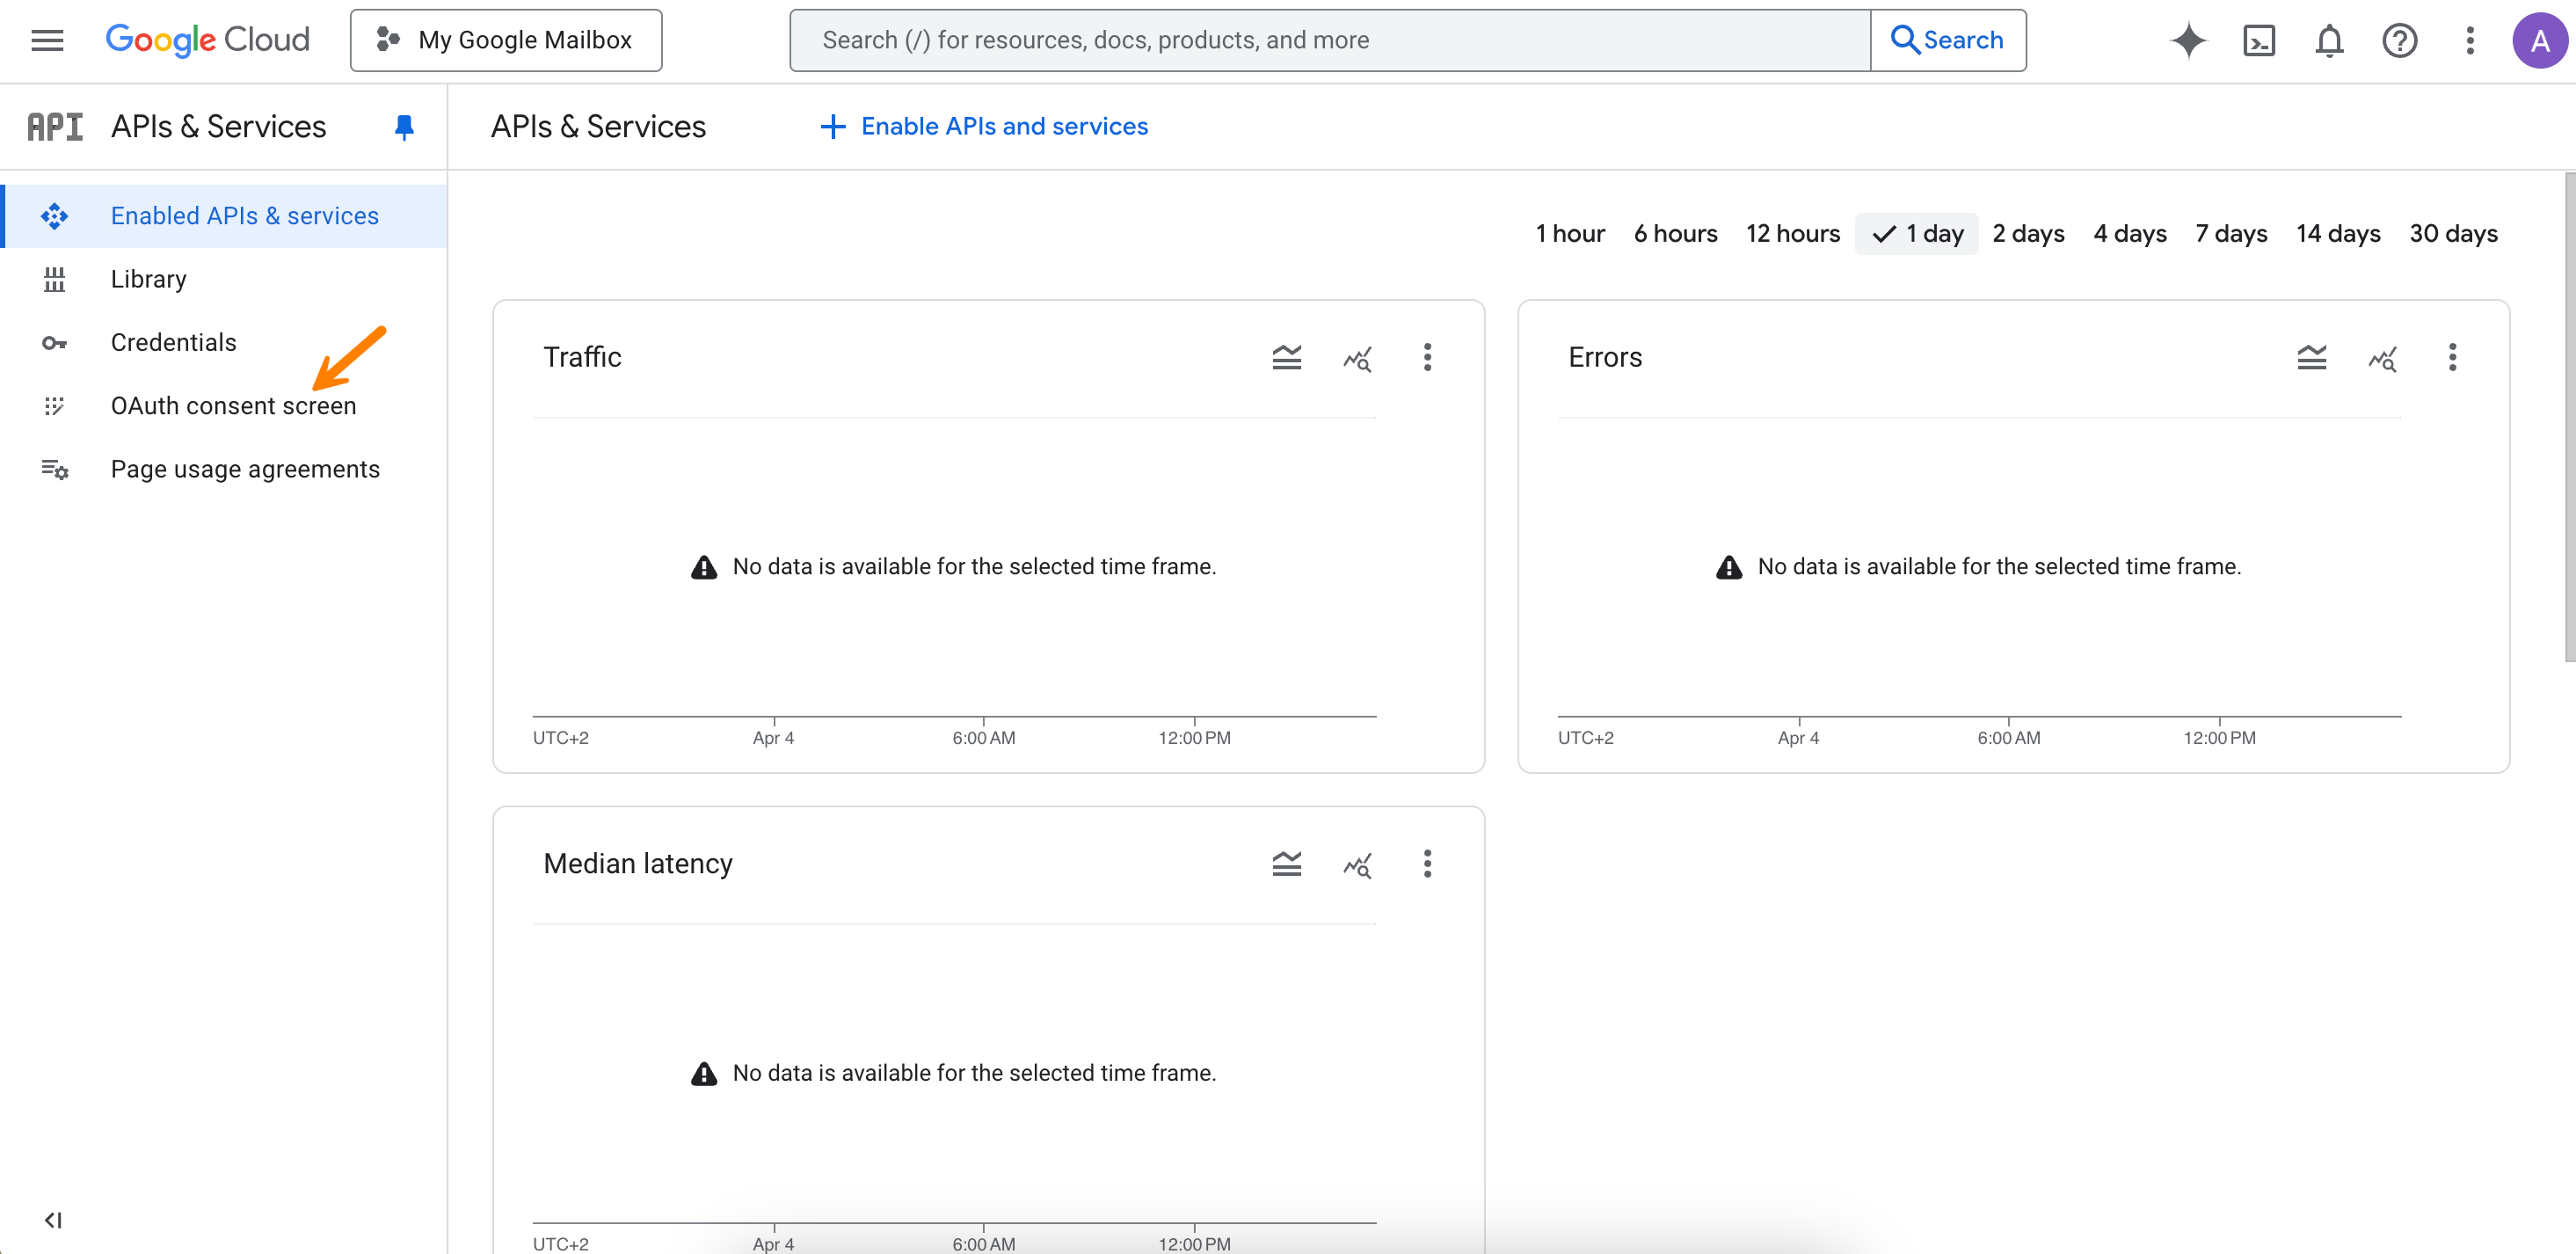
Select APIs & Services.

-
Select Create project.
-
Enter a name for the project, an organization, and a location.
-
Select Create.
Step 2: Configure OAuth consent#
-
Select OAuth consent screen from the left pane.
-
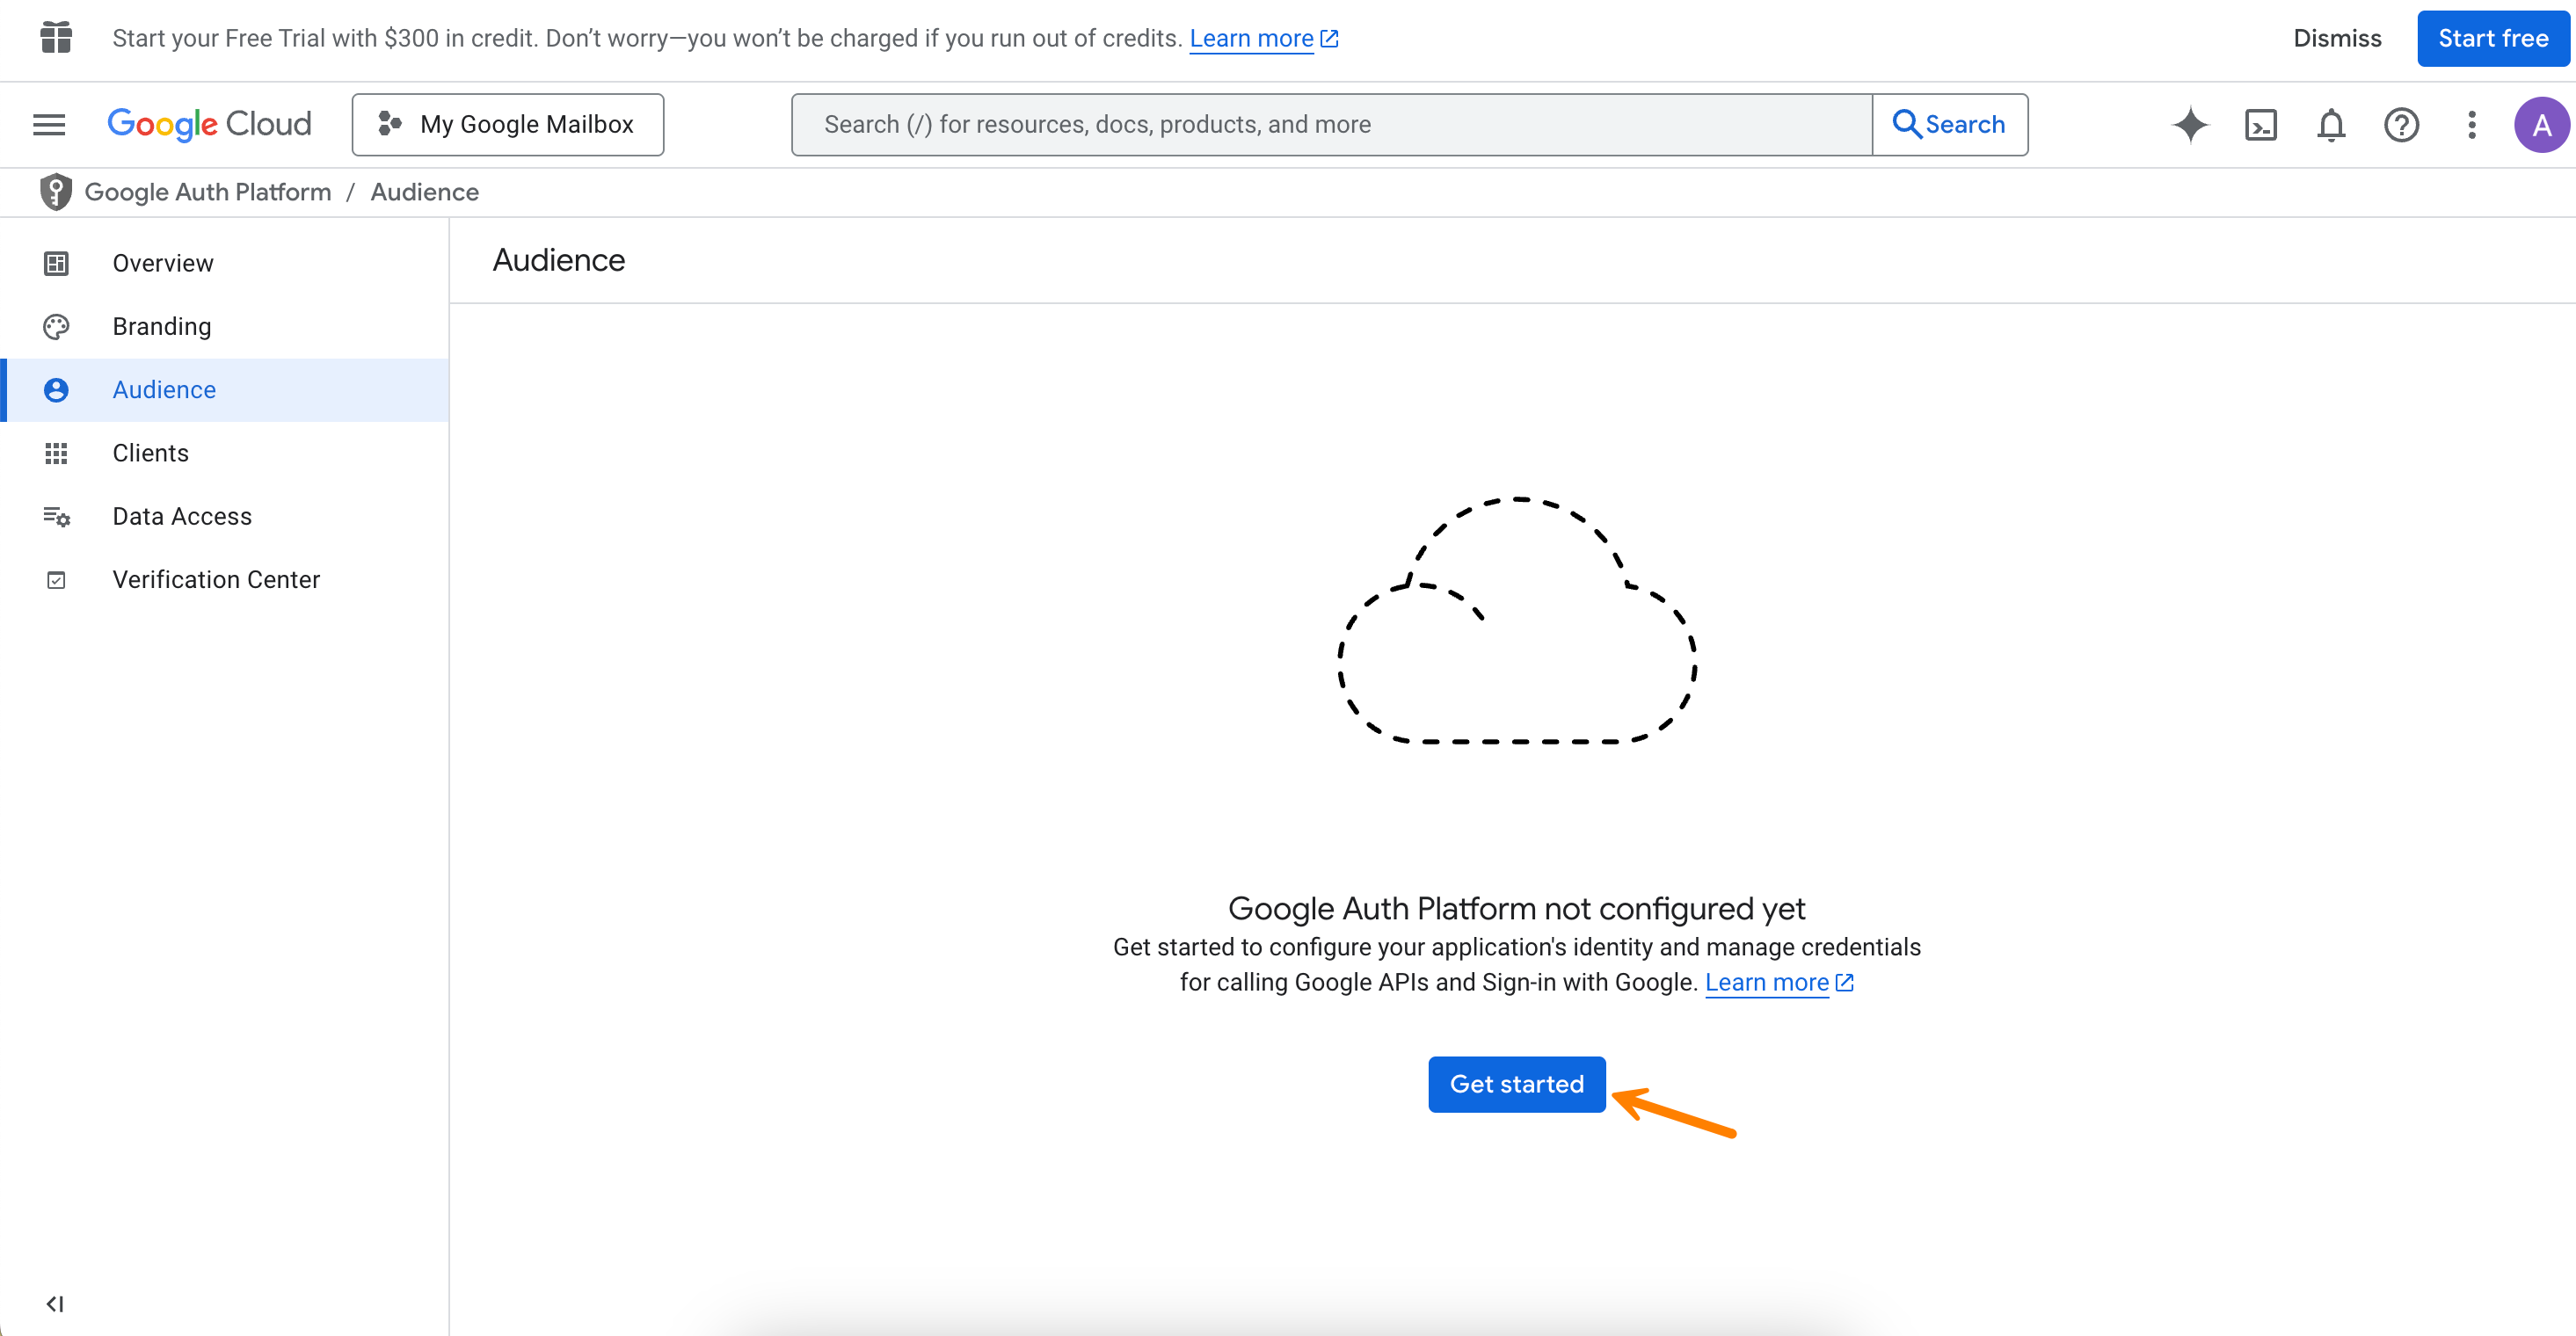
Select Get started to configure Google Auth Platform.
-
In the App information section, enter information about your application.
-
In the Audience section, select Internal.
-
In the Contact information section, enter the email address that will receive any updates related to the project.
-
Select Create.
Step 3: Add a scope in the Google Auth Platform#
-
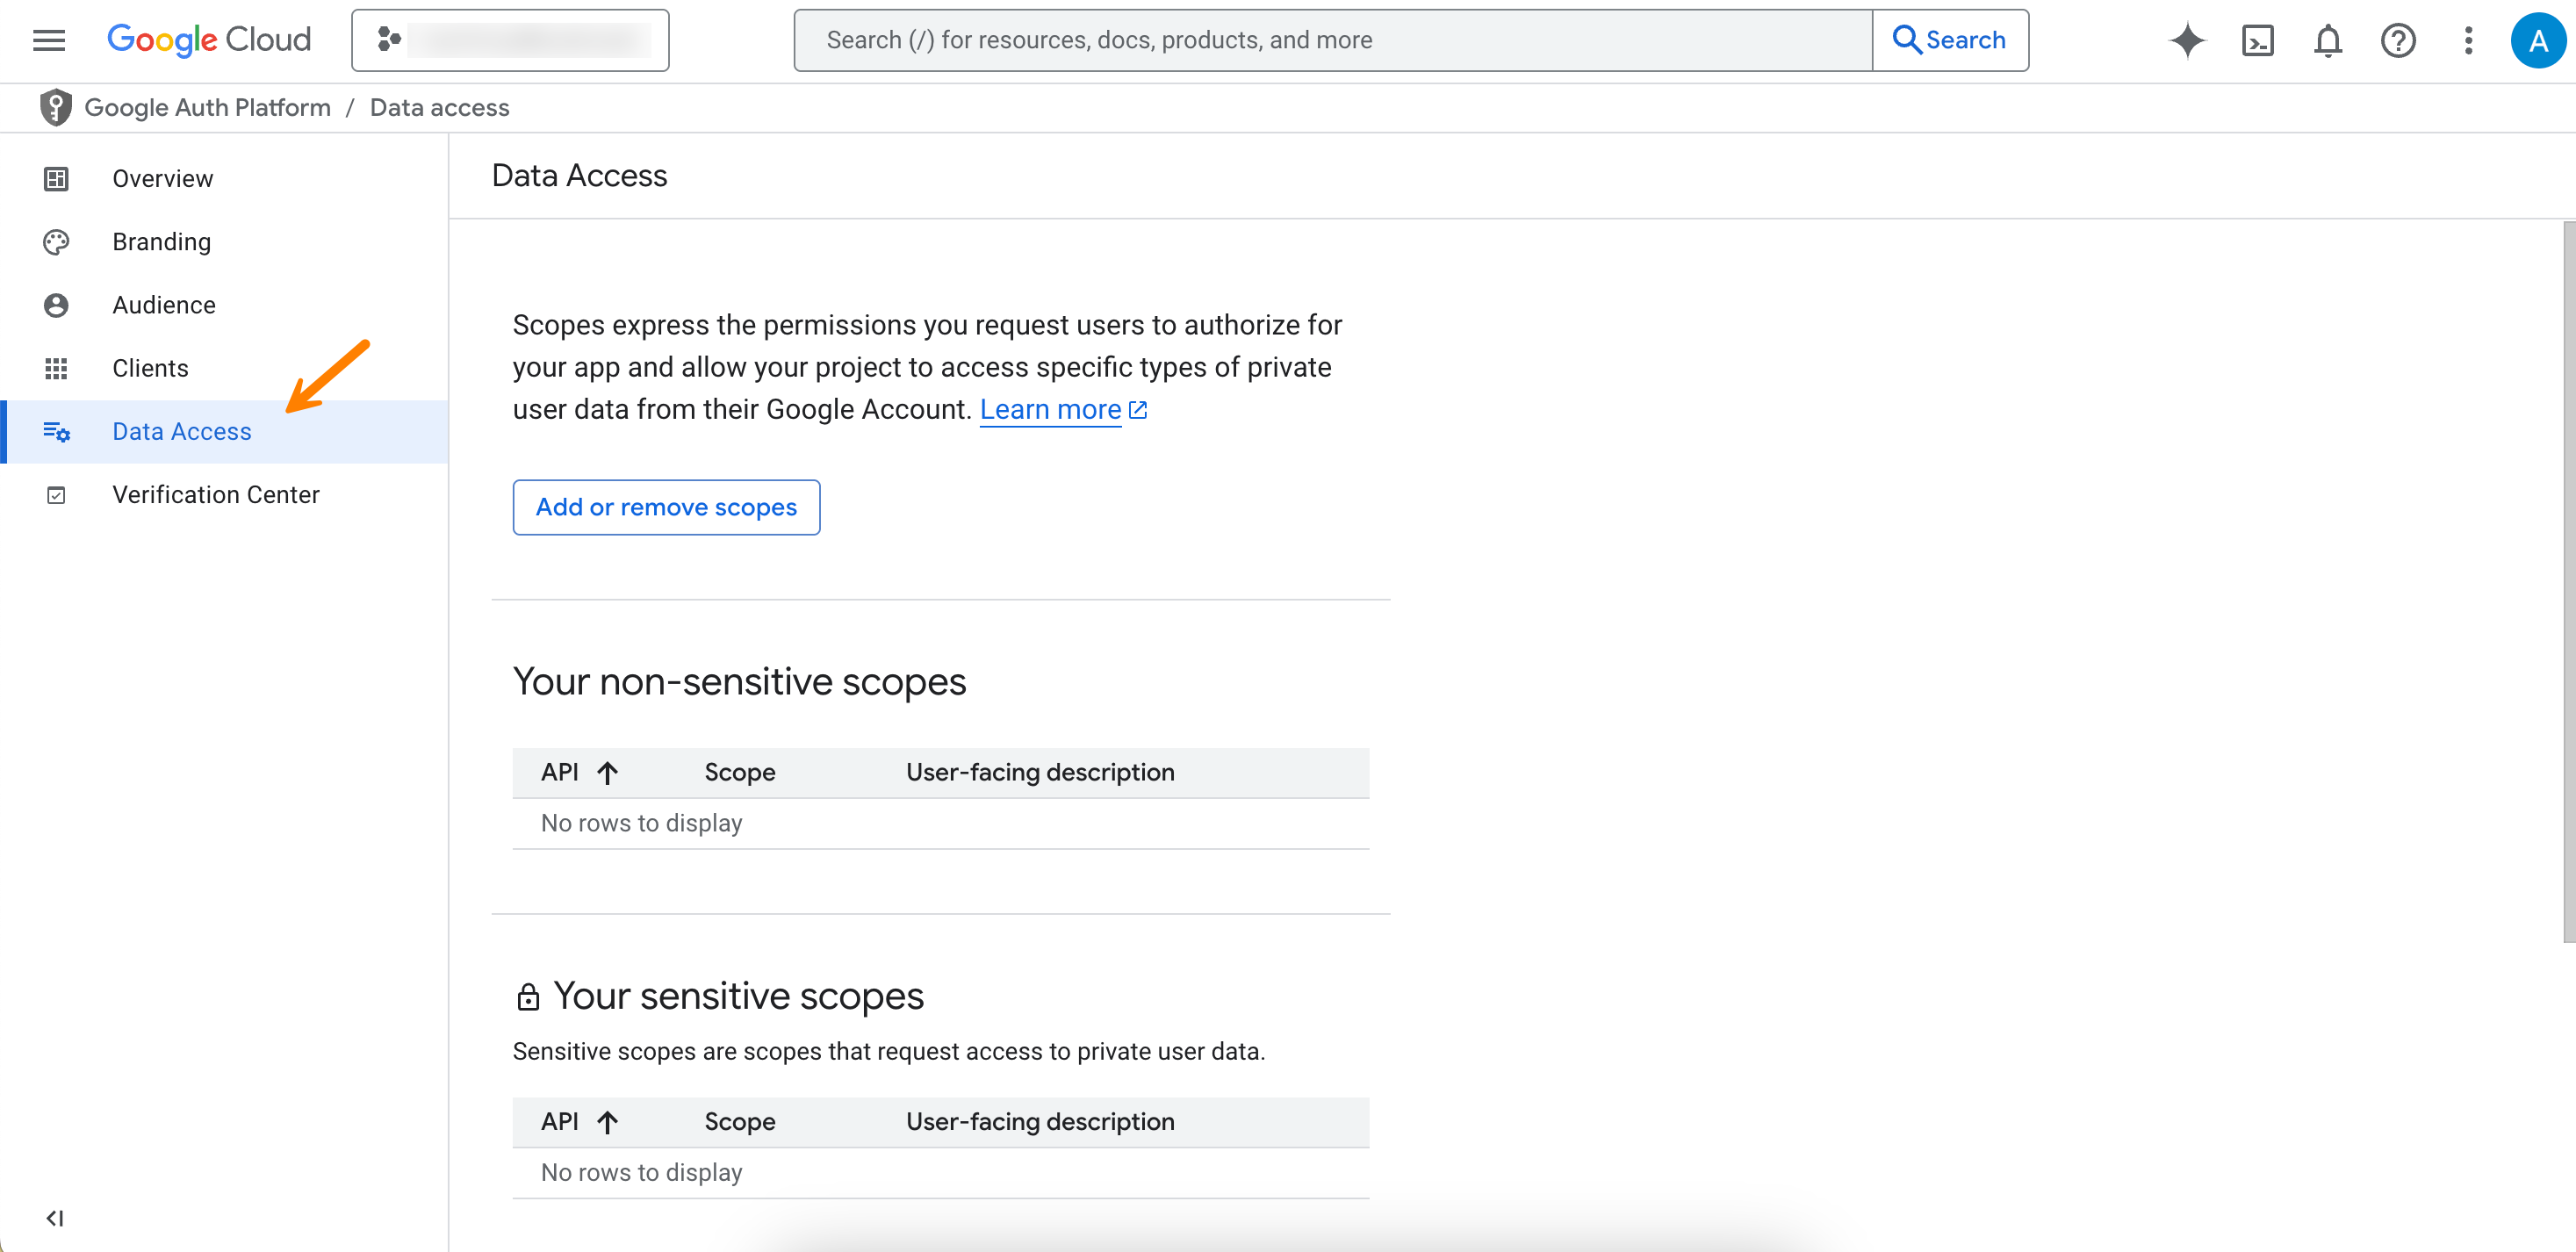
Select Data access from the left pane.
-
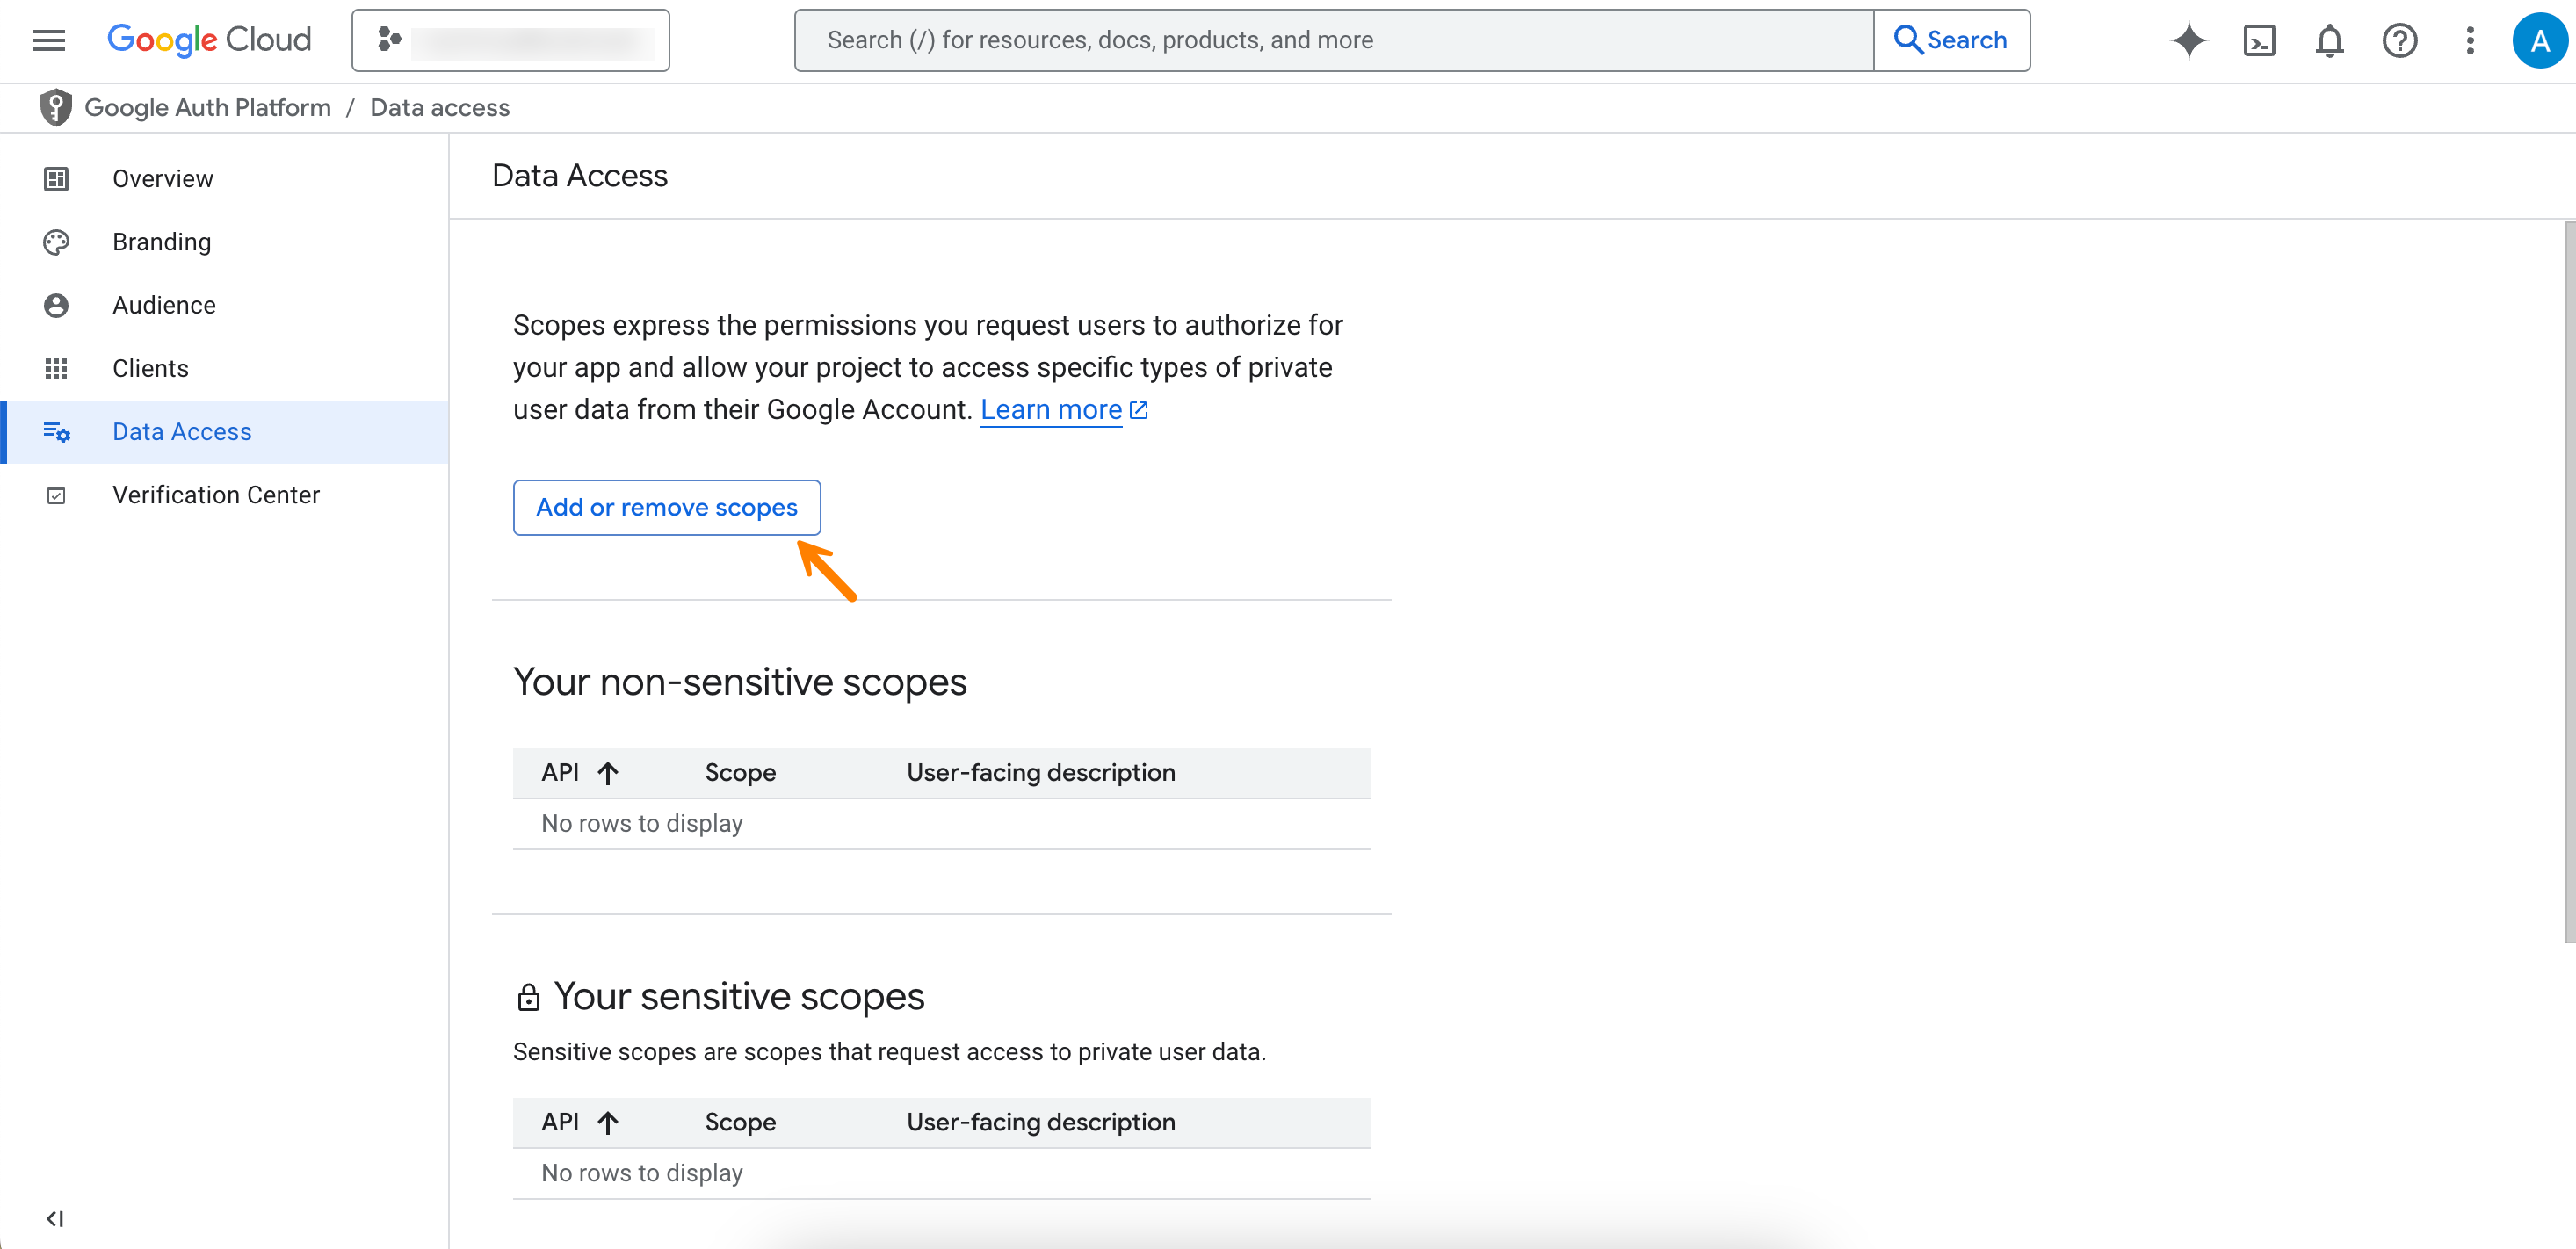
Select Add or remove scopes.
-
In the Manually add scopes section, enter
https://mail.google.com/. -
Select Add to table.
-
Make sure the new scope is selected, then select Update.
-
Make sure the scope is added to the Your restricted scopes section, then select Save.
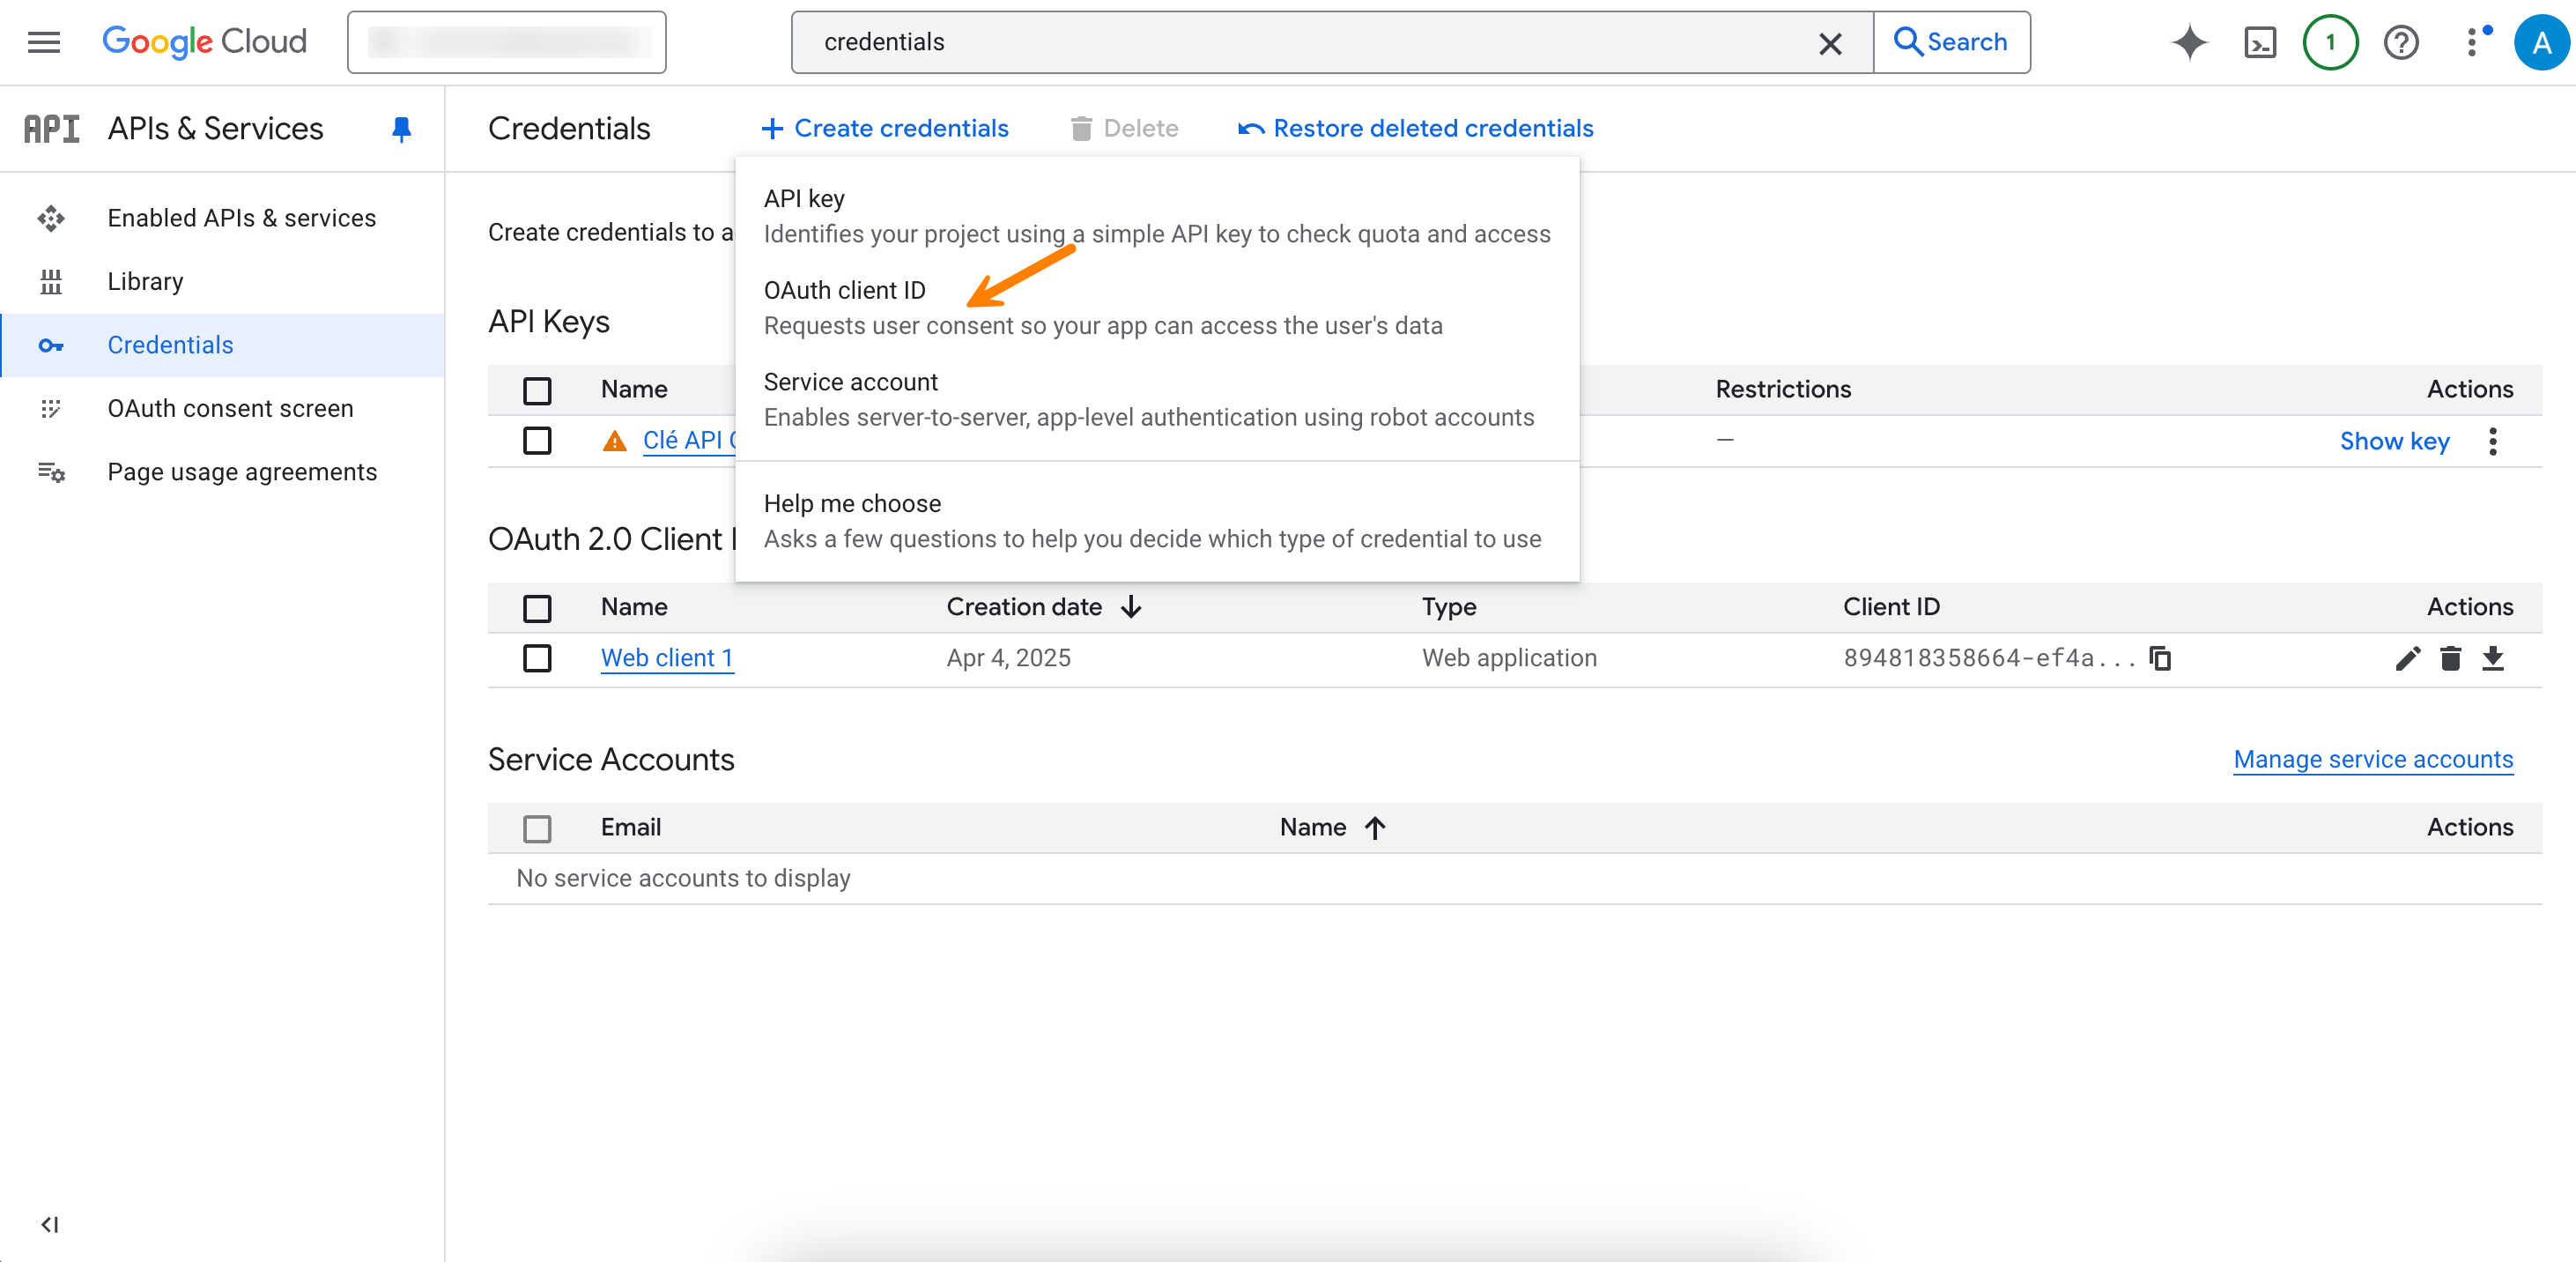
Step 4: Create OAuth credentials#
-
Enter credentials in the search bar at the top of the screen.
-
Select Credentials from the APIs & Services results.
-
Select Create credentials, then OAuth Client ID.
-
Select Web application as the application type.
-
Enter an internal name for the OAuth 2.0 client.
-
Select Add URI in the Authorized JavaScript origins section.
-
Enter a URI following this format: https://
.org. -
Enter the same URI in the Authorized redirect URIs section.
-
Select Create.
-
Copy the Client ID and Client Secret values from the dialog for use in TheHive configuration.
Step 5: Configure the email intake connector in TheHive#
-
Return to your TheHive application.
-
In the Provider section, enter the following information:
- Name
A name for your connector.
- Provider
Select Google Workspace from the dropdown.
-
In the Authentication section, enter the following information:
- Email
The email address associated with your account.
- ClientId
Paste the Client ID value you obtained from Google.
- Secret
Paste the Client Secret value you obtained from Google.
Then, select Connect to authorize TheHive to access your Google Workspace account for use with the application.
Prerequisites
You must have:
- Administrator access to Microsoft 365
- PowerShell installed and properly configured
- A shared mailbox already created in Microsoft 365
Step 1: Create a mail-enabled security group#
Create a security group that includes the shared mailbox. This group will be used to restrict access to the application, ensuring it is available only to the shared mailbox.
-
Go to your Microsoft Exchange admin center.
-
Follow the Microsoft instructions to create a mail-enabled security group and add the shared mailbox as a member.
Step 2: Register a new application#
-
Follow the Microsoft instructions to register an application.
-
Copy the Application (client) ID and Directory (tenant) ID for use in TheHive configuration.
Step 3: Add a secret#
-
Select Certificates & secrets from the left pane.
-
Copy the secret's value for use in TheHive configuration.
One-time display
This secret value is never displayed again after you leave this page.
Step 4: Assign API permissions#
-
Select API permissions from the left pane.
-
Follow the Microsoft instructions and add the IMAP.AccessAsApp permission for Office 365 Exchange Online.
Step 5: Configure PowerShell access#
-
Define the necessary values for the configuration:
$AppID = '{ClientID}' $TenantID = '{TenantID}' $ObjectID = '{ObjectID}' $SecurityGroup = '{SecurityGroup}' # The mail-enabled security group $MailBox = '{MailBox}' # The shared mailbox -
Run the following PowerShell commands to configure access.
a. Define app permissions:
New-ServicePrincipal -AppId $AppID -ServiceId $ObjectIDb. Grant security group full access to the mailbox:
Add-MailboxPermission -Identity $MailBox -User $SecurityGroup -AccessRights FullAccessc. Restrict access to members of the security group only:
New-ApplicationAccessPolicy -AppId $AppID -PolicyScopeGroupId $SecurityGroup -AccessRight RestrictAccess -Description "Restrict this app to members of distribution group {$SecurityGroup}" -
Test the configuration.
a. Run the following command to test if the application access policy is properly configured:
Test-ApplicationAccessPolicy -AppId $AppID -Identity $MailBoxb. The expected output should be similar to:
AppId             : 9367xxxx
Mailbox           : test-shared-mailbox20231107190659
AccessCheckResult : Granted
c. Running the command with a different mailbox should return
AccessCheckResult: Denied.
Step 6: Configure the email intake connector in TheHive#
-
Return to your TheHive application.
-
In the Provider section, enter the following information:
- Name
A name for your connector.
- Provider
Select Microsoft 365 from the dropdown.
-
In the Authentication section, enter the following information:
- Email
The email address associated with your account.
- TenantId
Paste the Tenant ID value you obtained from Microsoft.
- ClientId
Paste the Client ID value you obtained from Microsoft.
- Secret
Paste the Client Secret value you obtained from Microsoft.
Then, select Connect to authorize TheHive to access your Microsoft 365 account for use with the application.
5.5 Platinum
Microsoft Graph API is the recommended standard API for all interactions with Microsoft services.
Prerequisites
You must have:
- Administrator access to Microsoft 365
- PowerShell installed and properly configured
- A shared mailbox already created in Microsoft 365
Step 1: Create a mail-enabled security group#
Create a security group that includes the shared mailbox. This group will be used to restrict access to the application, ensuring it is available only to the shared mailbox.
-
Go to your Microsoft Exchange admin center.
-
Follow the Microsoft instructions to create a mail-enabled security group and add the shared mailbox as a member.
Step 2: Register a new application#
-
Follow the Microsoft instructions to register an application.
-
Copy the Application (client) ID and Directory (tenant) ID for use in TheHive configuration.
Step 3: Add a secret#
-
Select Certificates & secrets from the left pane.
-
Copy the secret's value for use in TheHive configuration.
One-time display
This secret value is never displayed again after you leave this page.
Step 4: Assign API permissions#
-
Select API permissions from the left pane.
-
Follow the Microsoft instructions to add the relevant permissions.
Recommanded permissions
For Microsoft Graph to work correctly with TheHive, ensure that the following permissions are added:
Step 5: Configure PowerShell access#
-
Define the necessary values for the configuration:
$AppID = '{ClientID}' $TenantID = '{TenantID}' $ObjectID = '{ObjectID}' $SecurityGroup = '{SecurityGroup}' # The mail-enabled security group $MailBox = '{MailBox}' # The shared mailbox -
Run the following PowerShell commands to configure access.
a. Define app permissions:
New-ServicePrincipal -AppId $AppID -ServiceId $ObjectIDb. Grant security group full access to the mailbox:
Add-MailboxPermission -Identity $MailBox -User $SecurityGroup -AccessRights FullAccessc. Restrict access to members of the security group only:
New-ApplicationAccessPolicy -AppId $AppID -PolicyScopeGroupId $SecurityGroup -AccessRight RestrictAccess -Description "Restrict this app to members of distribution group {$SecurityGroup}" -
Test the configuration.
a. Run the following command to test if the application access policy is properly configured:
Test-ApplicationAccessPolicy -AppId $AppID -Identity $MailBoxb. The expected output should be similar to:
AppId             : 9367xxxx
Mailbox           : test-shared-mailbox20231107190659
AccessCheckResult : Granted
c. Running the command with a different mailbox should return
AccessCheckResult: Denied.
Step 6: Configure the email intake connector in TheHive#
-
Return to your TheHive application.
-
In the Provider section, enter the following information:
- Name
A name for your connector.
- Provider
Select Microsoft 365 GraphAPI from the dropdown.
-
In the Authentication section, enter the following information:
- Email
The email address associated with your account.
- TenantId
Paste the Tenant ID value you obtained from Microsoft.
- ClientId
Paste the Client ID value you obtained from Microsoft.
- Secret
Paste the Client Secret value you obtained from Microsoft.
Then, select Connect to authorize TheHive to access your Microsoft 365 account for use with the application.
-
In the Provider section, enter the following information:
- Name
A name for your connector.
- Provider
Select IMAP server from the dropdown.
- Host
The host address of the IMAP server.
- Port
The port number of the IMAP server.
-
Add a certificate authority (CA).
The server's SSL/TLS certificate must be trusted by the Java virtual machine (JVM) truststore for secure connections. If your server uses a certificate from an internal CA or self-signed certificate, add it to the JVM truststore first. See Configure JVM Trust for SSL/TLS Certificates for instructions.
You can turn off the Don't check certificate authority toggle to bypass certificate validation, but this isn't recommended as it may compromise connection security.
-
Turn on the Disable host name verification toggle if you want to bypass the verification of the server's host name against the certificate.
-
In the Authentication section, enter the following information:
- Login
The email address or account username associated with your account.
- Password
The password associated with your account.
-
-
In the Settings section, enter the following information:
- Organization
TheHive organization where the alerts are sent.
- Folder
The folder from which emails are fetched.
- Action in mailbox
The action to perform in the mailbox when receiving an email.
-
5.5 In the Alert properties section, enter the following information:
- Type
The type of the alerts created through the email intake connector.
- Source
The source of the alerts created through the email intake connector.
- Tags
The tags to apply to the alerts created through the email intake connector.
-
Optional: Configure a dedicated outbound proxy for the Email Intake connector in the
application.conffile.If your environment requires using a proxy for outbound HTTP connections, you can define connector-specific proxy settings. See Outbound Proxy Settings for available parameters.
-
Select Test connection to verify your connection.
-
Select Confirm.