Create a Status#
Create a status for cases and alerts in TheHive to add custom statuses in addition to the predefined ones managed by TheHive.
Task statuses
This page doesn't cover task statuses, which are hard-coded in TheHive. They can't be modified, deleted, or extended.
Procedure
-
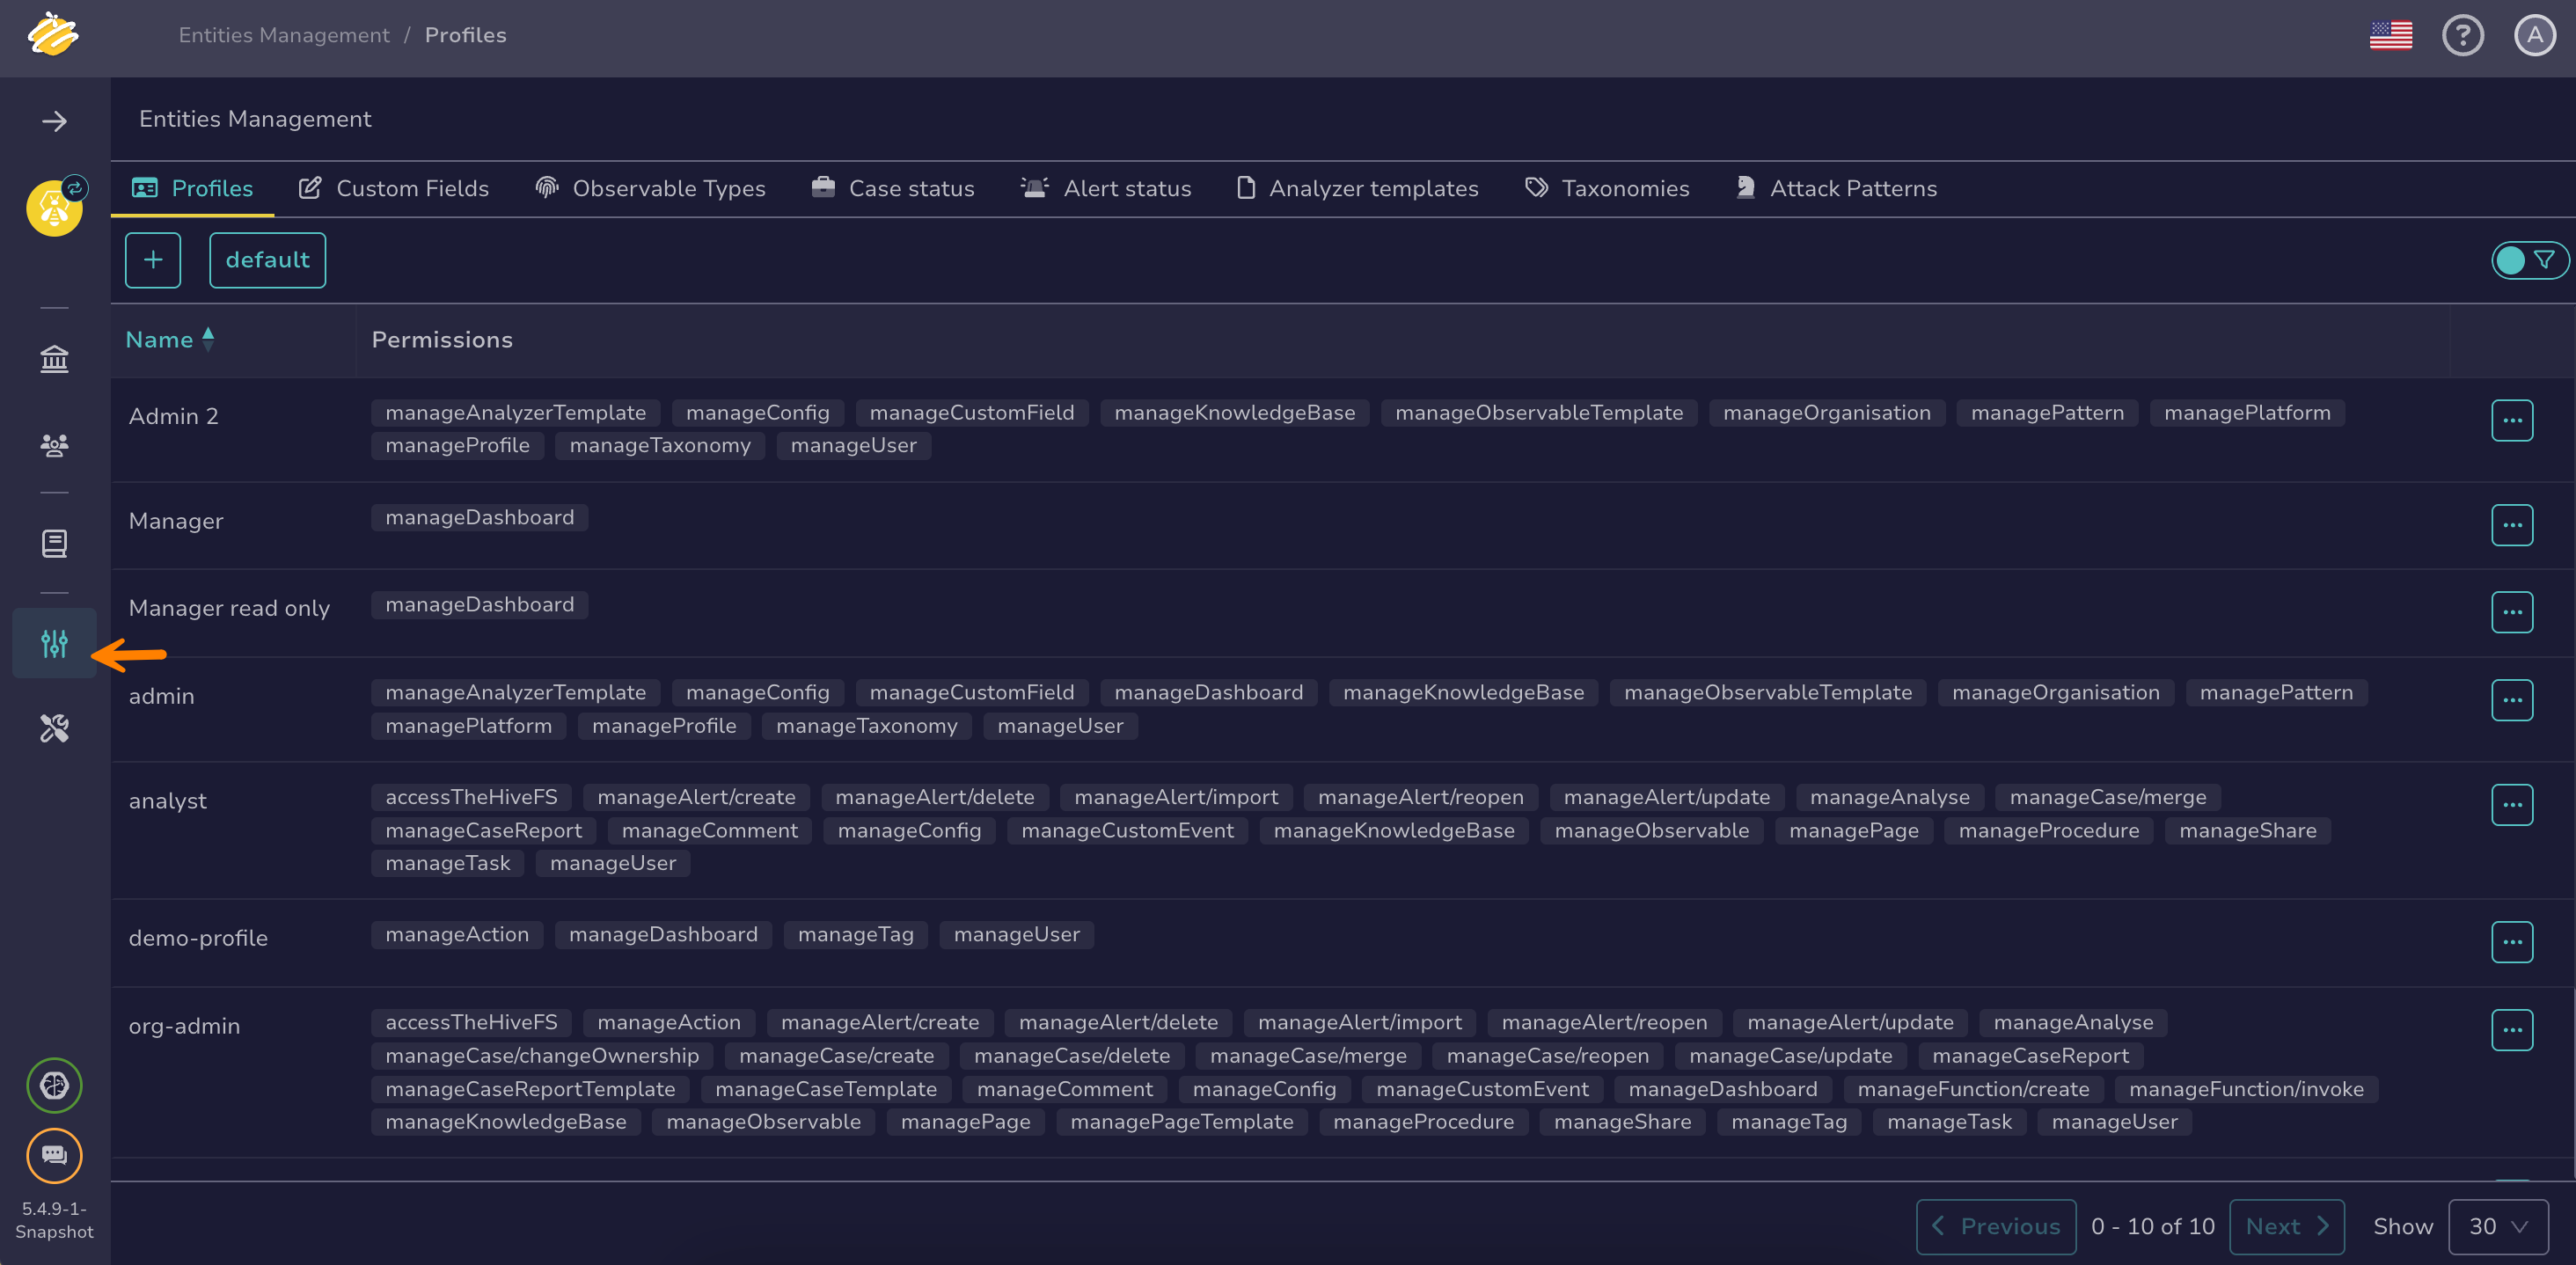
Go to the Entities management view from the sidebar menu.
-
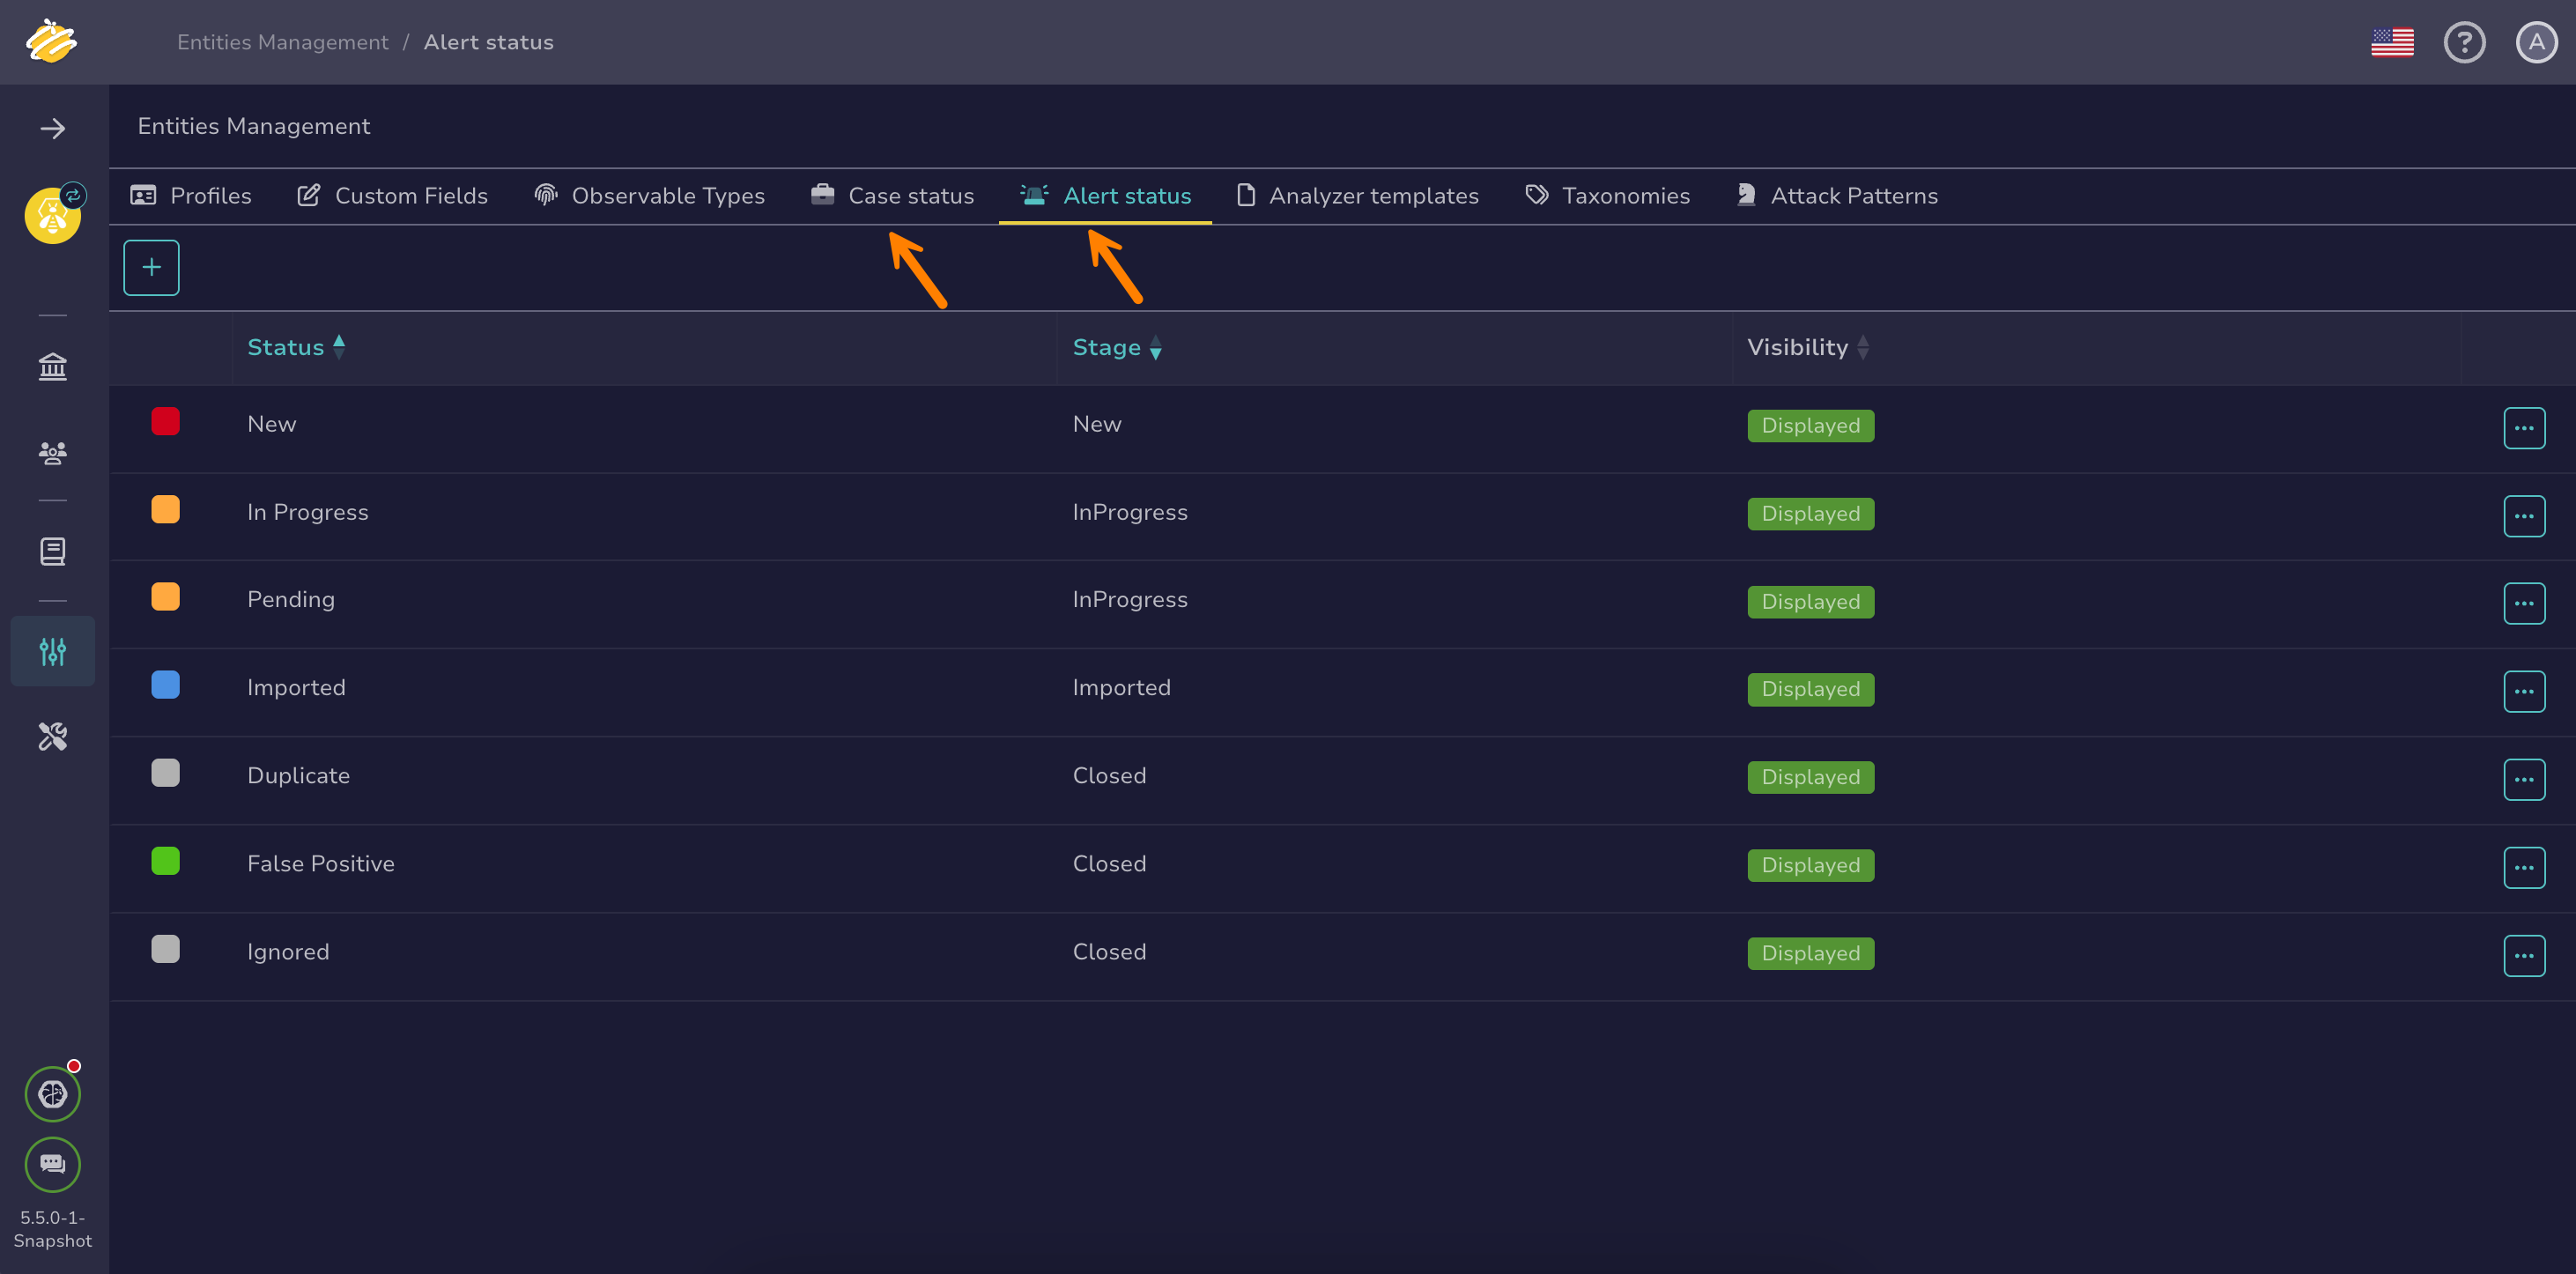
Select the Case status tab or the Alert status tab.
-
Select .
-
In the Add a custom status drawer, enter the following information:
- Visibility 5.5
Specifies whether you want to display or hide a status in TheHive interface.
- Stage
The stage linked to the status. TheHive includes four predefined stages—New, Imported, In progress, and Closed. These stages are hard-coded and you can't modify, delete, or extend them. After you link a stage to a status, you can't change it. To assign a different stage, you must delete the status and create a new one.
Imported stage
The Imported stage isn't available for manual selection in the interface. It's linked to an Imported status that's automatically applied in the following situations:
- When an alert is merged into an existing case or into a new case for investigation
- When an alert is created from MISP after indicators of compromise (IOCs) are manually shared from a case to the community
- Value
The name of the status. After you create a status, you can't change its name. To use a different name, you must delete the status and create a new one.
- Color
Enter a hex color code in the format #RRGGBB, or select to open the color picker.
-
Verify that the preview looks correct.
-
Select Confirm custom status creation.