Tutorial: Automate Tracking of Pending Alerts#
5.5 Platinum
In this tutorial, we're going to set up an automation in TheHive to monitor alerts that stay in the New status and remain unassigned for too long.
By the end, you'll have a working configuration that:
- Detects alerts that remain unassigned and in New status for more than four hours
- Flags them with a custom status to indicate they need review
- Sends an email notification to the manager
This helps ensure no alert gets left behind without action.
Customize criteria for your needs
The status and wait time criteria used in this tutorial are just a starting point. Feel free to adjust them based on your team’s triage and escalation practices.
Step 1: Create a custom alert status to flag pending alerts#
To highlight alerts needing review, start by creating a new alert status in TheHive.
-
Go to the Entities management view from the sidebar menu.
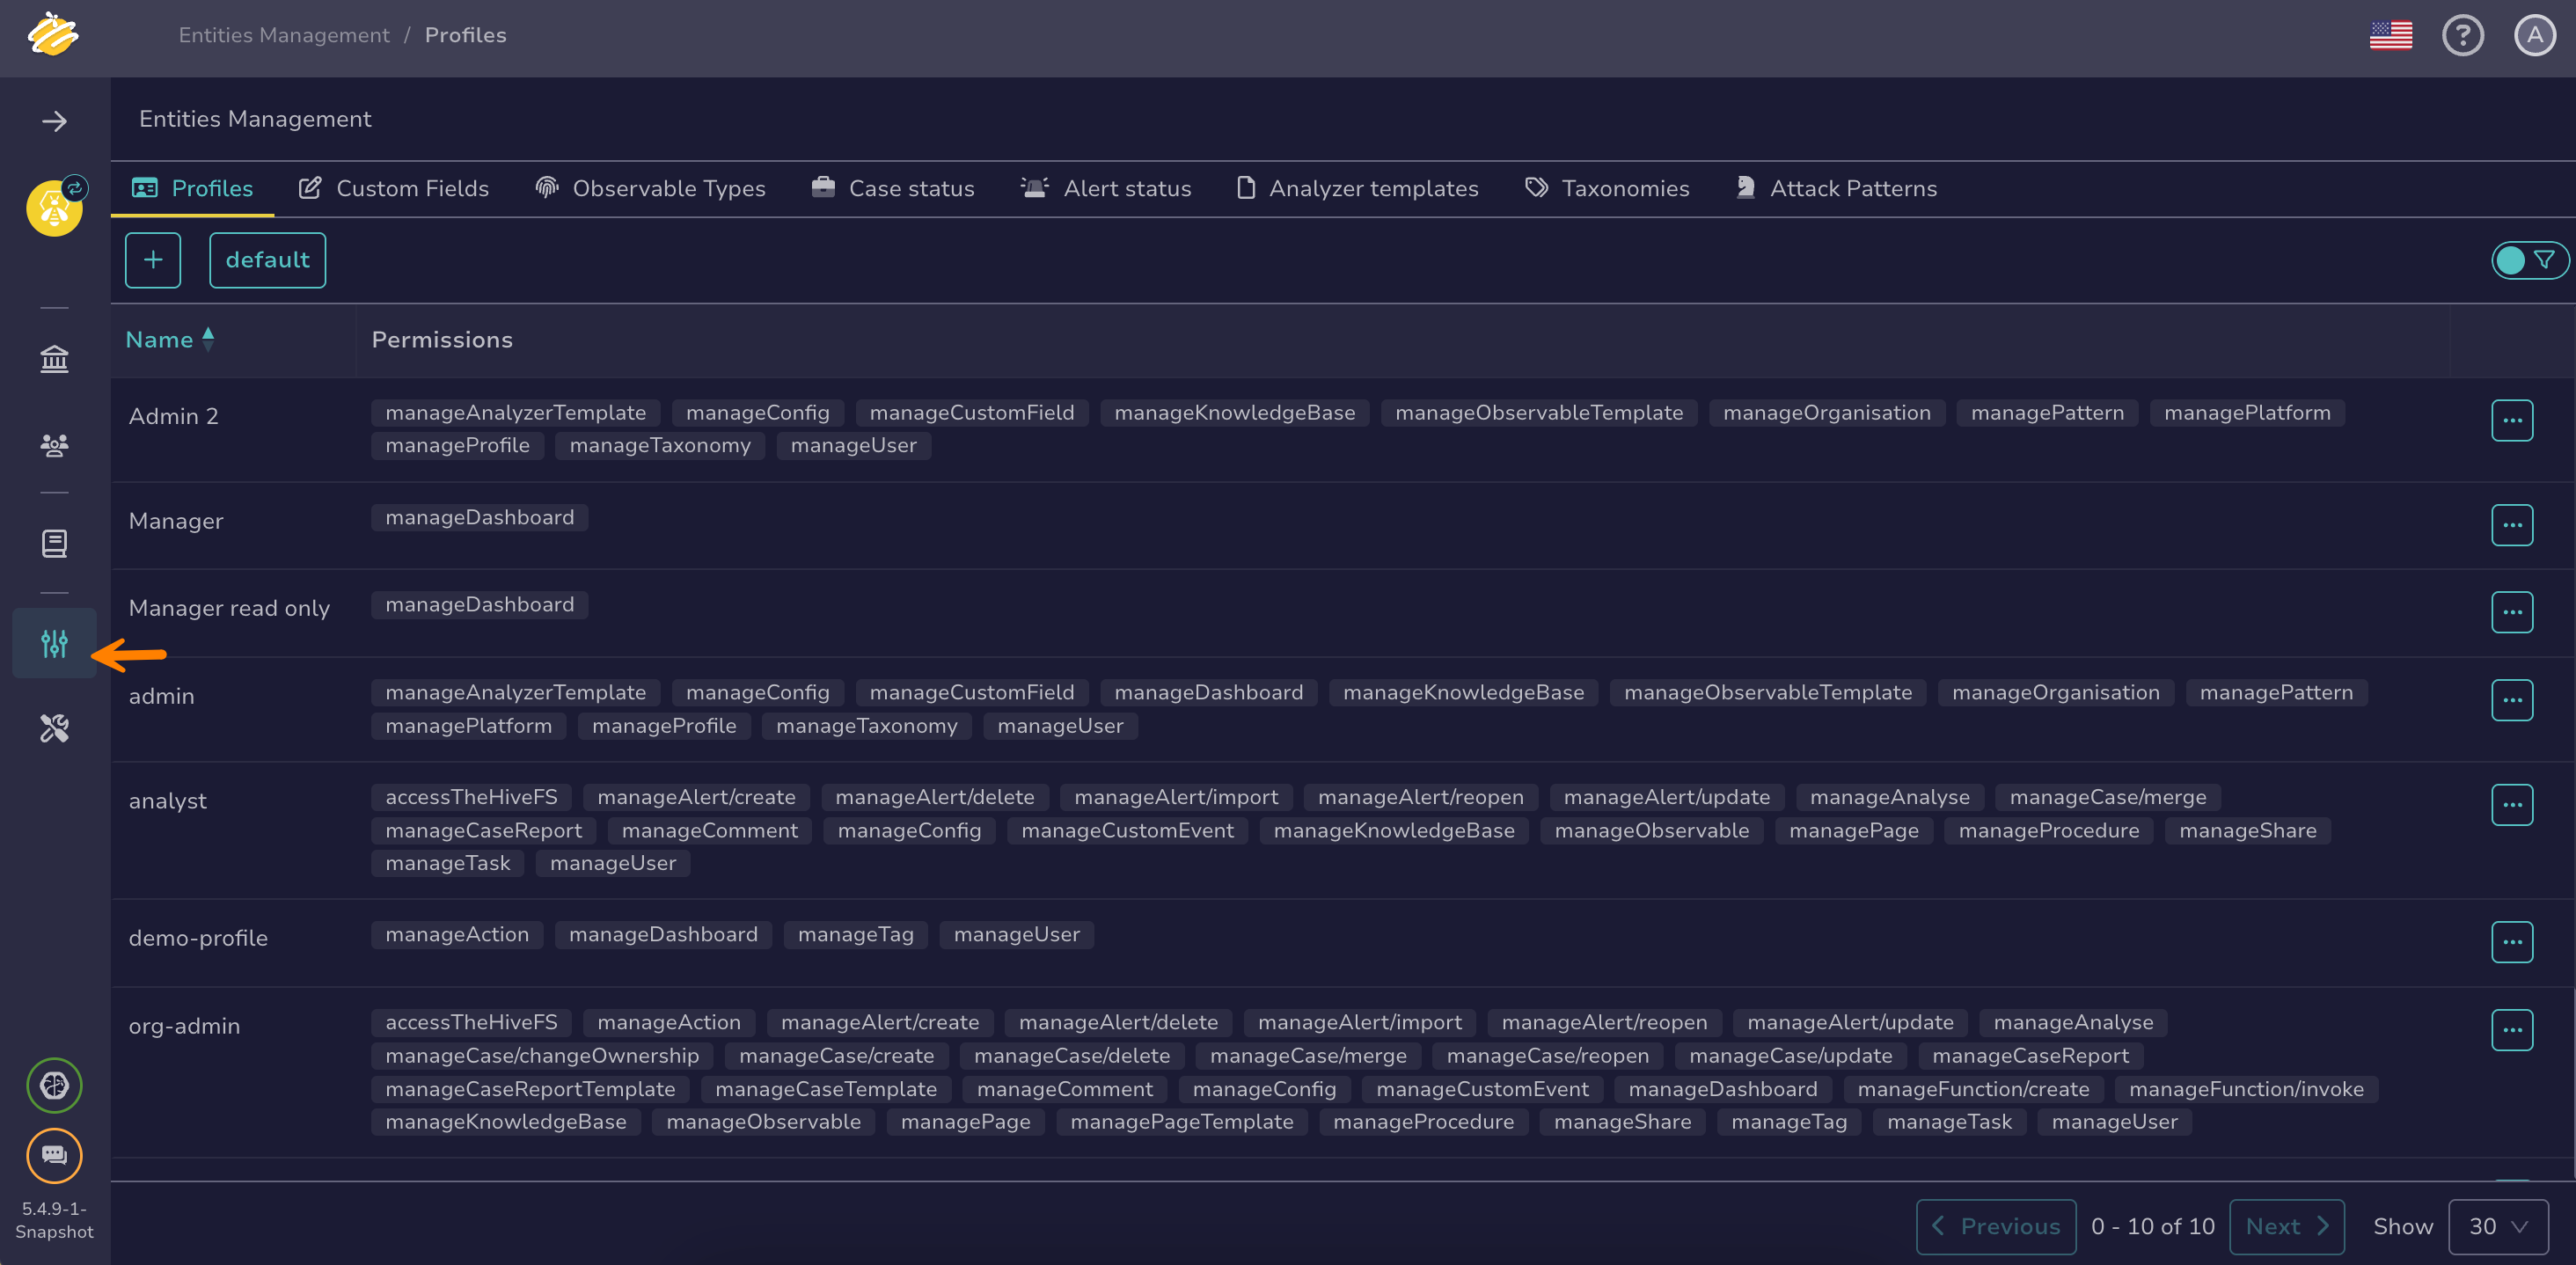
-
Select the Alert status tab.

-
Select .
-
In the Add a custom status drawer, enter the following information:
- Visibility:
Display- Stage:
New- Value:
TOREVIEW- Color: Enter a hex color code in the format #RRGGBB, or select to open the color picker.
-
Verify that the preview looks correct.
-
Select Confirm custom status creation.
Step 2: Set up an email notification for TOREVIEW alerts#
SMTP server required
This step requires an SMTP server to be configured. If it's not already set up, follow the instructions in Configure an SMTP Server.
Next, configure TheHive to send an email notification to the manager when an alert status changes to TOREVIEW.
-
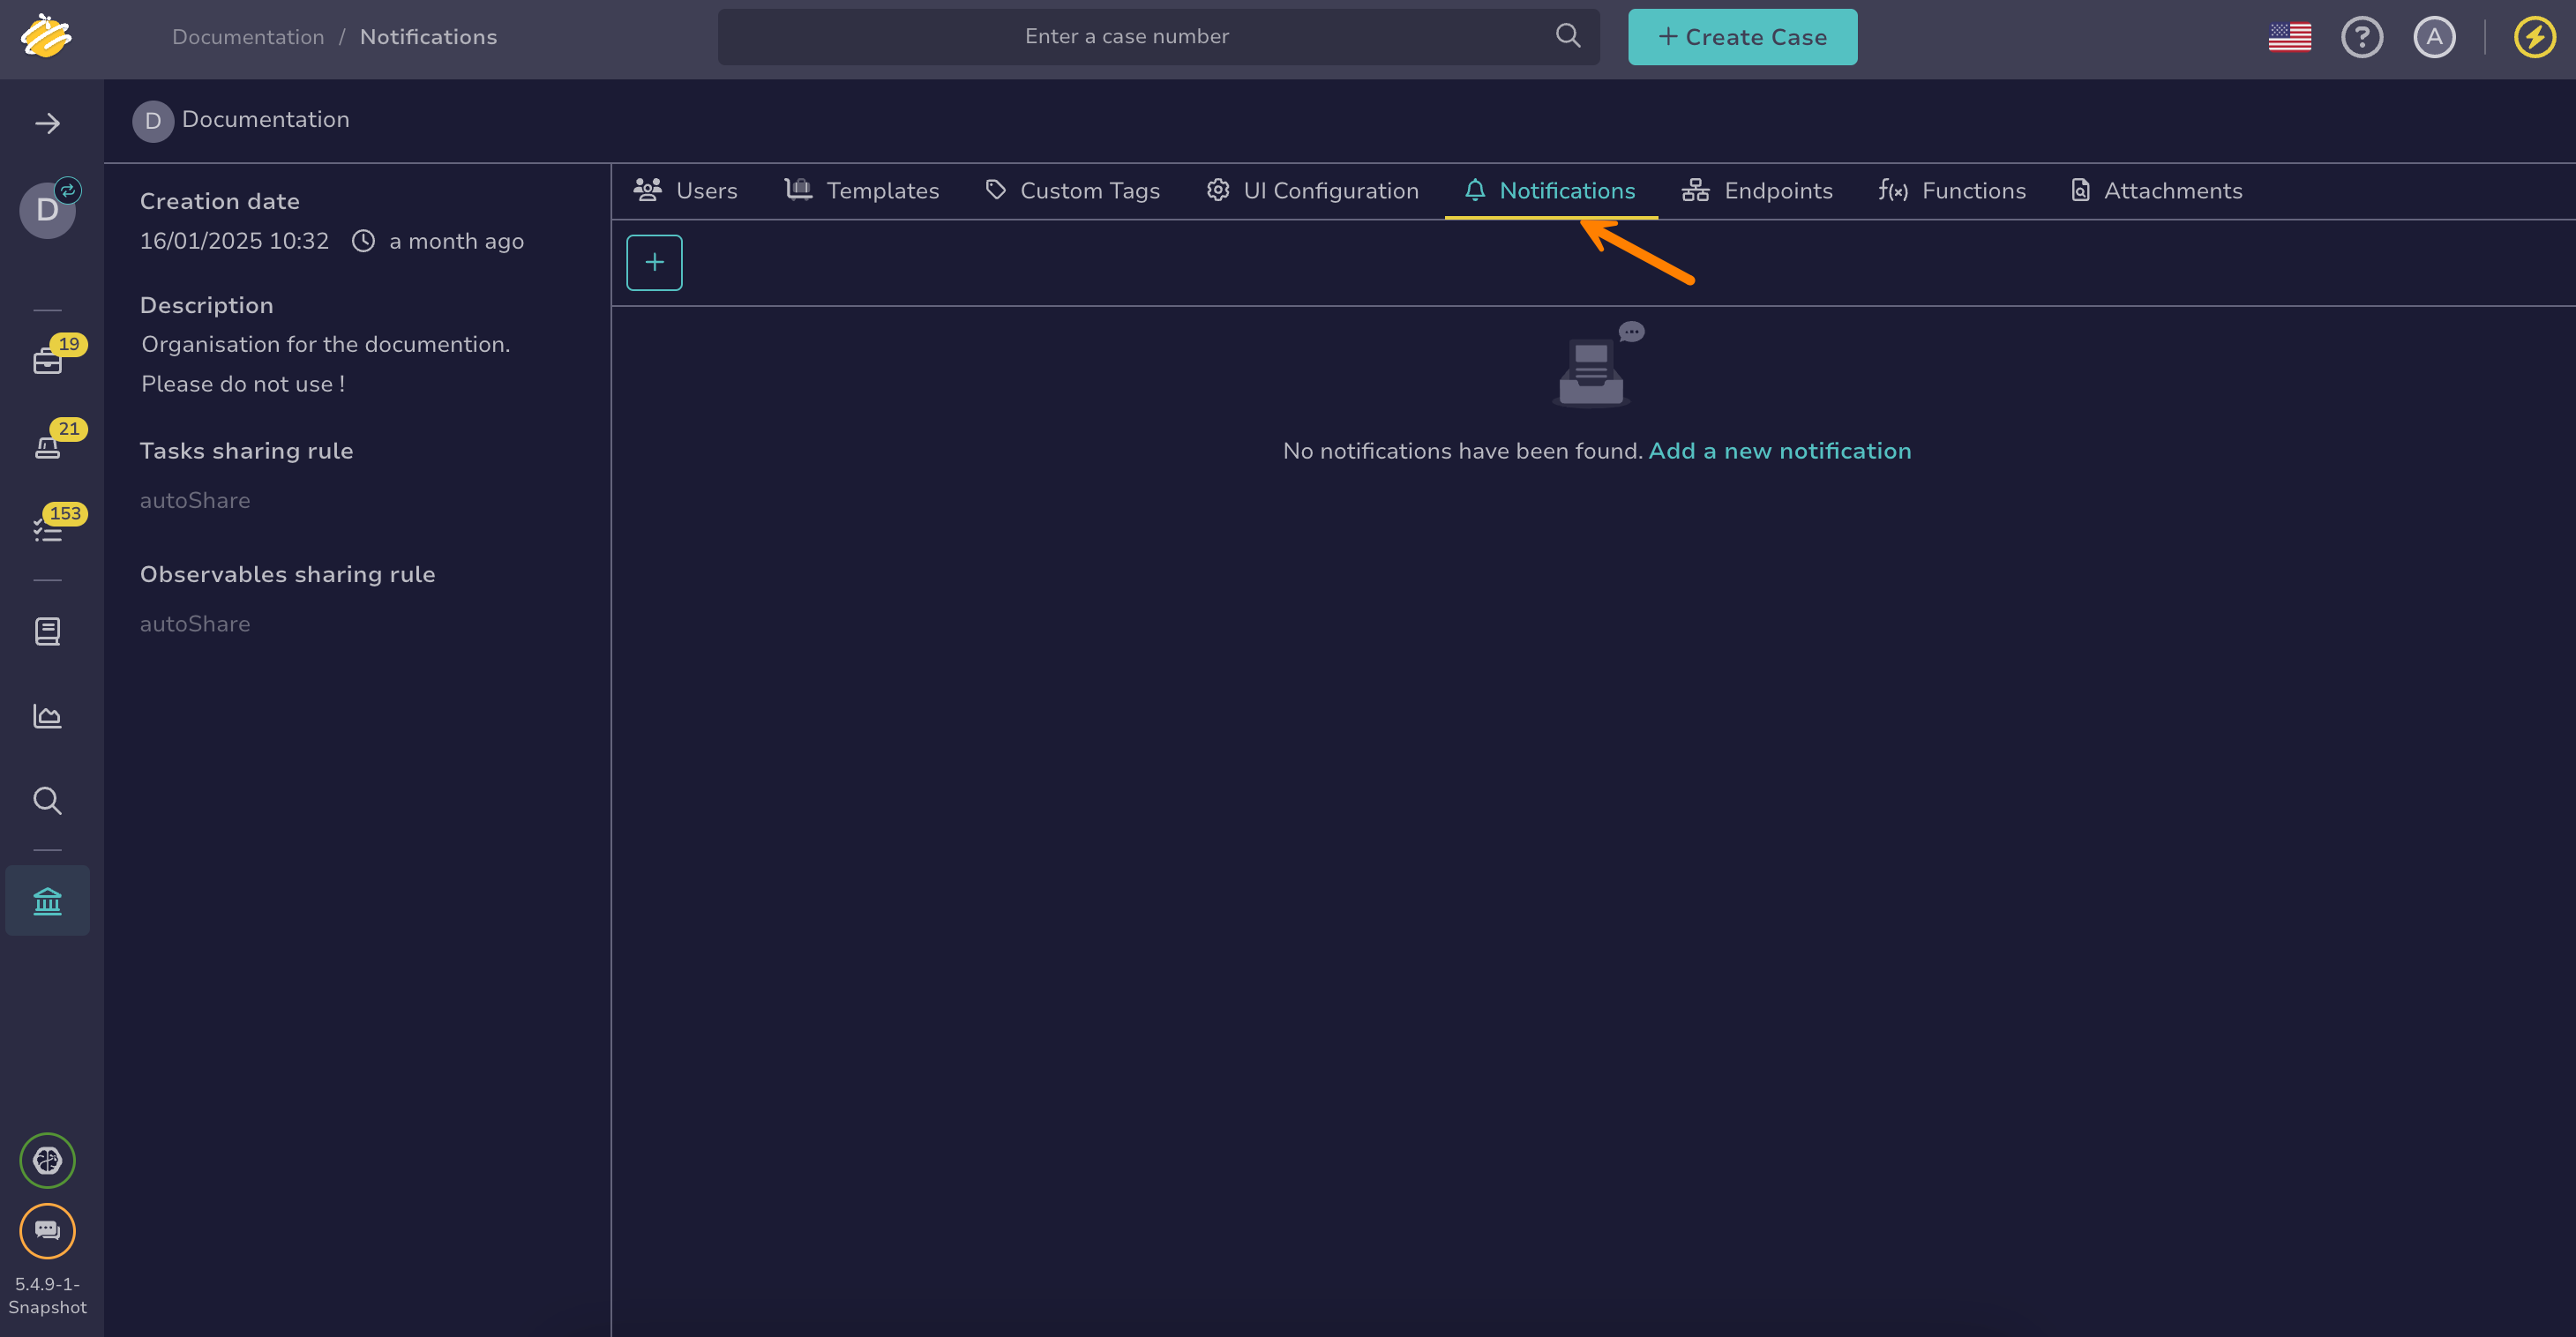
Go to the Organization view from the sidebar menu.
-
Select the Notifications tab.
-
Select .
-
In the Add notification drawer, enter the name of the notification:
AlertToReviewNotification -
Select the FilteredEvent trigger.
-
Enter the following custom filter:
{ "_and": [ { "_is": { "objectType": "Alert" } }, { "_is": { "action": "update" } }, { "_contains": { "_field": "details.status", "_value": "TOREVIEW" } } ] } -
Select the EmailerToAddr notifier.
-
In the EmailerToAddr drawer, enter the required email information.
Email template example:
Hello,

The following alert has been pending for a while and requires your priority review:

* ID: {{audit.objectId}}
* Title: {{audit.object.title}}

You can access the full alert details here: https://<thehive_url>/alerts/{{audit.objectId}}/details
Replace
<thehive_url>with your actual TheHive URL. -
Select Confirm.
-
Select Confirm again to save the notification.
To verify that your notification works as expected, manually change the status of an alert to TOREVIEW. This action should trigger an email to the configured recipient. If the email arrives, you're all set to move on to the final step!
Step 3: Automate status updates using an alert feeder#
Create an alert feeder that automatically updates the status of unassigned new alerts older than four hours.
This alert feeder will periodically search for alerts that meet the criteria and update their status to TOREVIEW
-
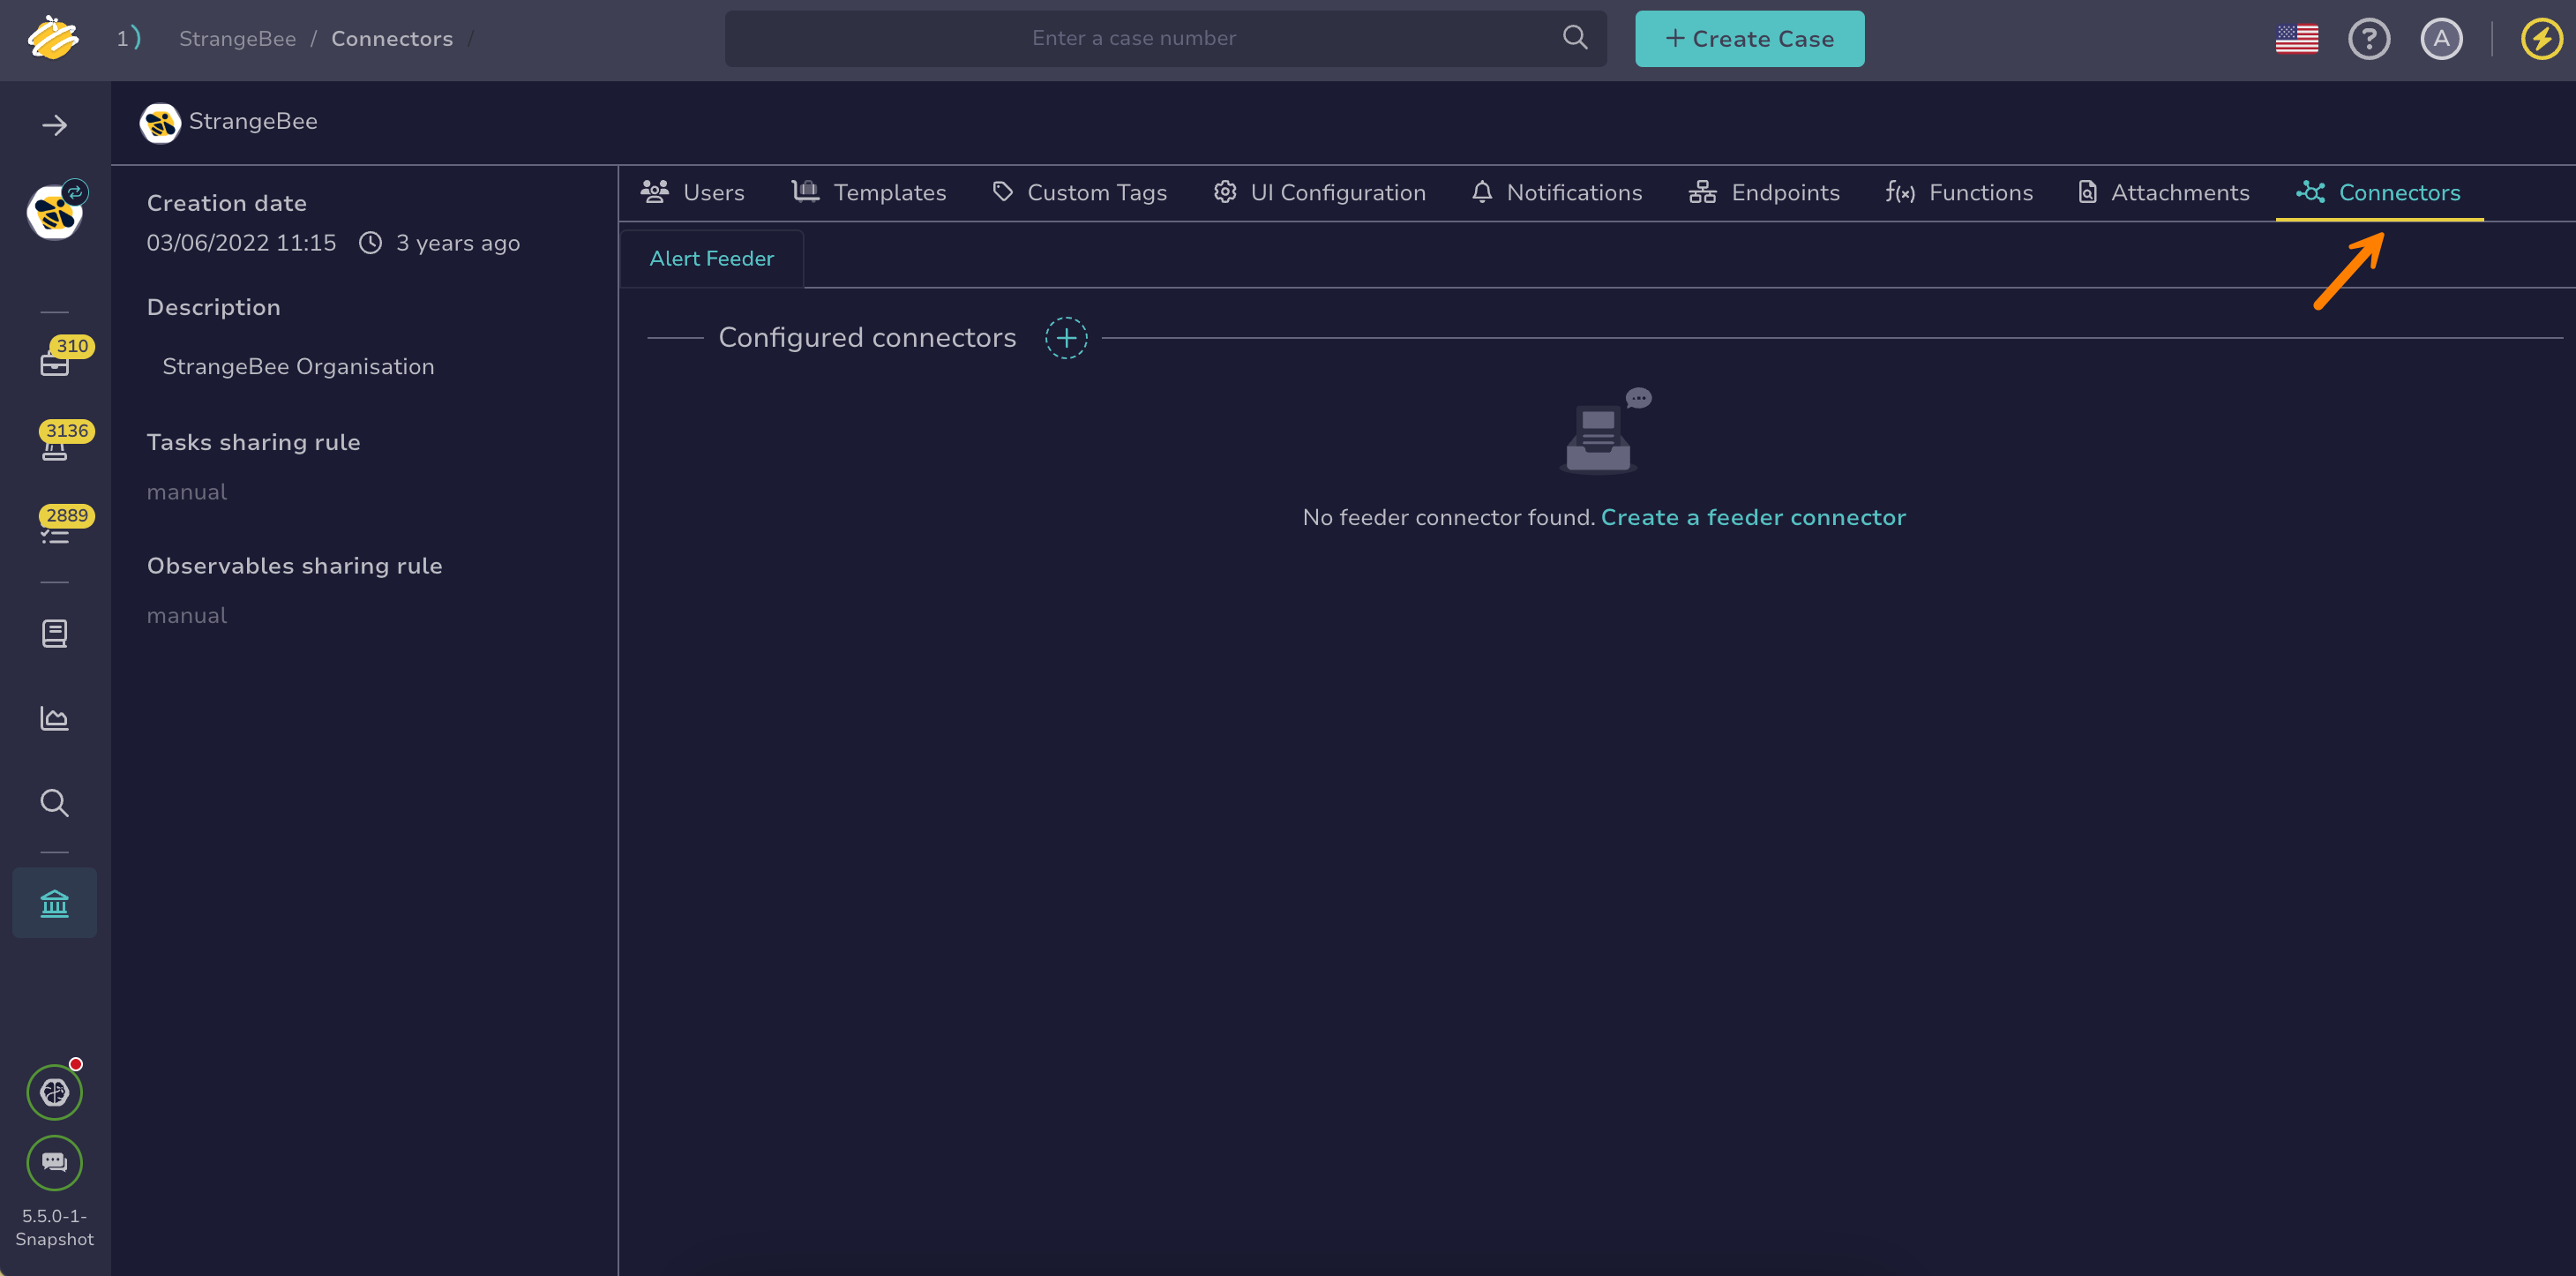
Go to the Organization view from the sidebar menu.
-
Select the Connectors tab.
-
In the General settings section, enter the following information:
- Name:
ChangePendingAlertStatusFeeder- Interval:
30 minutes- Request timeout time:
10 seconds- Request response max size:
10- Description:
This alert feeder periodically checks for unassigned alerts that remain in the *New* status for more than four hours, and automatically updates their status to *TOREVIEW* so they can be prioritized. -
In the HTTP request section, enter the following information:
- Method:
GET- URL:
https://<thehive_url>/api/v1/status/public/Replace
<thehive_url>with your actual TheHive URL. -
Optional: If you belong to multiple organizations, add a custom header in the Header section.
Select to add a new header and configure the header as follows:
| Key | Value | Description | | -------- | ------- | |
X-organisation|<organization_name>| Specifies the organization to use for the request. If omitted, the default organization is used.|Replace
<organization_name>with the name of the organization in which you want the HTTP request to be executed. -
Select Test connection to verify the connection to the TheHive API.
-
In the Create function section, enter the following information:
- Function name:
ChangePendingAlertStatus- Description:
This function retrieves all alerts with status New that are unassigned and were created more than four hours ago, then updates their status to TOREVIEW- Definition
Use this function definition:
// Name: ChangePendingAlertStatus // Type: Feeder // Desc: This function retrieves all alerts with status New that are unassigned and were created more than four hours ago, then updates their status to TOREVIEW. function handle(input, context) { // Retrieve all alerts where status is New, assignee is empty, and creation date is older than four hours const query = [ { "_name":"listAlert", }, { "_name":"filter", "_eq": { "_field":"status", "_value":"New" } }, { "_name":"filter", "_not": { "_has": { "_field":"assignee" } } }, { "_name":"filter", "_lte": { "_field": "_createdAt", "_value": { "amount": 4, "unit": "hours", "look": "behind" } } } ]; // Execute the search to get the targeted alerts const alertList = context.query.execute(query); // Update the status to TOREVIEW for all matching alerts alertList.map((alrt) => { context.alert.update(alrt._id, {status: "TOREVIEW"}); }); } -
In the Test function section, you can test your function as follows:
* Enter input data by selecting *input*. * Select one of the following: * **Run function (dry-run)** to simulate the function without sending data. * **Run function** to execute the function with actual data. * After running the function, select one of the following to view results: * *result* to view the function’s output * *stdout* to display standard output from the function * *stderr* to display errors and warnings -
Select Confirm.
That’s it—your automation is now fully set up and ready to ensure no pending alert goes unnoticed.