Add a Local Slack Endpoint#
Add a local Slack endpoint in TheHive to send messages to your Slack workspace.
Once created, this endpoint is available solely for your organization. To create an endpoint for multiple organizations, refer to the Add a Global Endpoint topic.
Procedure
-
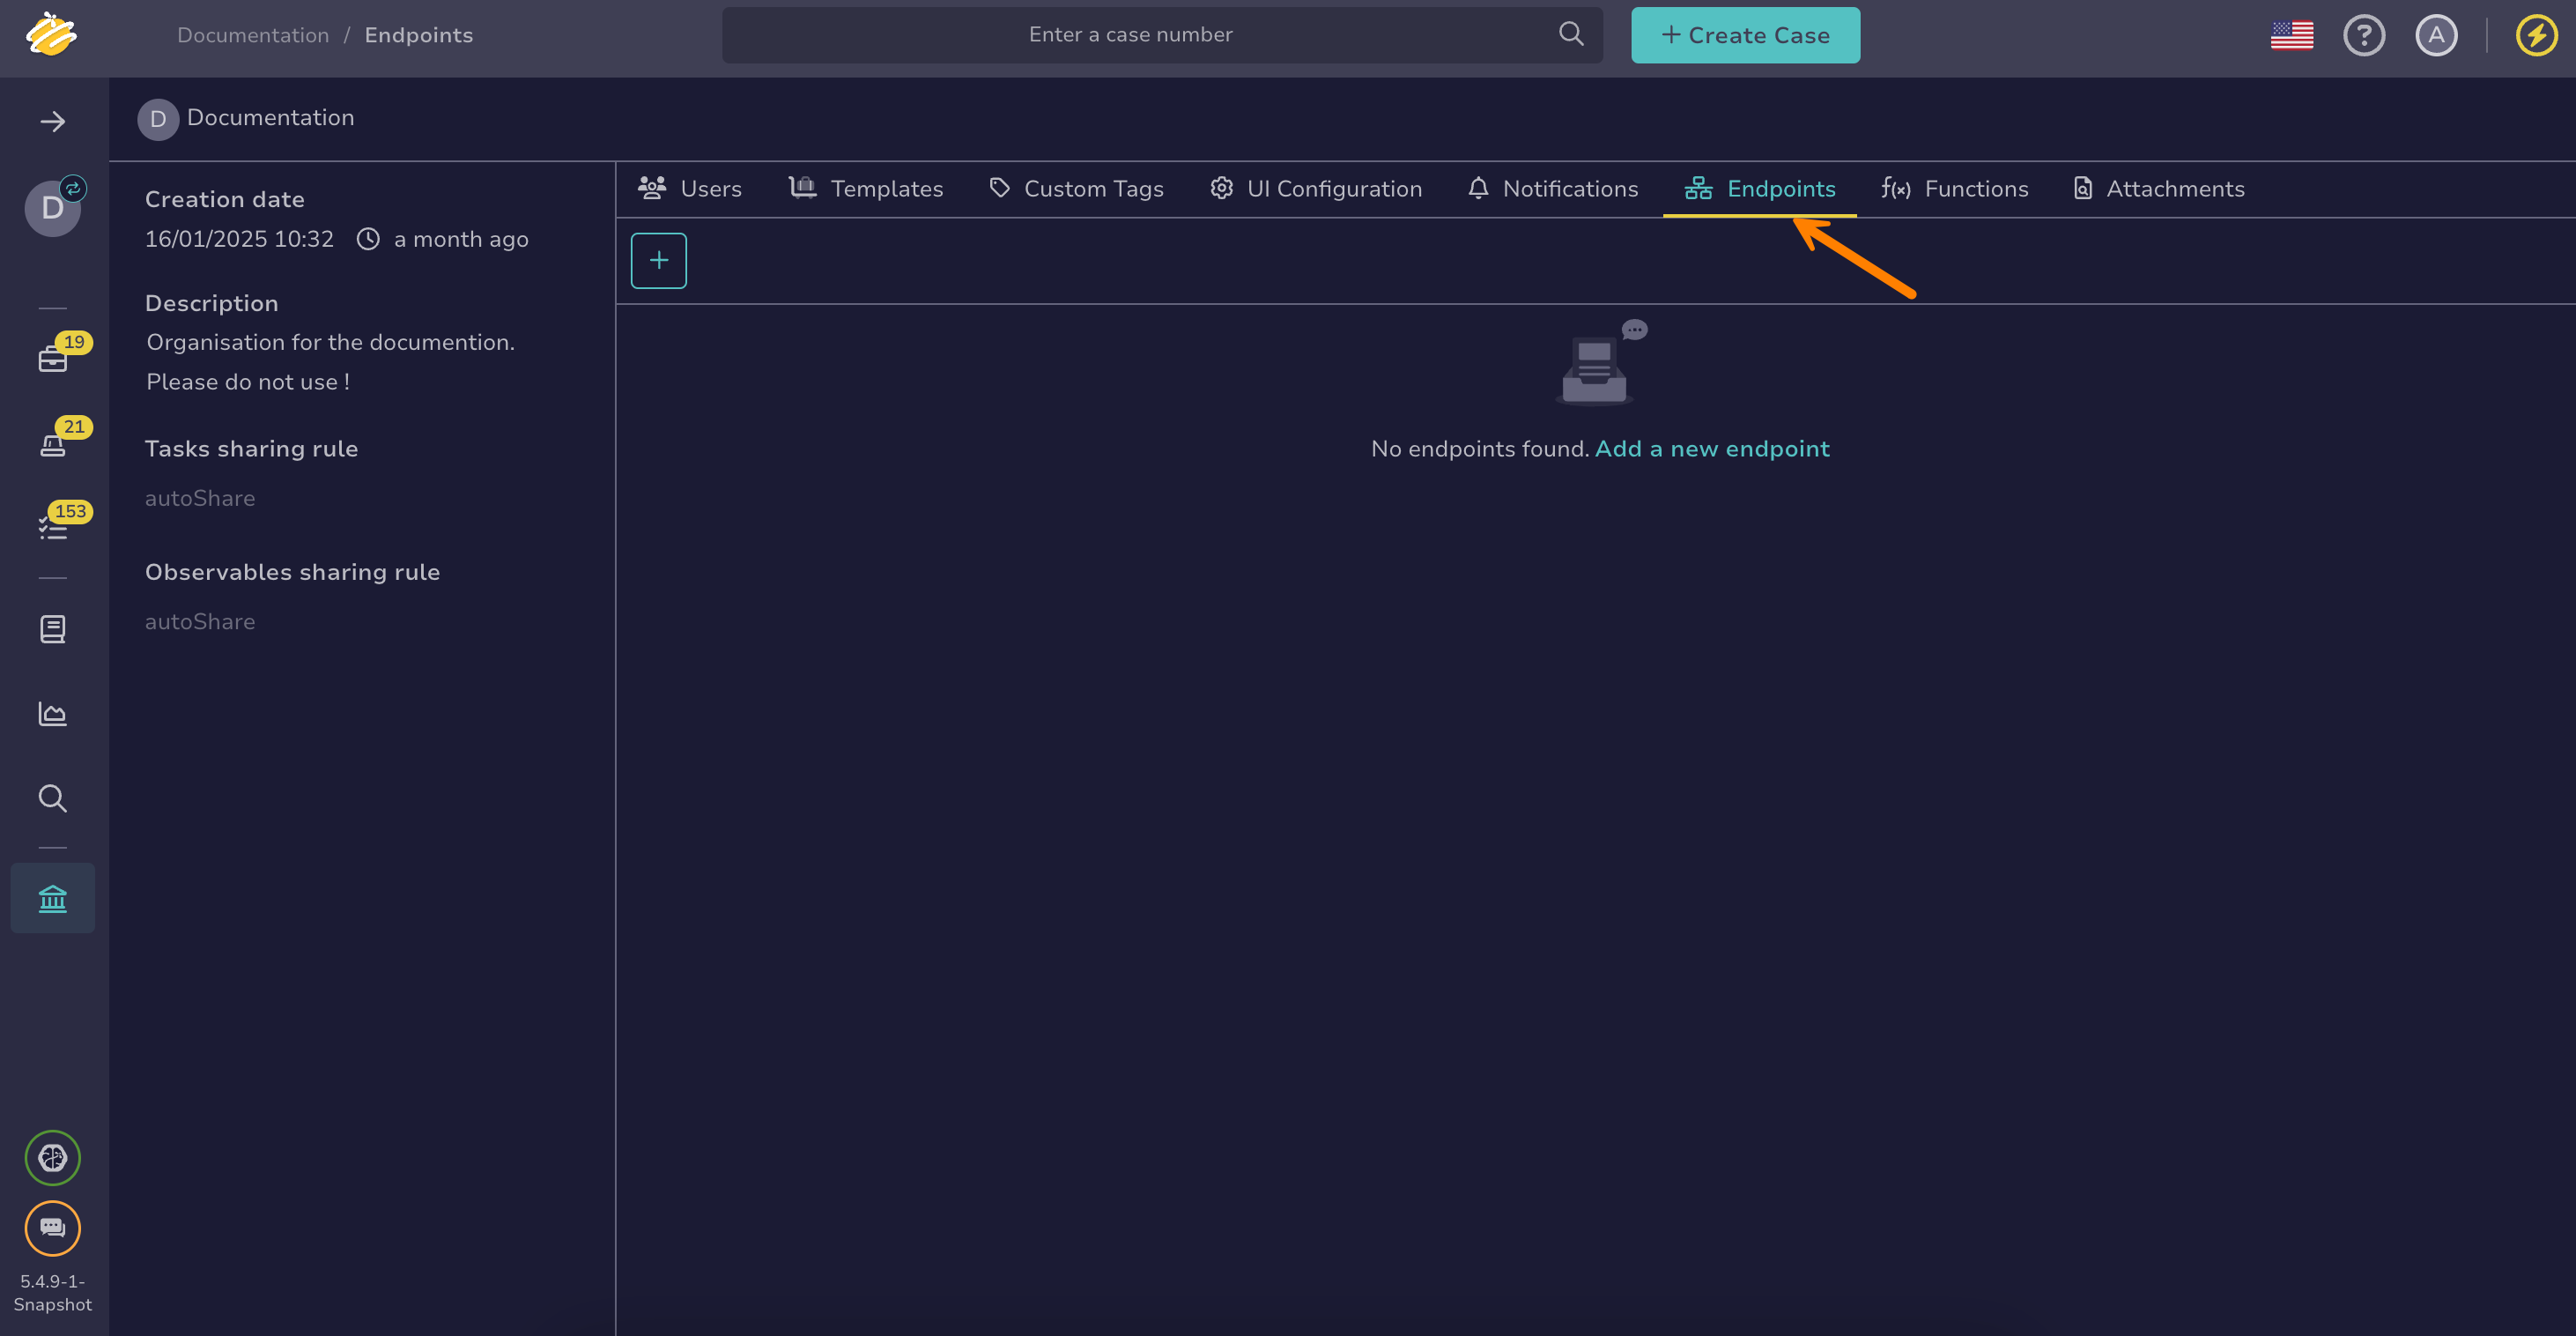
Go to the Organization view from the sidebar menu.
-
Select the Endpoints tab.
-
Select .
-
In the Endpoint creation drawer, select Slack.
-
Enter the following information:
- Name
The endpoint name, used to identify this Slack integration in TheHive. This name must be unique, as two endpoints can't have the same name.
- Token
The authentication token required to connect to Slack.
-
In the Proxy settings section, select the proxy settings you want to apply:
- Default configuration
- Disabled
- Enabled:
- Enter the type of protocol, either HTTP or HTTPS.
- Enter the IP address or domain name of the proxy server.
- Enter the port number used by the proxy server.
- Turn on the Authentication toggle if you want to require a username and password to authenticate with the proxy server.
-
Add a certificate authority (CA).
The server's SSL/TLS certificate must be trusted by the Java virtual machine (JVM) truststore for secure connections. If your server uses a certificate from an internal CA or self-signed certificate, add it to the JVM truststore first. See Configure JVM Trust for SSL/TLS Certificates for instructions.
You can turn off the Don't check certificate authority toggle to bypass certificate validation, but this isn't recommended as it may compromise connection security.
-
Turn on the Disable host name verification toggle if you want to bypass the verification of the server's host name against the certificate.
-
Select Confirm.