Add a Local Microsoft Teams Endpoint#
Add a local Microsoft Teams endpoint in TheHive to send messages to your Teams channels.
Once created, this endpoint is available solely for your organization. To create an endpoint for multiple organizations, refer to the Add a Global Endpoint topic.
Procedure
Step 1: Create a flow in Microsoft Teams#
-
Go to your Microsoft Teams application.
-
Select .

-
Select the Workflows application.

-
In the Workflows application, select New flow.
-
In the template search bar, enter Send webhook alerts to a channel.
-
Select the template Send webhook alerts to a channel.
-
Enter your flow name.
-
Select Next.
-
Select a Microsoft Teams team and channel.
-
Select Create flow.
-
Copy the HTTP POST URL.
For TheHive versions earlier than 5.4.3, users can still send notifications to Microsoft Teams using Incoming Webhooks. This method simply requires creating a webhook and adding its URL to TheHive’s settings.
While easy to set up, this legacy approach lacks the customization and enhanced security features provided by the newer Workflows integration. Moreover, with Microsoft deprecating Incoming Webhooks, this method may become less reliable or lose functionality in the future.
Migrating to the Workflows application for Microsoft Teams integration
With the 5.4.3 release, TheHive has updated the Microsoft Teams notifier in response to Microsoft deprecation of the Incoming Webhooks. Users must now migrate from the legacy webhook setup to a new configuration using the Workflows application.
Migration expected by January 31, 2025
As announced by Microsoft on their official blog, Connector owners must update their webhook URLs by January 31, 2025, to comply with the new structure. This update is crucial for maintaining seamless integration and ensuring the continued functionality of Connectors in Microsoft Teams.
For detailed instructions, refer to Microsoft official documentation on creating an Incoming Webhook.
Step 2: Create a Microsoft Teams endpoint#
-
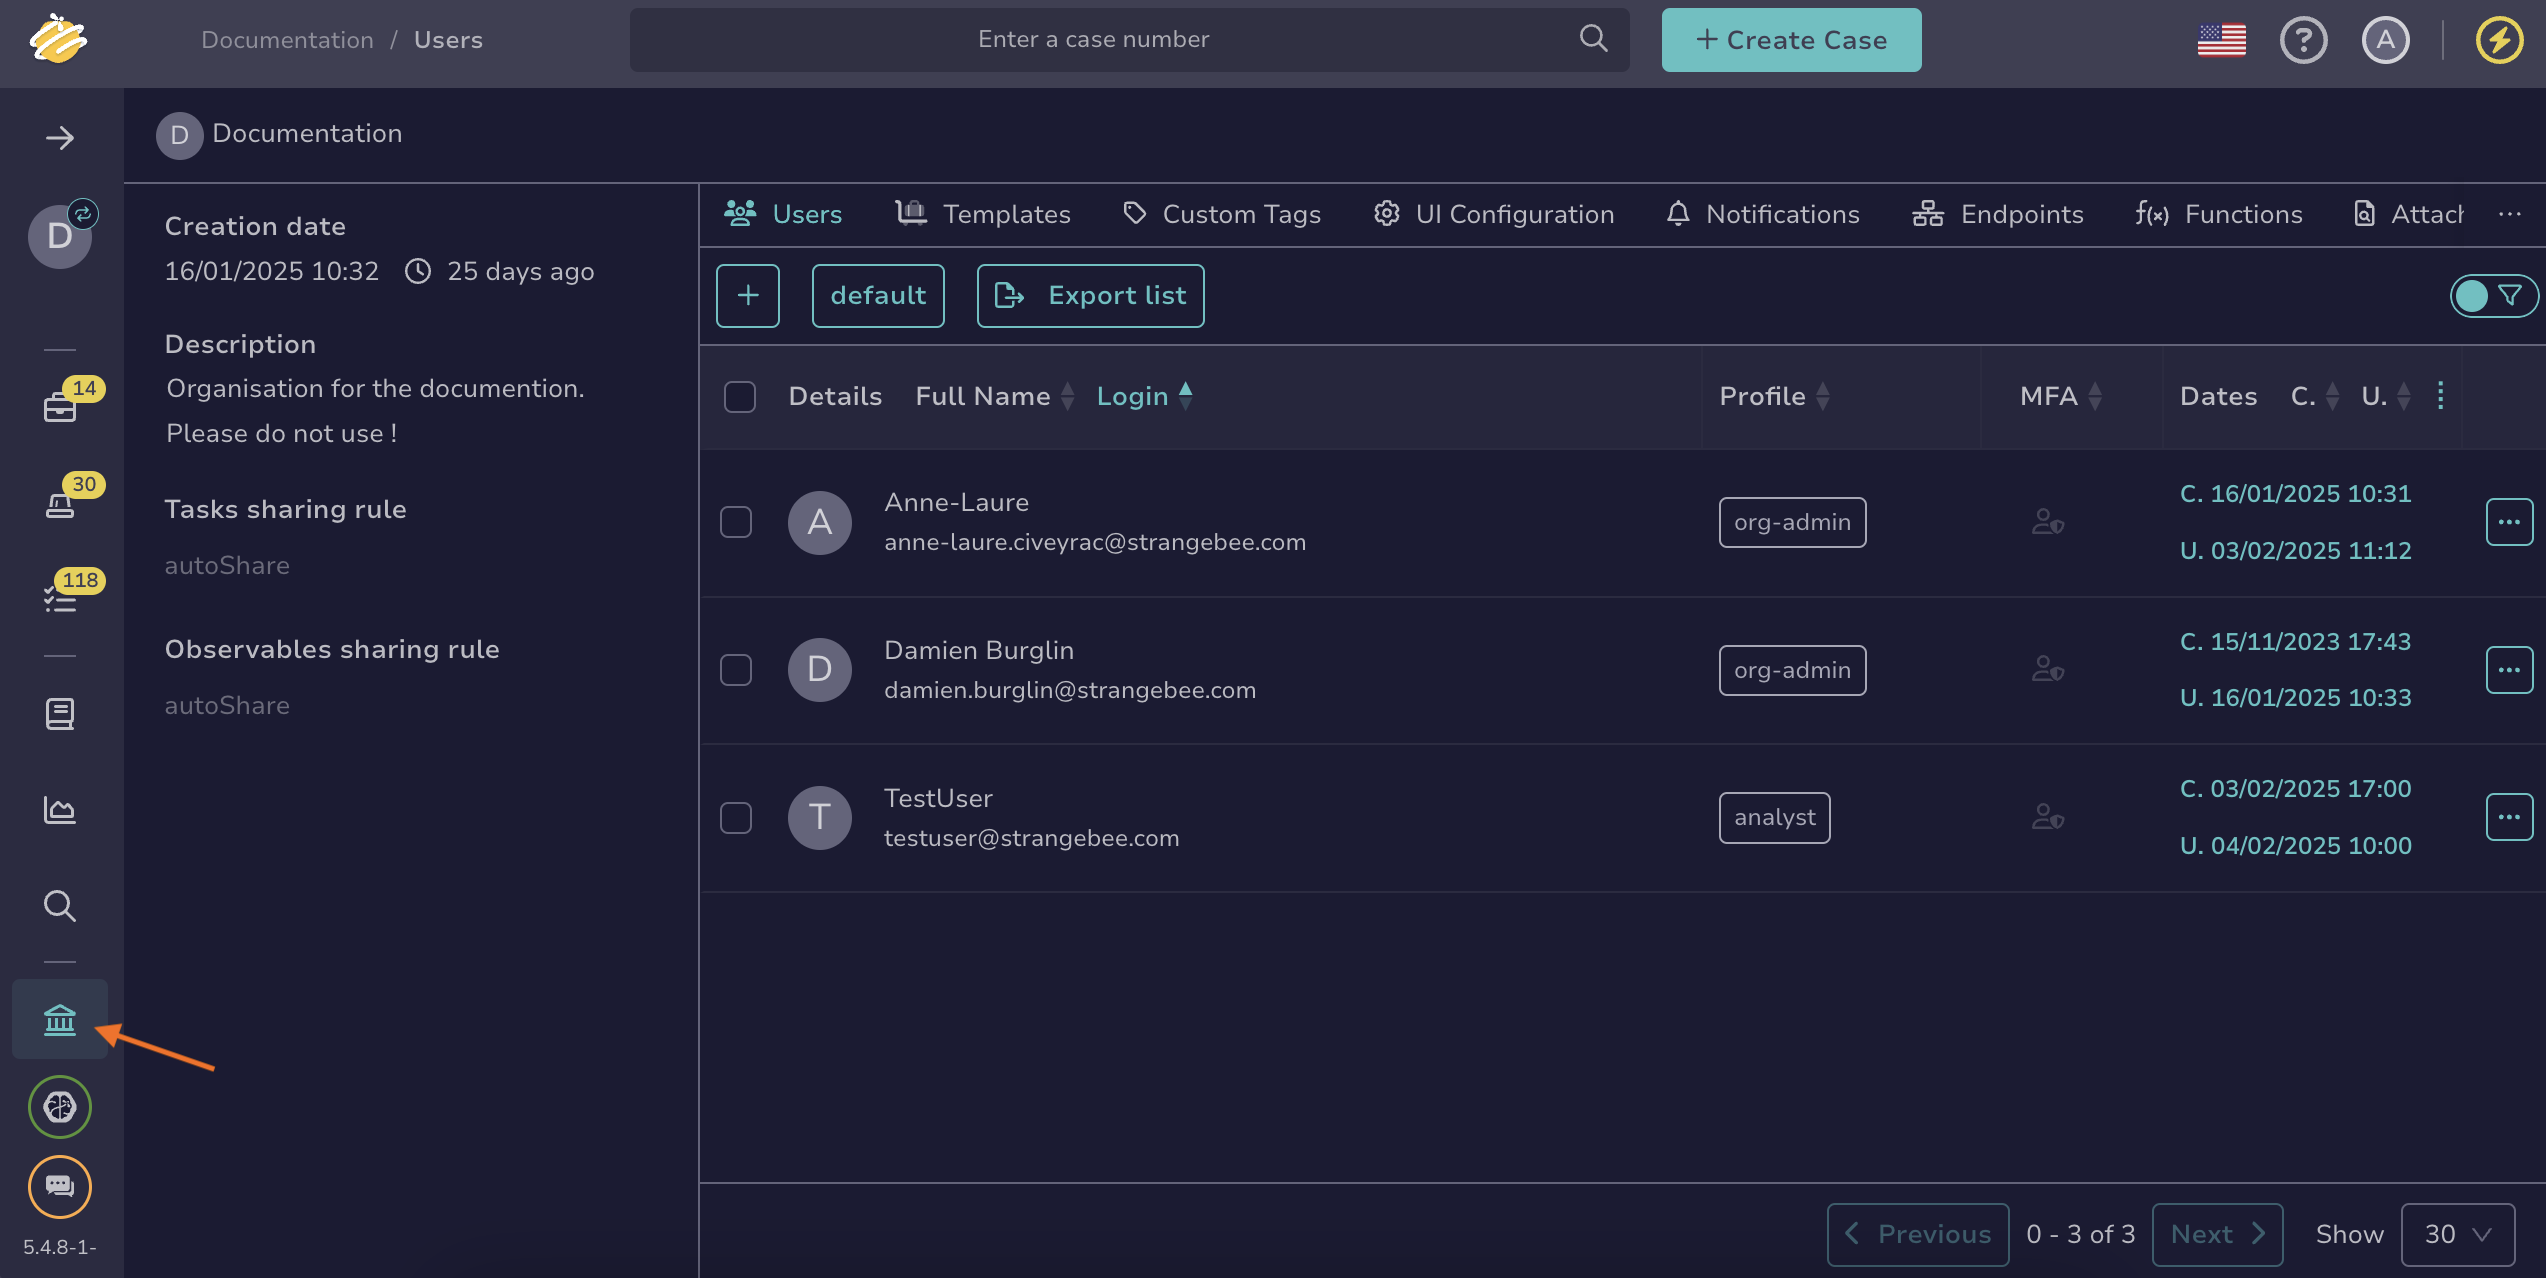
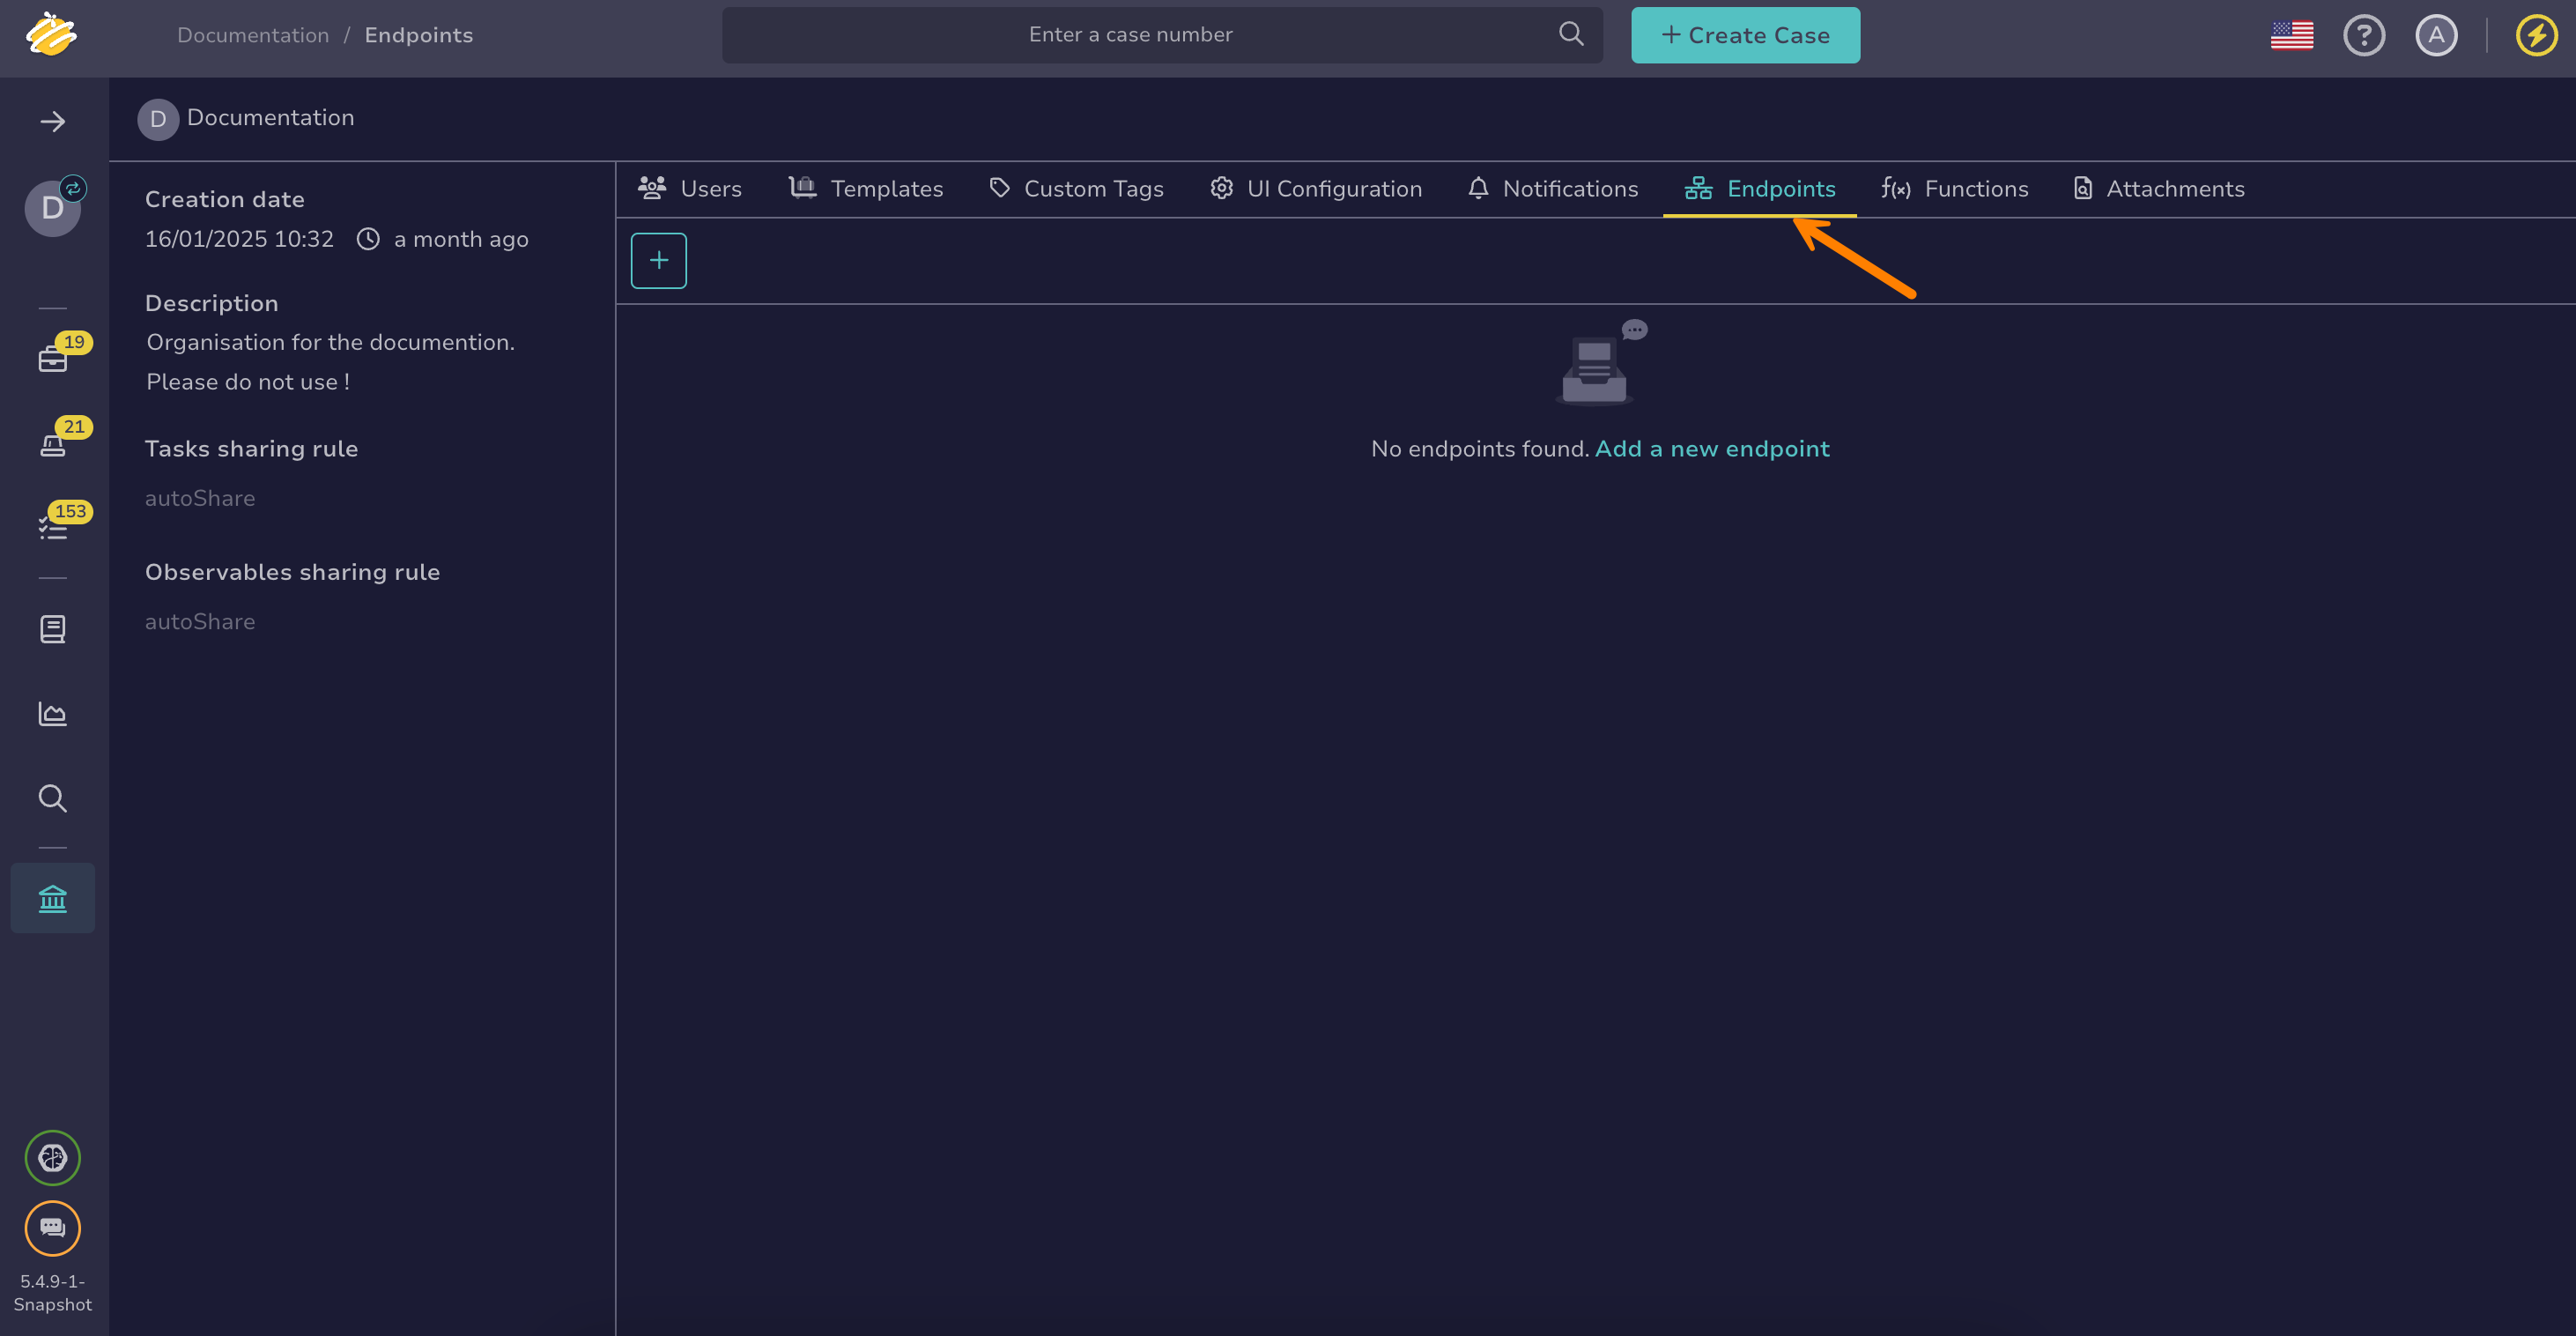
Go to the Organization view from the sidebar menu.
-
Select the Endpoints tab.
-
Select .
-
In the Endpoint creation drawer, select Teams.
-
Enter the following information:
- Name
The endpoint name, used to identify this Microsoft Teams integration in TheHive. This name must be unique, as two endpoints can't have the same name.
- URL
The URL used to connect to your Microsoft Teams. This should be the HTTP POST URL generated by the Workflows application or Incoming Webhooks, depending on your configuration.
-
In the Proxy settings section, select the proxy settings you want to apply:
- Default configuration
- Disabled
- Enabled:
- Enter the type of protocol, either HTTP or HTTPS.
- Enter the IP address or domain name of the proxy server.
- Enter the port number used by the proxy server.
- Turn on the Authentication toggle if you want to require a username and password to authenticate with the proxy server.
-
Add a certificate authority (CA).
The server's SSL/TLS certificate must be trusted by the Java virtual machine (JVM) truststore for secure connections. If your server uses a certificate from an internal CA or self-signed certificate, add it to the JVM truststore first. See Configure JVM Trust for SSL/TLS Certificates for instructions.
You can turn off the Don't check certificate authority toggle to bypass certificate validation, but this isn't recommended as it may compromise connection security.
-
Turn on the Disable host name verification toggle if you want to bypass the verification of the server's host name against the certificate.
-
Select Confirm.