Configure the Redis Notifier#
Configure the Redis notifier in TheHive.
Notifier availability
The Redis notifier is available only when you turn off the Send notification to every user in the organization toggle and use one of the following triggers:
- AnyEvent
- FilteredEvent
- ActionFinished
- CaseClosed
- CaseCreated
- CaseFlagged
- CaseShared
- AlertClosed
- AlertCreated
- AlertImported
- JobFinished
- AlertObservableCreated
- CaseObservableCreated
- ObservableCreated
- TaskClosed
- TaskMandatory
Procedure
No endpoint required
An endpoint definition isn't required to send data to a Redis database.
-
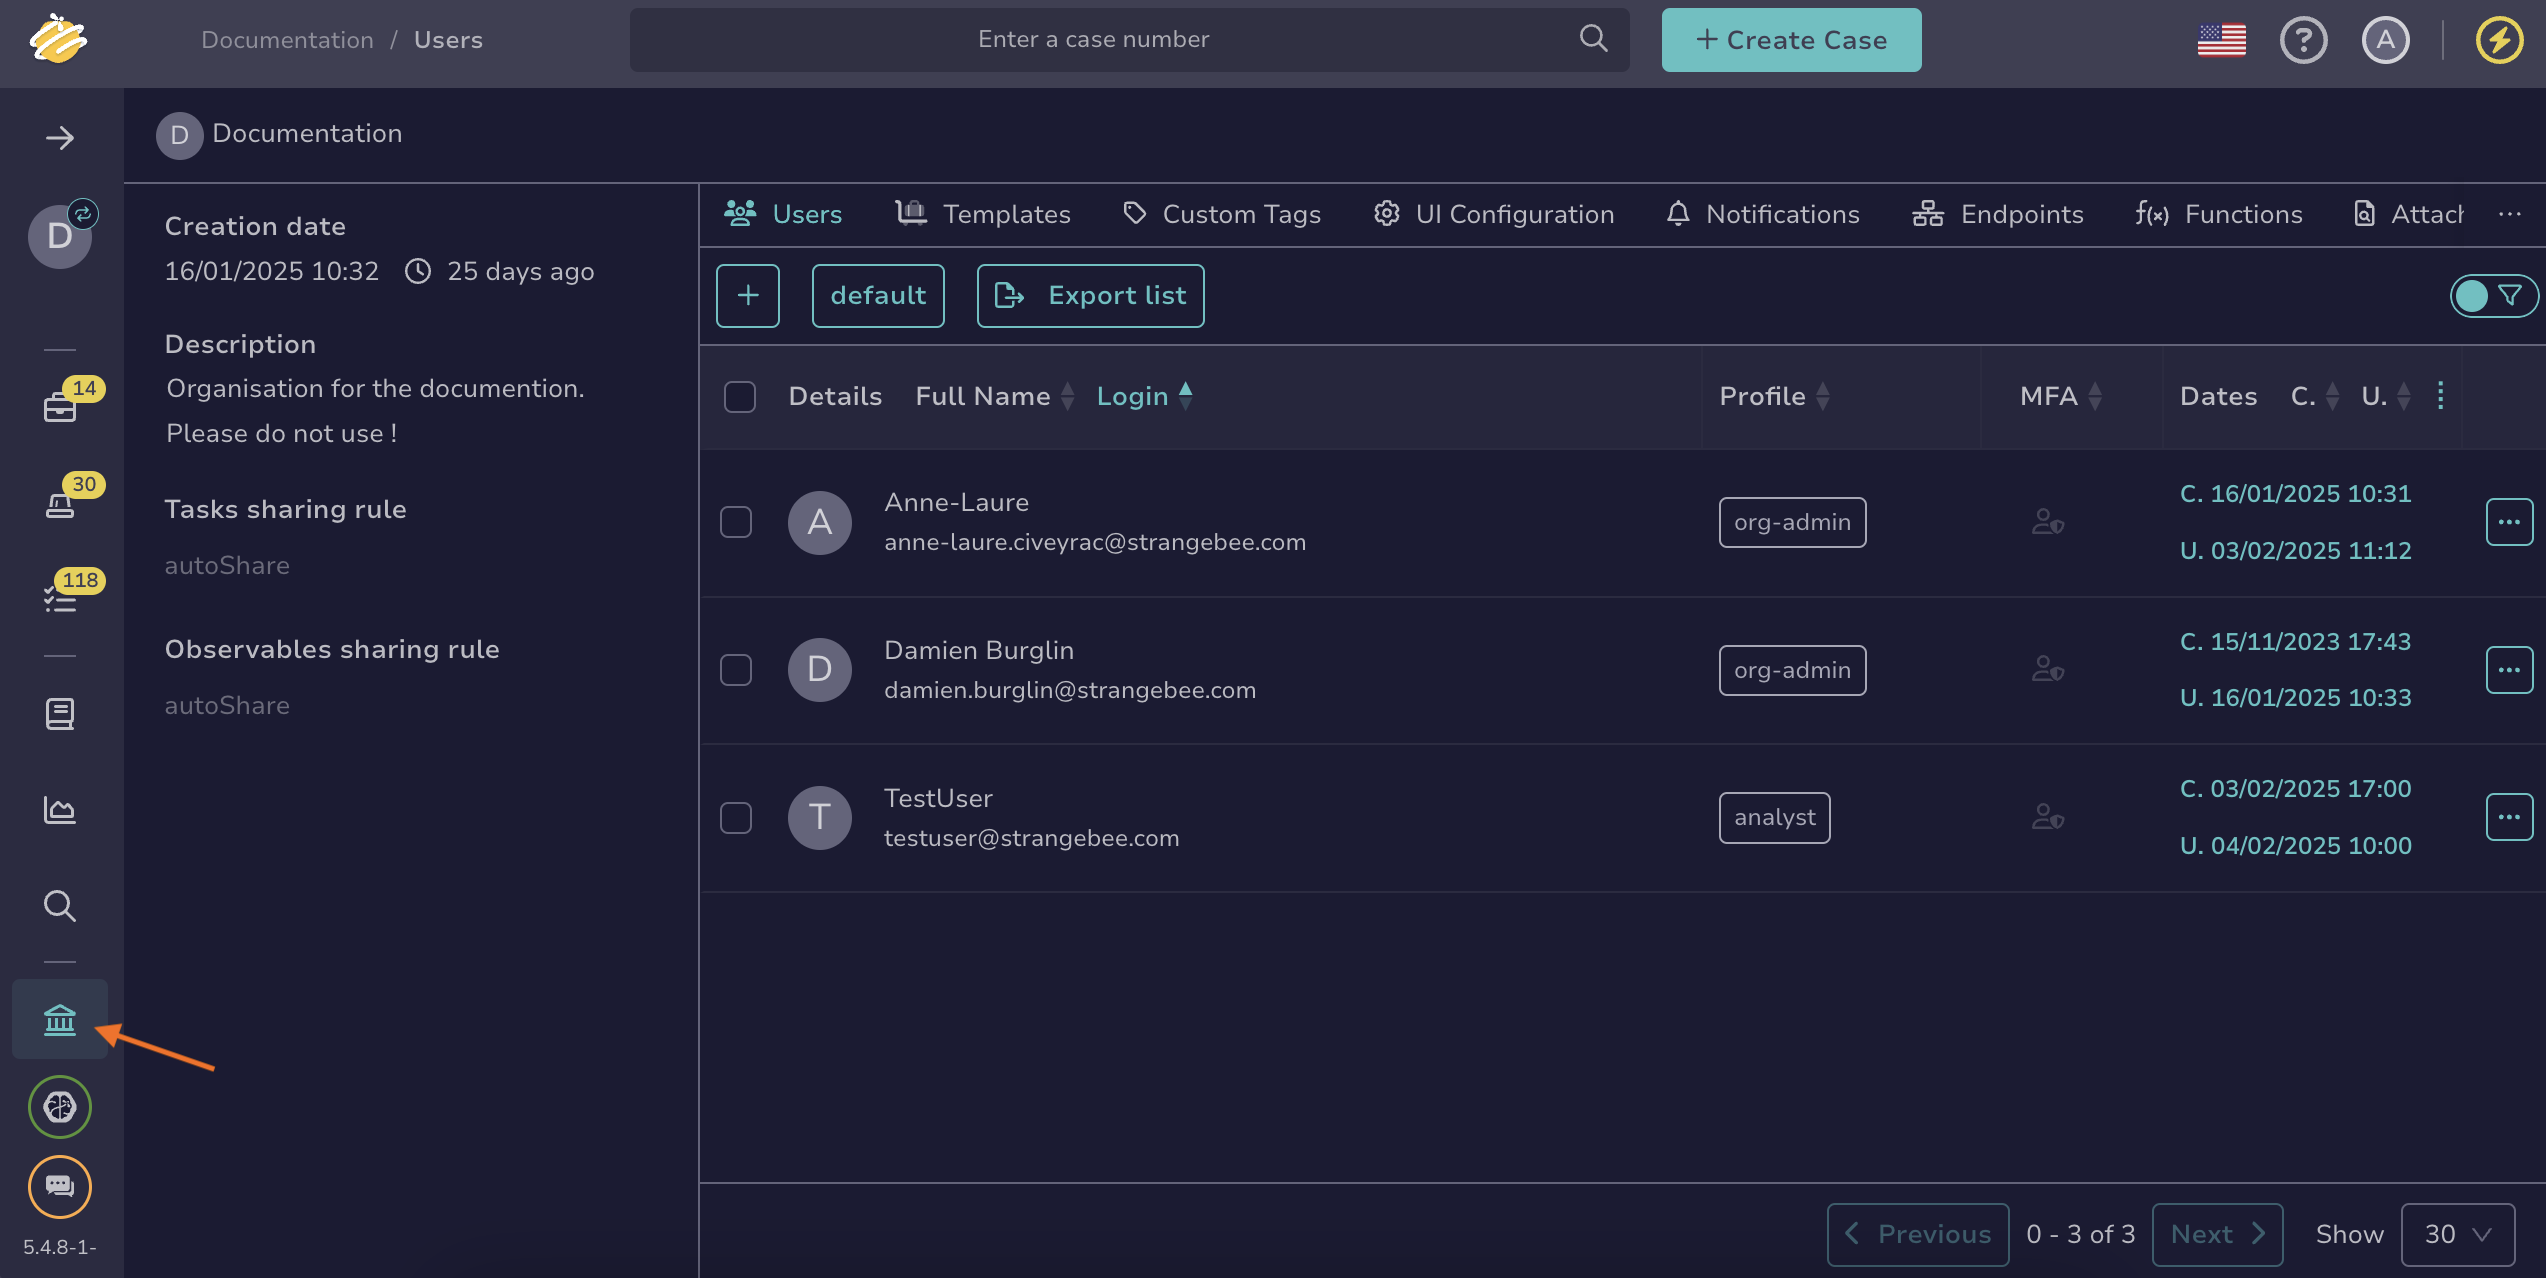
Go to the Organization view from the sidebar menu.
-
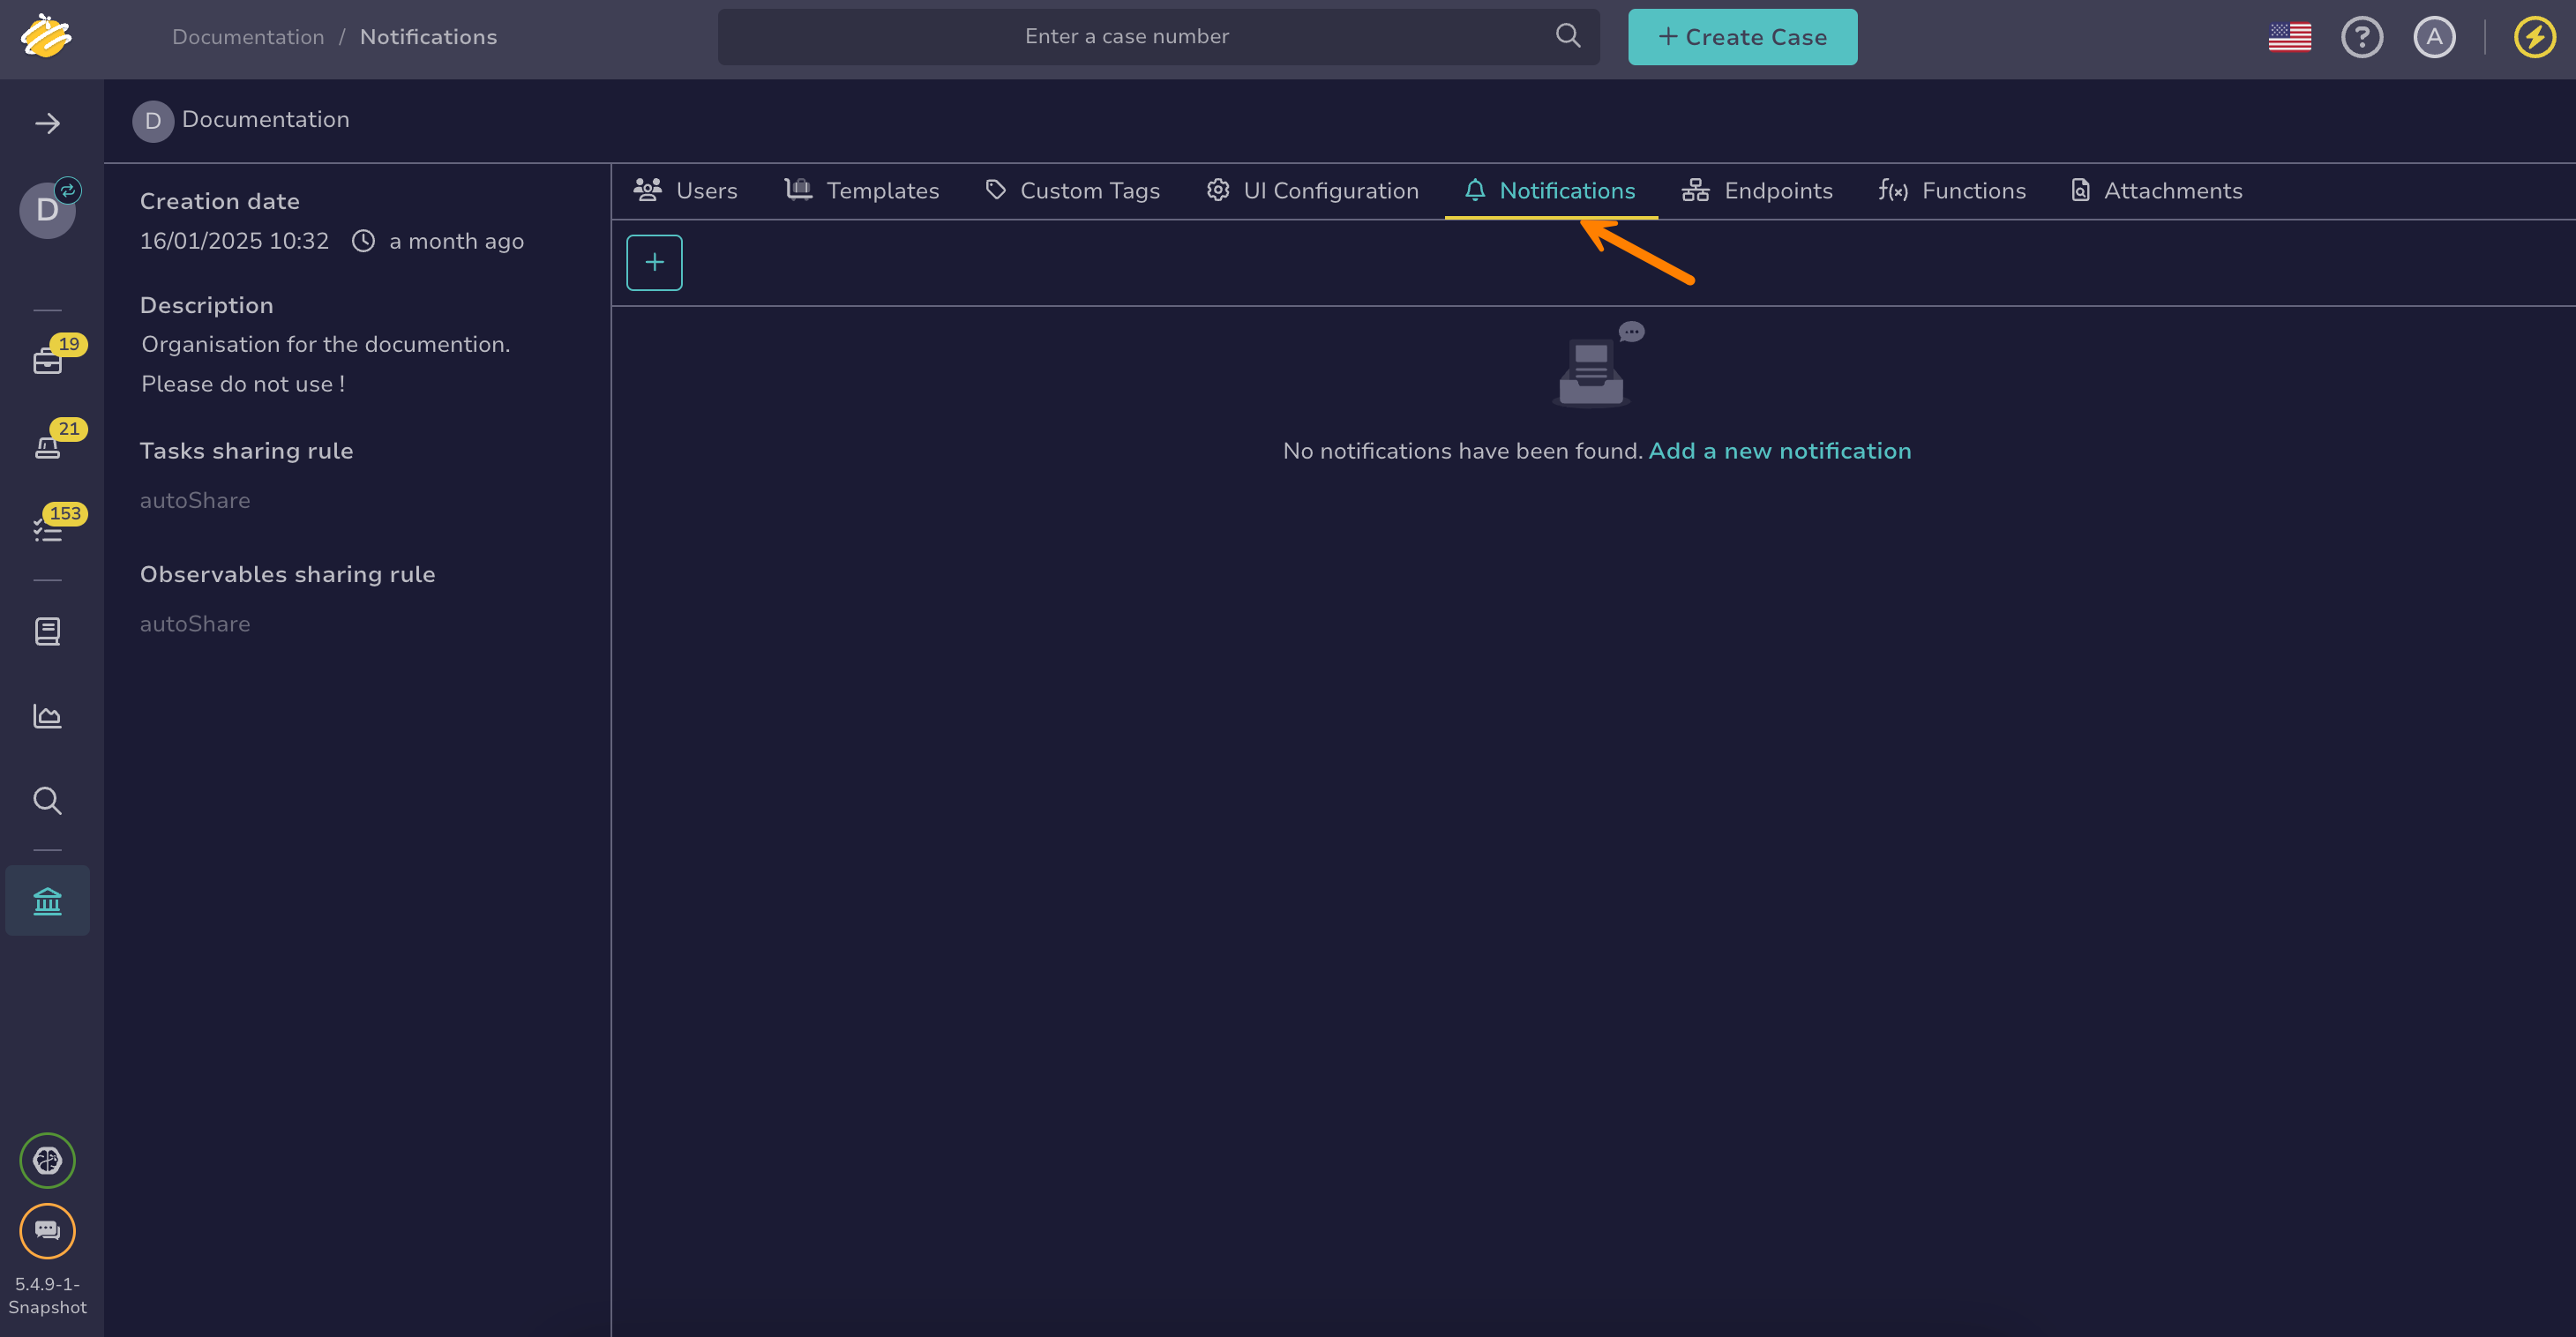
Select the Notifications tab.
-
Select next to the notification where you want to add the notifier, then select Edit.
-
Select the Redis notifier.
-
In the Redis drawer, enter the following information:
- Channel *
The Redis channel where you want to publish the data.
- Host *
The Redis server address. This is where TheHive will send data.
- Port *
The port number Redis is listening on.
- Username
The username for authentication if Redis Access Control Lists (ACLs) are enabled.
- Password
The password for authentication if Redis requires authentication.
- Database
The Redis database index to use. Redis allows multiple logical databases, and this field lets you specify which one to use.
Available variables
You can use variables in certain fields by selecting Add variable. Refer to the Variable Usage Examples topic for detailed examples.
Helpers using Mustache syntax
Data transformation helpers#
Helper Description Usage Output tlpLabelFormat the tlpfield of the object{{ tlpLabel object.tlp }}AmberpapLabelFormat the papfield of the object{{ papLabel object.pap }}AmberseverityLabelFormat the severityfield of the object{{ severityLabel object.severity }}CriticaldateFormatFormat a date field of the object using Java date time patterns {{dateFormat audit._createdAt "EEEEE dd MMMMM yyyy" "fr" }}jeudi 01 septembre 2022Standard string helpers can be found in the official Handlebars documentation.
Conditional helpers#
Examples:
- Displays Medium if
case.severityequals 2, otherwise displays Other:
{{#if (eq case.severity 2) }} Medium {{else}} Other {{/if}}- Displays the threat actor value only if
case.customFieldValues.threat-actoris defined:
{{#if case.customFieldValues.threat-actor}}
    Threat Actor: {{case.customFieldValues.threat-actor}}
{{/if}}
Find additional supported operators in the official Handlebars documentation.
- Displays Medium if
-
Turn on the Enable SSL toggle to encrypt the connection and secure data transmission between TheHive and the Redis server.
Add a certificate authority (CA).
The server's SSL/TLS certificate must be trusted by the Java virtual machine (JVM) truststore for secure connections. If your server uses a certificate from an internal CA or self-signed certificate, add it to the JVM truststore first. See [Configure JVM Trust for SSL/TLS Certificates](/thehive/configuration/ssl/configure-ssl-jvm/) for instructions.

You can turn off the **Don't check certificate authority** toggle to bypass certificate validation, but this isn't recommended as it may compromise connection security.
Turn on the Disable host name verification toggle if you want to bypass the verification of the server's host name against the certificate.
-
Select Confirm.

