Create a User Account#
Create a user account in TheHive to grant individuals or services access to the platform or TheHive API.
To add an existing user account to an organization, see Add or Remove an Existing User Account from an Organization.
License
Your TheHive license defines how many user accounts you can create.
Count toward the limit:
- Unlocked user accounts of type Normal with at least one licensed permission
Don't count:
- Service user accounts
- Normal user accounts with no licensed permissions, for example profiles such as Read-Only or Admin
- External user accounts
Create a user account for an organization#
As an administrator#
-
Go to the Organizations view from the sidebar menu.
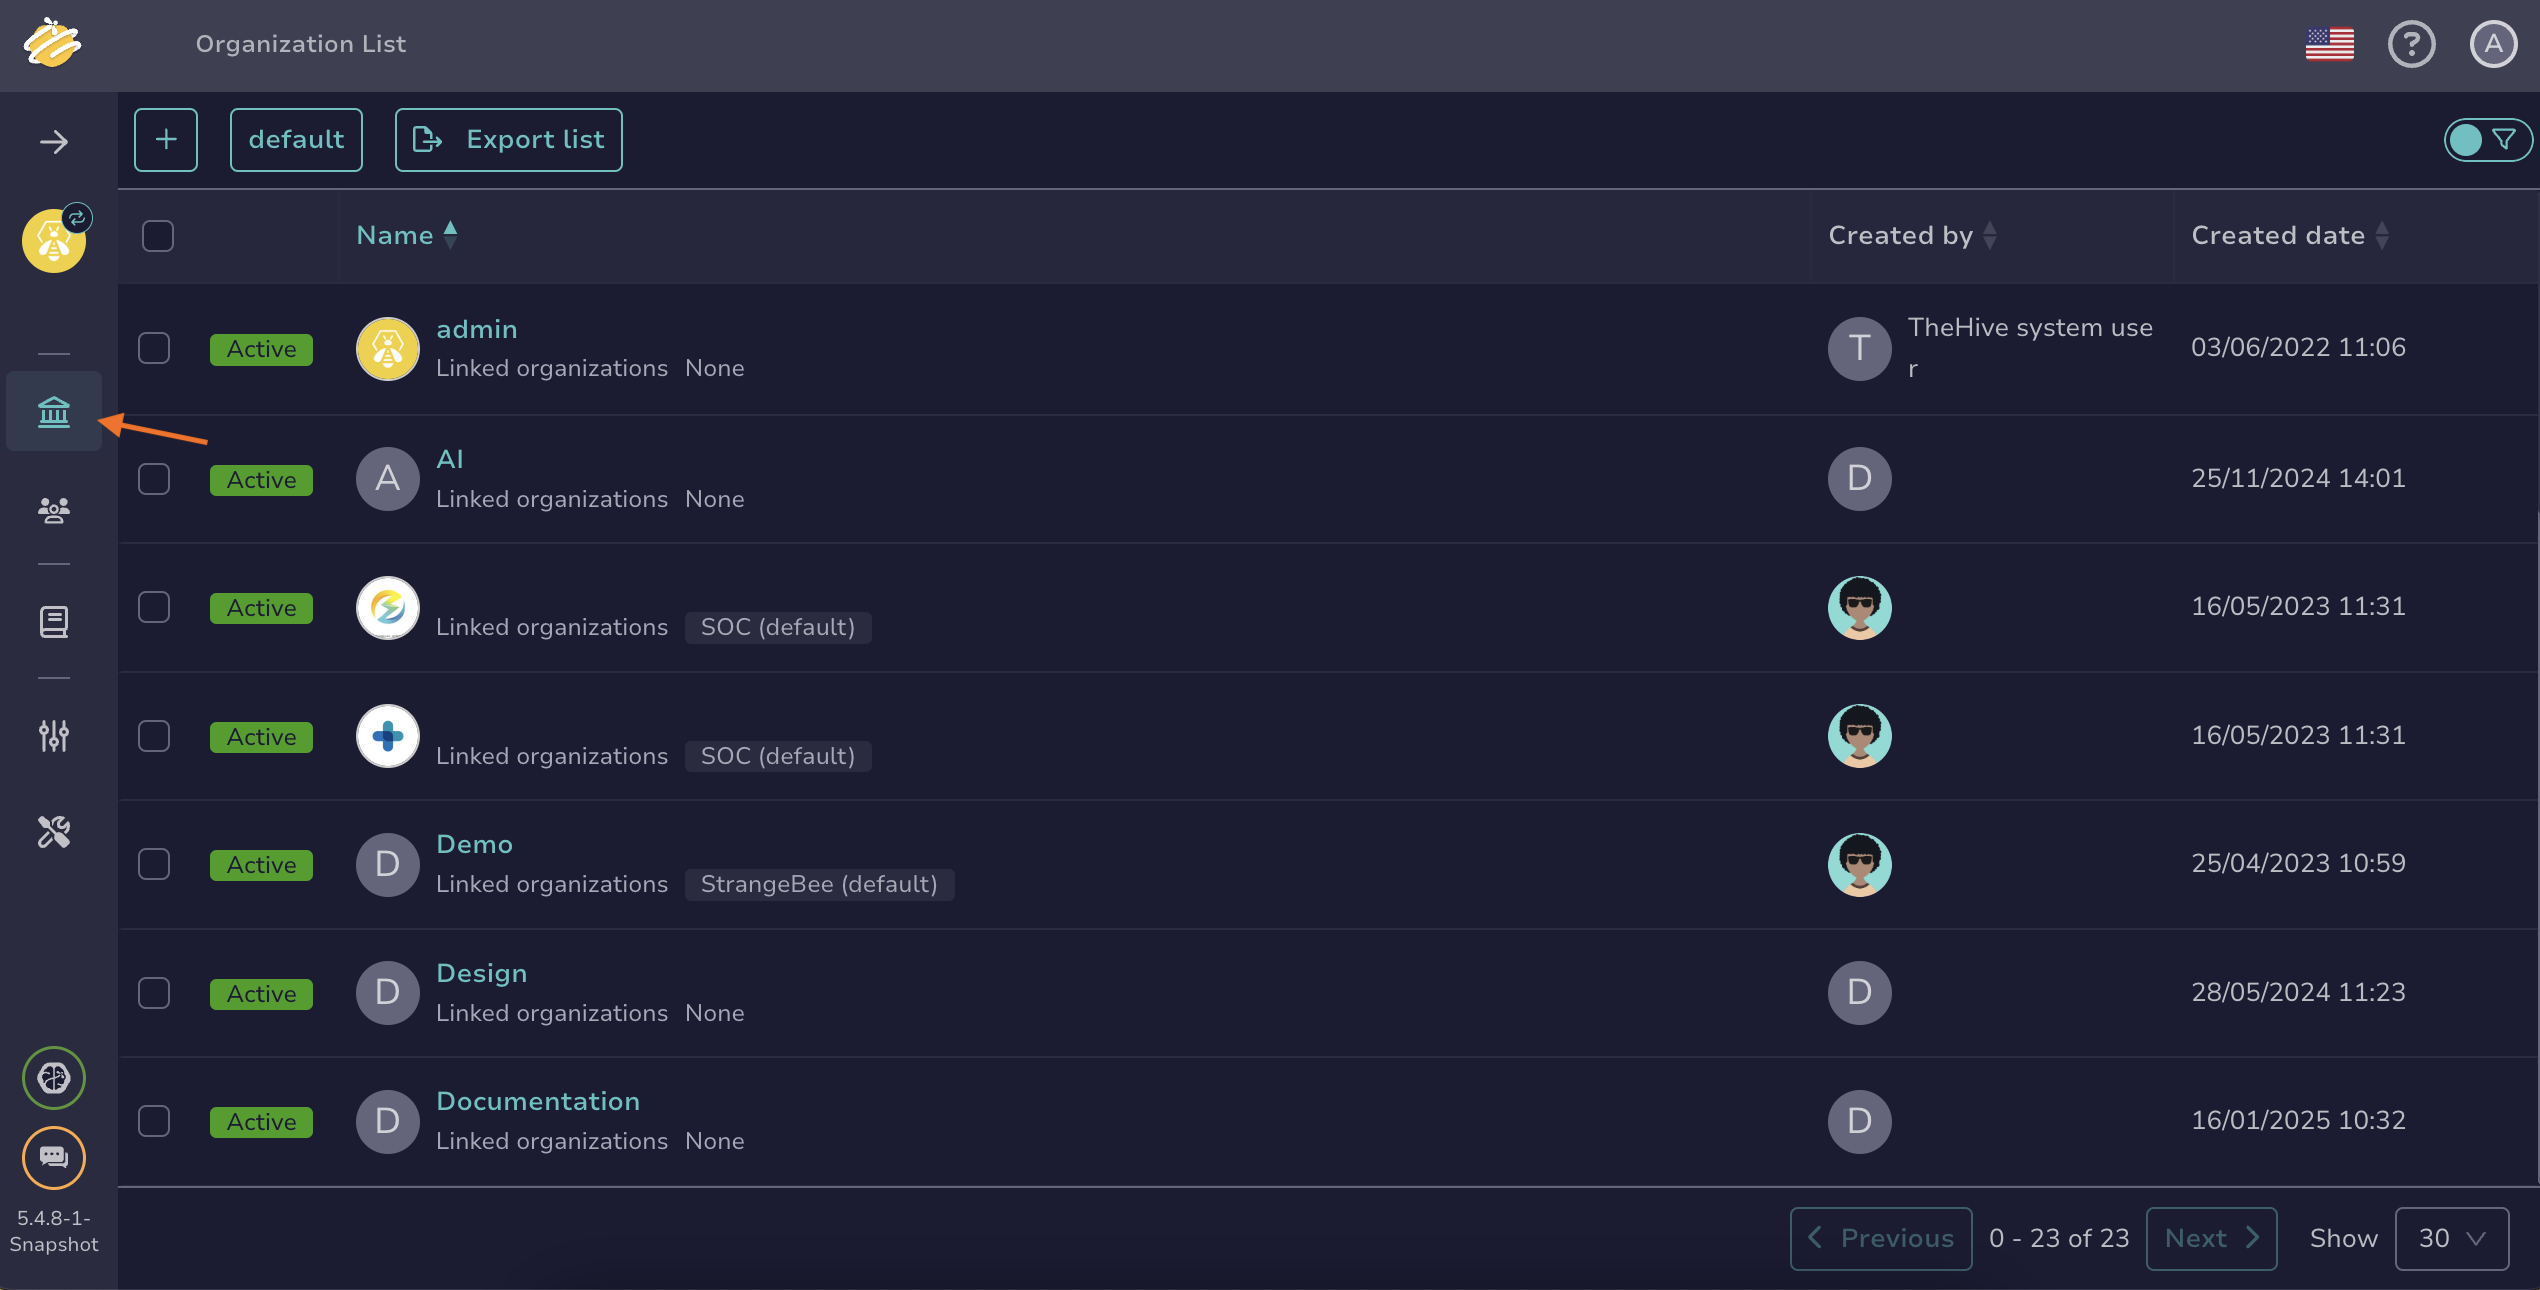
-
Select the organization to add the user account to, then select . Alternatively, hover over the organization, select , and select Add in the Users section.
-
In the Adding a user drawer, enter:
- Type *
The user account type you want to create.
Pick an option from the dropdown list:
- Normal: Intended for users who access TheHive through the web interface. Normal accounts support all authentication methods. These accounts can also generate API keys if enabled.
- 5.6 Platinum External: Intended for users who access TheHive Portal.
- Service: Designed for programmatic access to TheHive via the API. Service accounts authenticate exclusively using an API key and can't sign in to the web interface.
- Login *
The login used for the user to sign in. It can be an email address or another identifier, depending on your authentication configuration.
- Name *
The user account's display name.
- Profile *
Select a permission profile for the user account from the dropdown list.
-
Select Confirm.
-
In the user accounts list, hover over the user you just created and select .
-
Optional: Select the default user account avatar to modify it, then upload a new image. Only PNG and JPG formats are supported.
-
Optional: If the login isn't an email, add an email address in the Email field. This address is used to send notifications and password-related information to the user.
-
Optional: Select Create to generate an API key.
-
Select Set a new password to create a default password for the user account.
-
Select Confirm.
As an organization administrator#
-
Go to the Organization view from the sidebar menu.
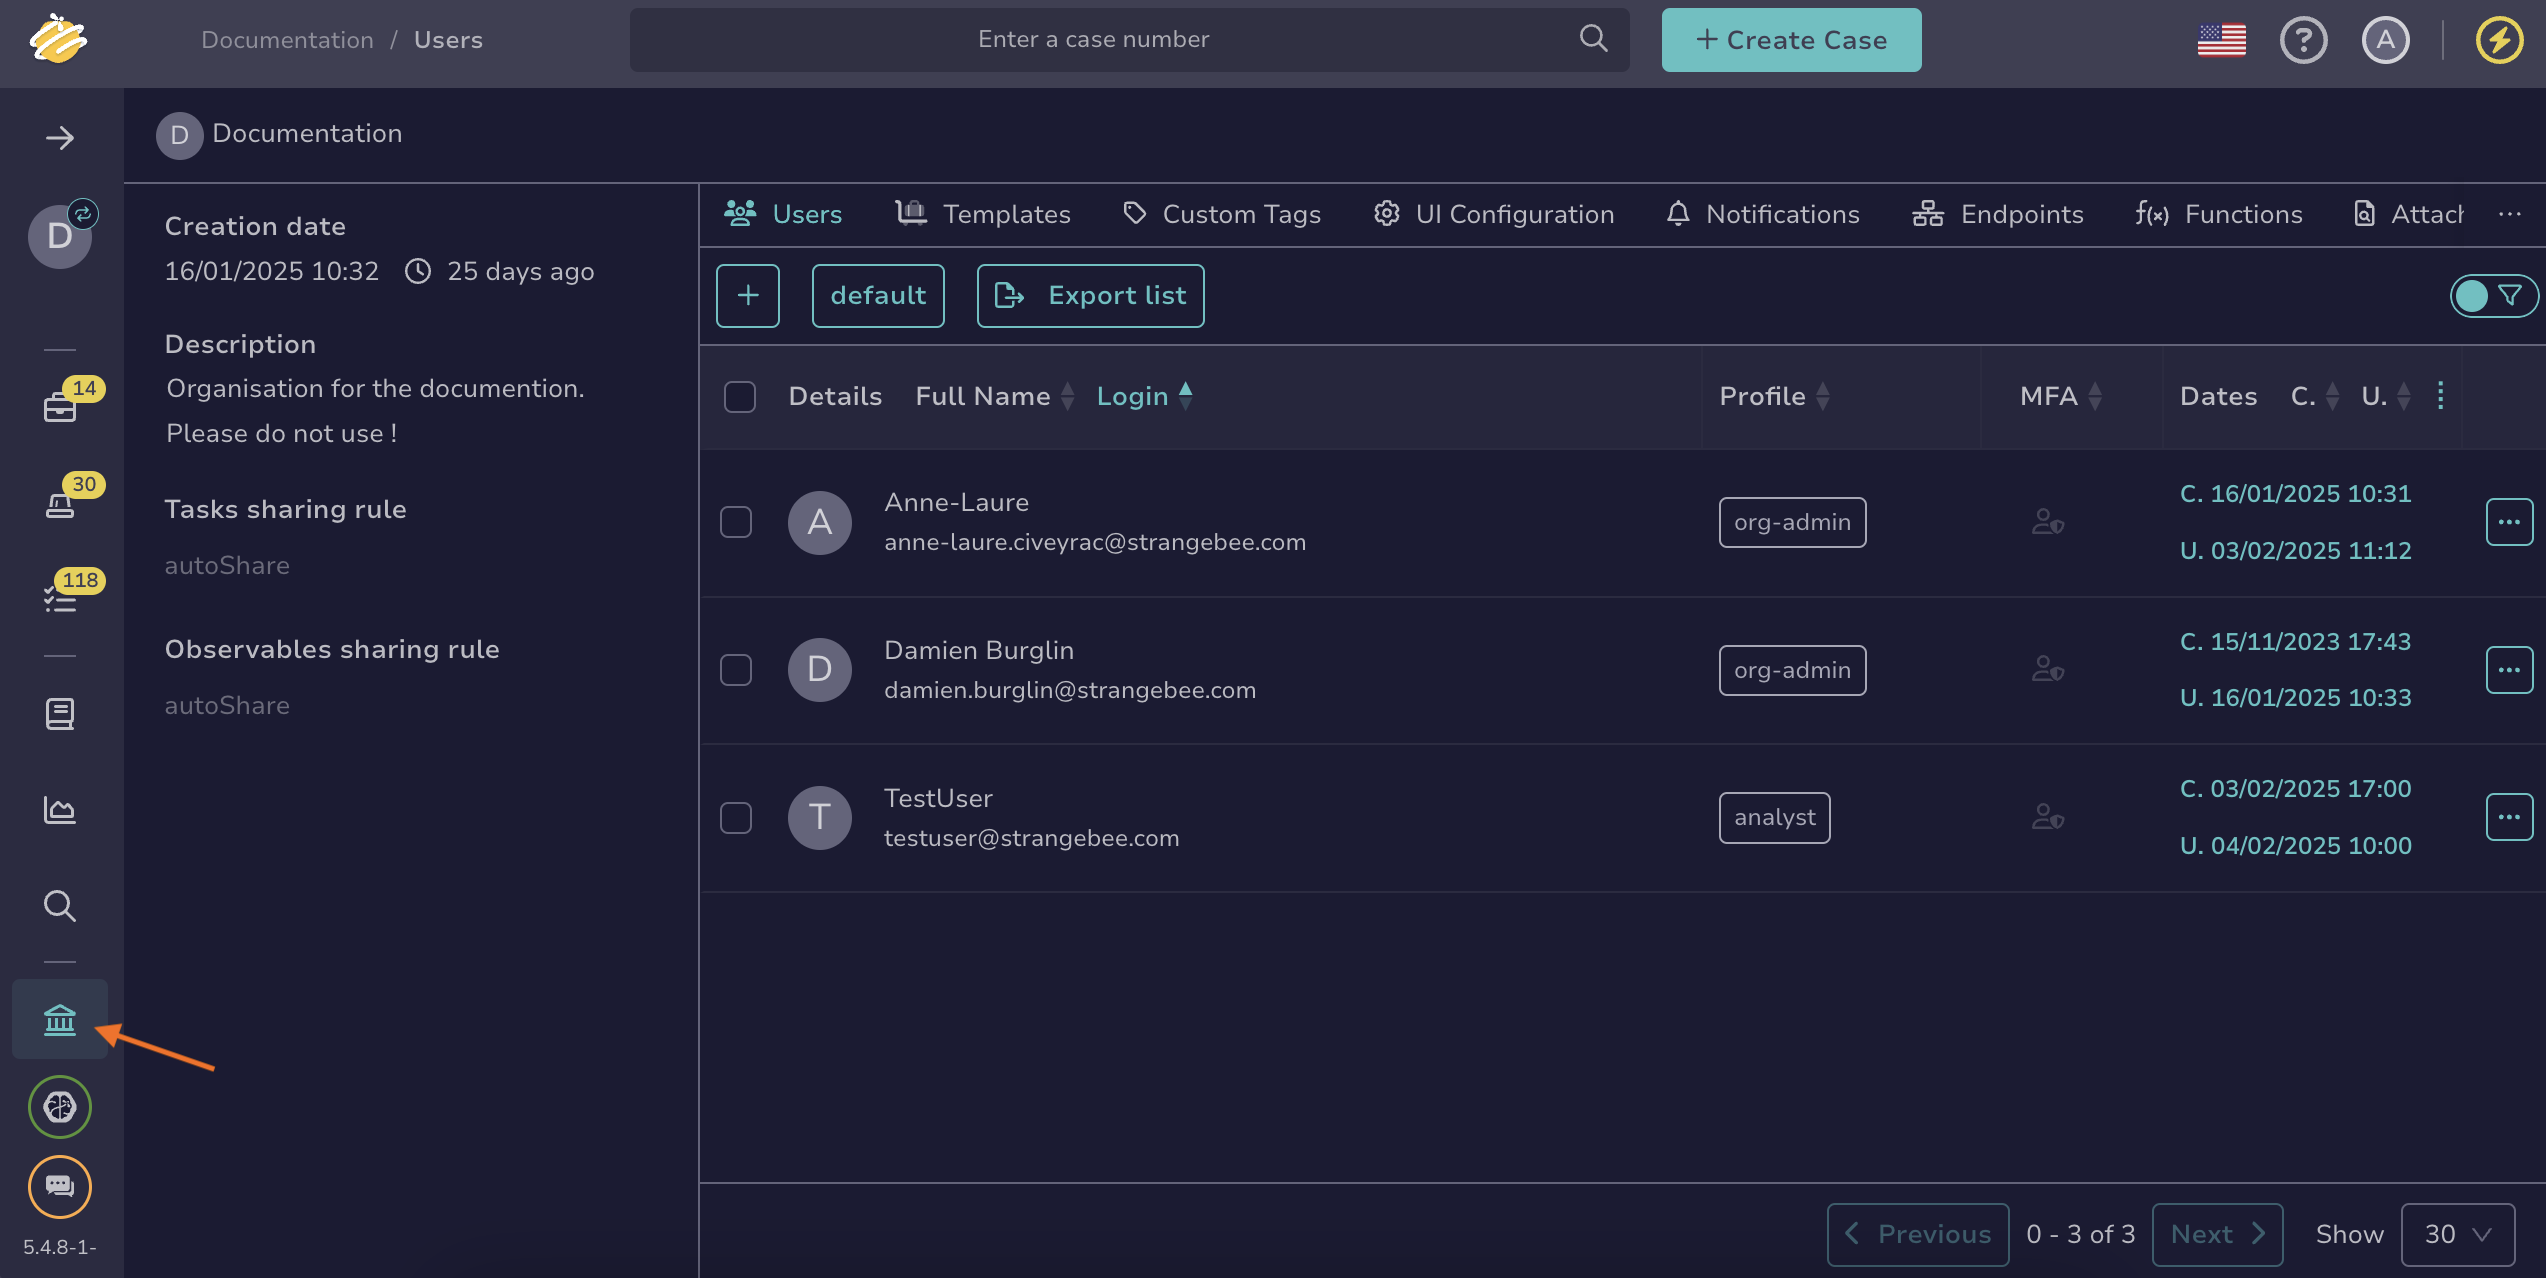
-
Select the Users tab.
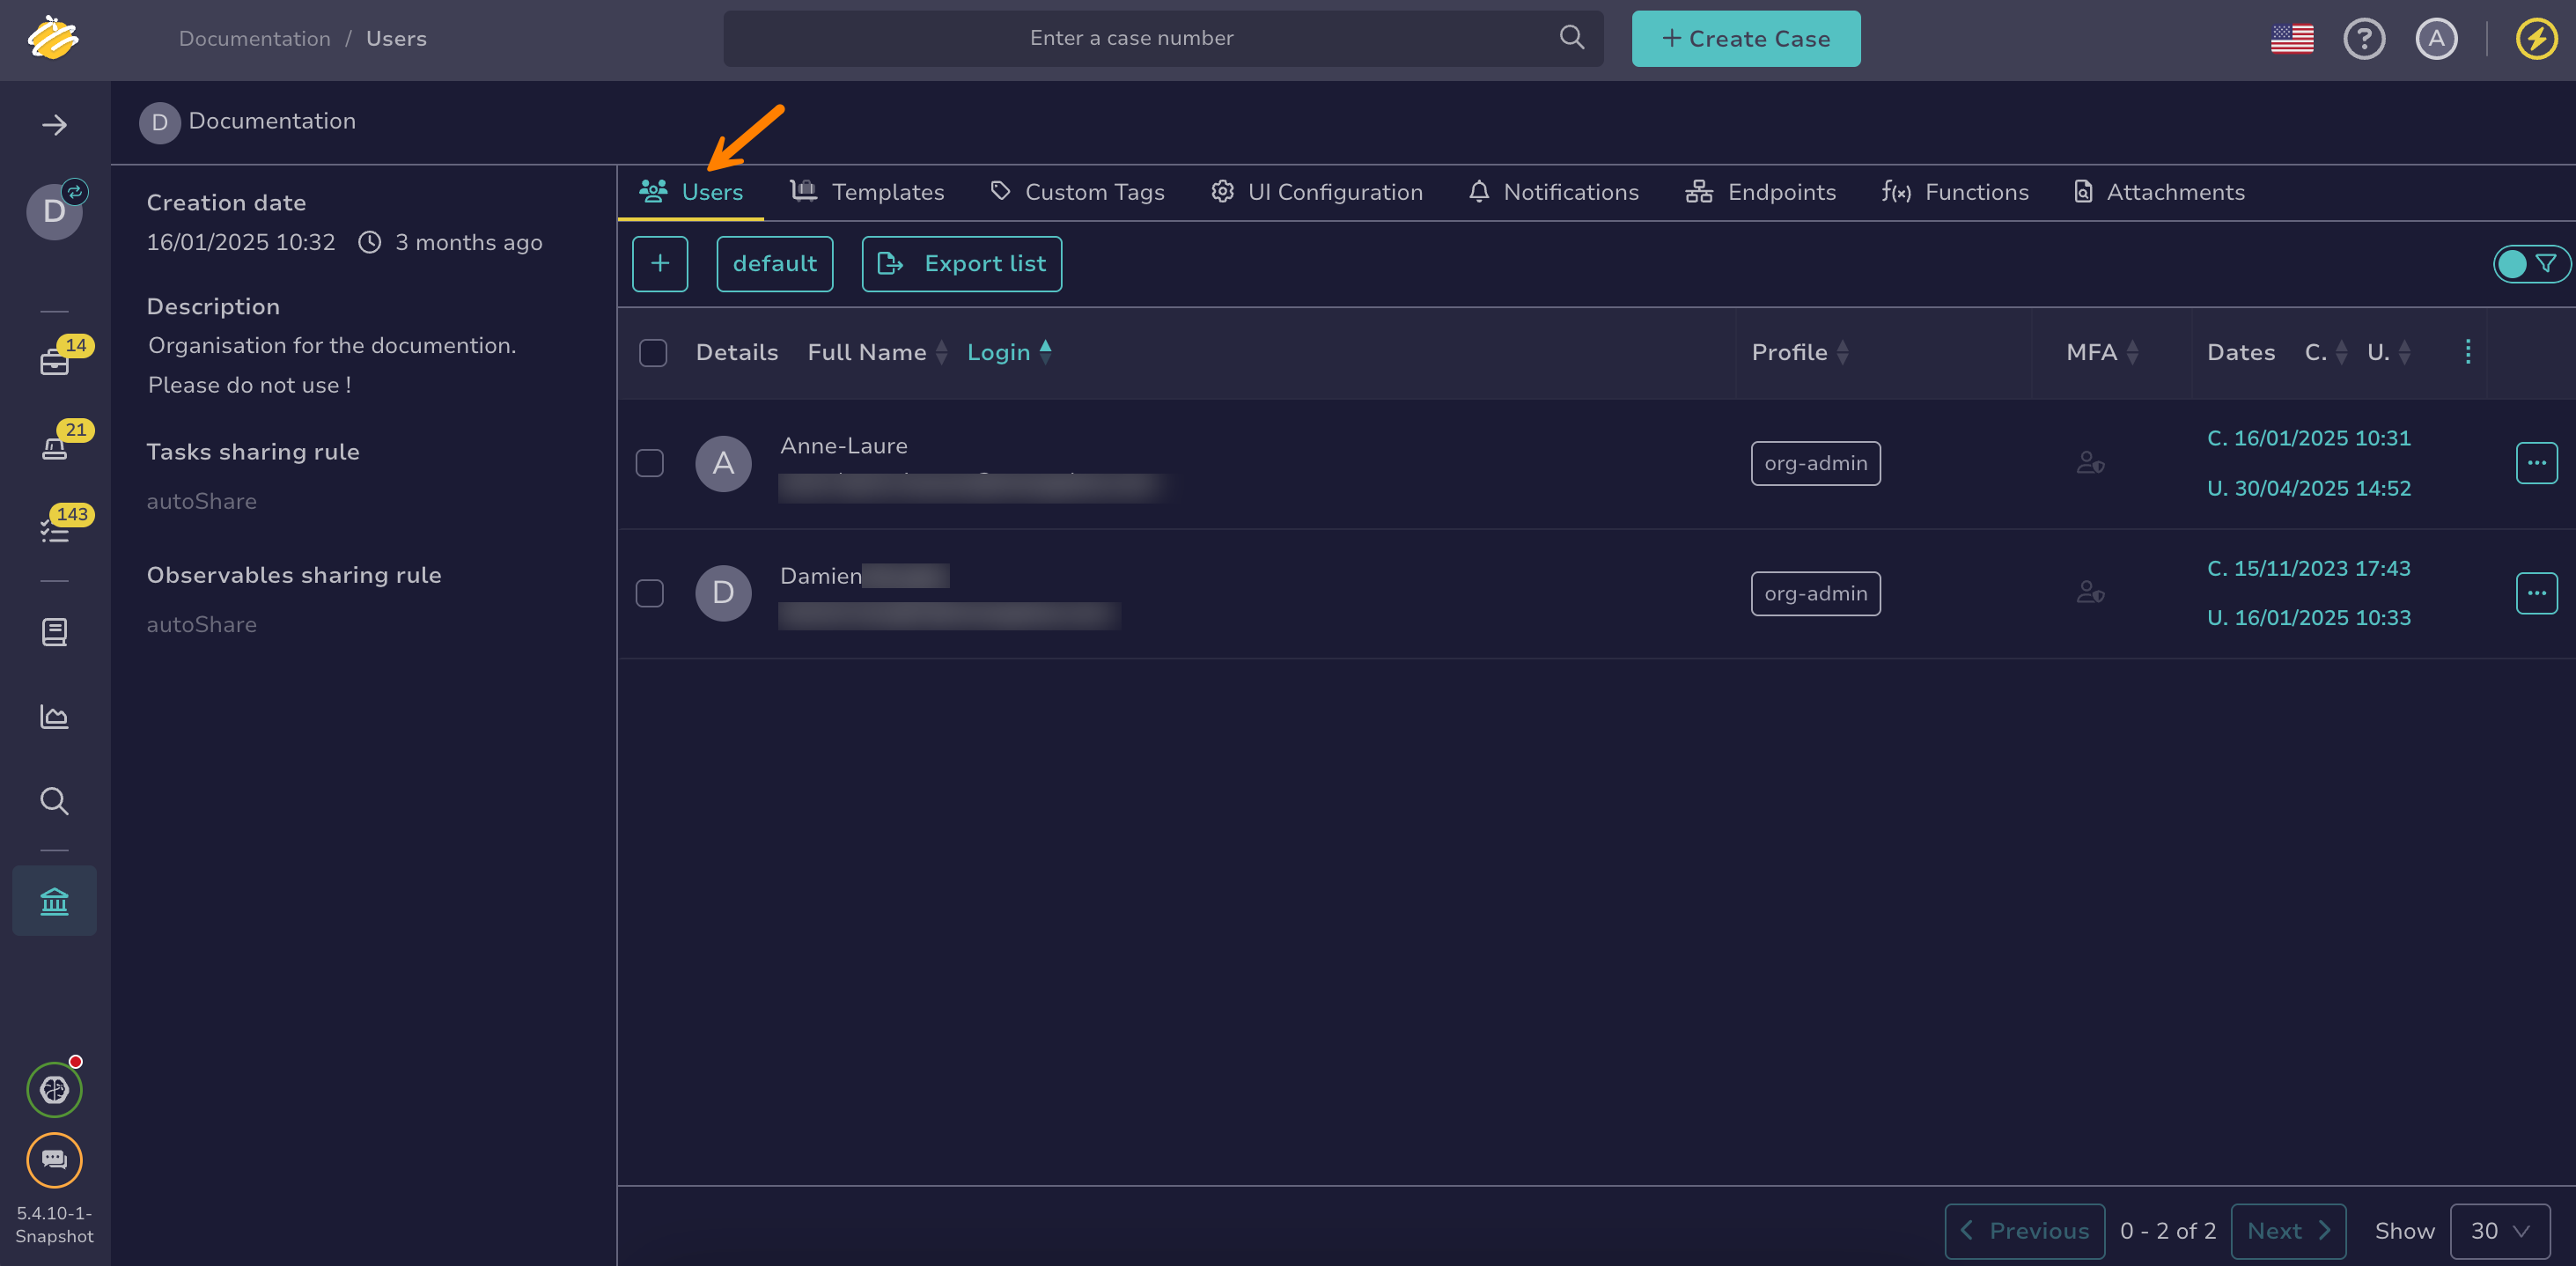
-
Select .
-
In the Adding a user drawer, enter:
- Type *
The user account type you want to create.
Pick an option from the dropdown list:
- Normal: Intended for users who access TheHive through the web interface. Normal accounts support all authentication methods. These accounts can also generate API keys if enabled.
- Service: Designed for programmatic access to TheHive via the API. Service accounts authenticate exclusively using an API key and can't sign in to the web interface.
- 5.6 Platinum External: Intended for users who access TheHive Portal.
- Login *
The login used for the user to sign in. It can be an email address or another identifier, depending on your authentication configuration.
- Name *
The user account's display name.
- Profile *
Select a permission profile for the user account from the dropdown list.
-
Select Confirm.
-
In the user accounts list, hover over the user you just created and select .
-
Optional: Select the default user account avatar to modify it, then upload a new image. Only PNG and JPG formats are supported.
-
Optional: If the login isn't an email, add an email address in the Email field. This address is used to send notifications and password-related information to the user.
-
Optional: Select Create to generate an API key.
-
Select Set a new password to create a default password for the user account.
-
Select Confirm.
Create a user account for multiple organizations#
-
Go to the Users view from the sidebar menu.
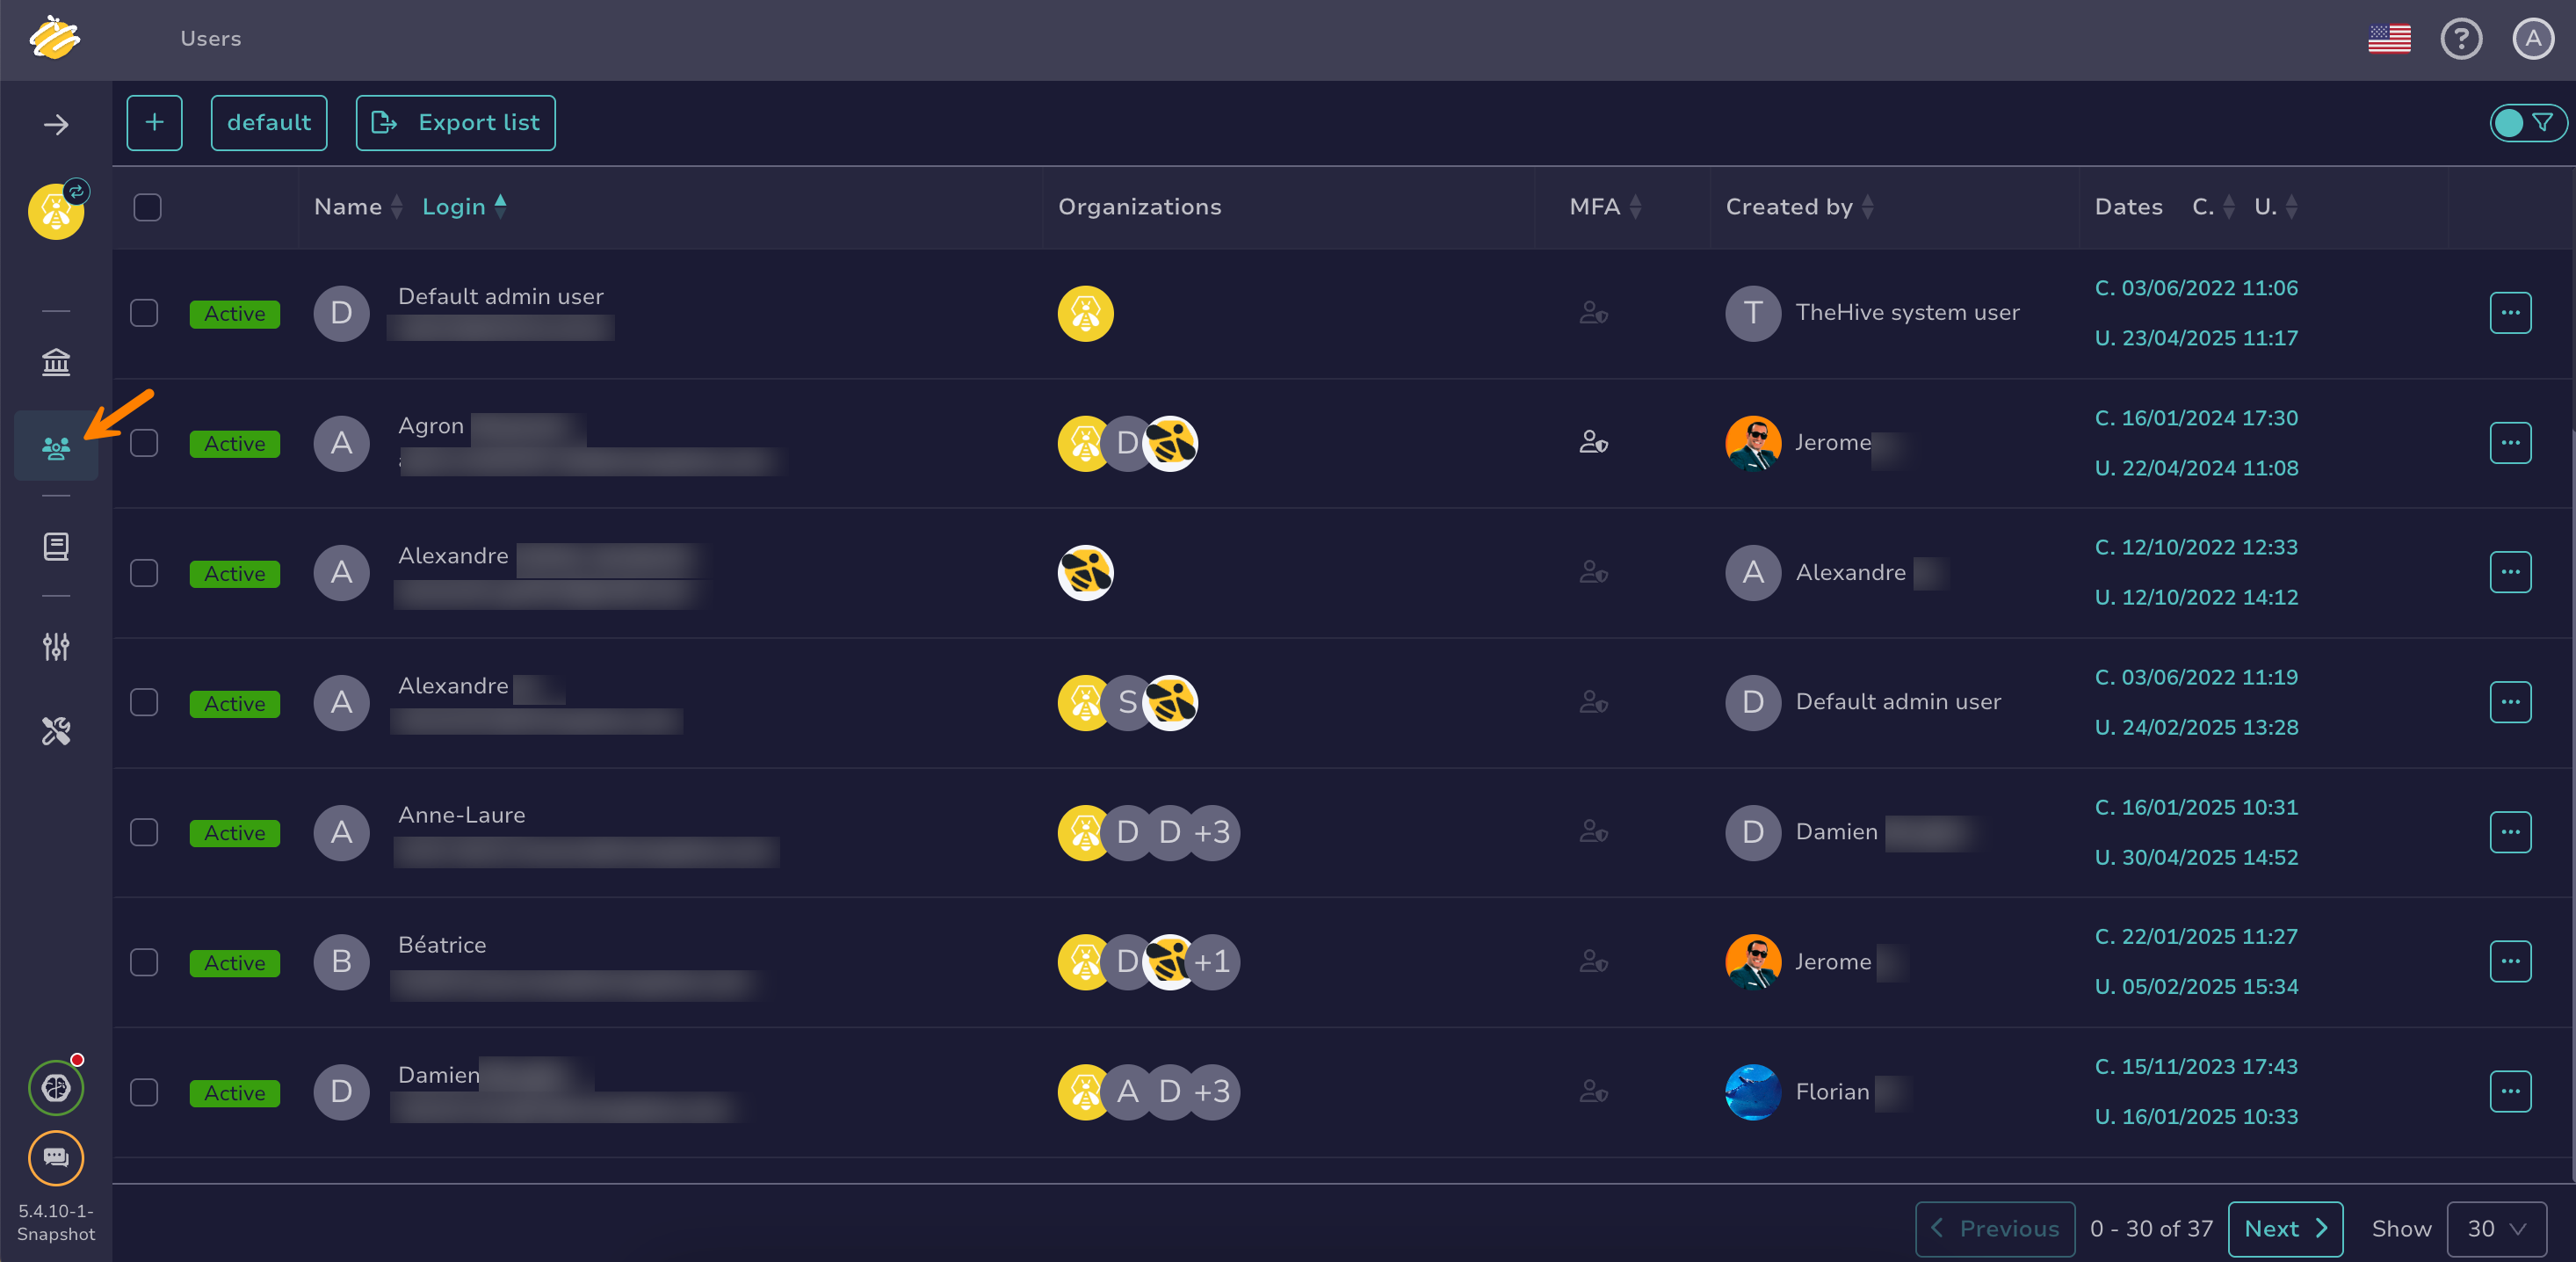
-
Select .
-
In the Adding a user drawer, enter:
- Type *
The user account type you want to create.
Pick an option from the dropdown list:
- Normal: Intended for users who access TheHive through the web interface. Normal accounts support all authentication methods. These accounts can also generate API keys if enabled.
- Service: Designed for programmatic access to TheHive via the API. Service accounts authenticate exclusively using an API key and can't sign in to the web interface.
- 5.6 Platinum External: Intended for users who access TheHive Portal.
- Login *
The login used for the user to sign in. It can be an email address or another identifier, depending on your authentication configuration.
- Name *
The user account's display name.
- Organizations *
Select one or more organizations to assign to the user account. To set the default organization the user accesses when signing in to TheHive, select Set as default.
For each organization, select a permission profile for the user account from the dropdown list.
5.4.3 Profiles that require a Gold or Platinum license are labeled License required.
-
Select Confirm.
-
In the user accounts list, hover over the user you just created and select .
-
Optional: Select the default user account avatar to modify it, then upload a new image. Only PNG and JPG formats are supported.
-
Optional: If the login isn't an email, add an email address in the Email field. This address is used to send notifications and password-related information to the user.
-
Optional: Select Create to generate an API key.
-
Select Set a new password to create a default password for the user account.
-
Select Confirm.