Tutorial: Automate Monitoring of Tasks Approaching Their Due Date#
5.5 Platinum
In this tutorial, you'll set up an automation in TheHive to monitor tasks that are approaching their due date.
By the end, you'll have a working configuration that:
- Identifies tasks due within the next six hours
- Flags those tasks
- Sends a notification by email, Slack, or Microsoft Teams containing a list of flagged tasks
This helps teams stay ahead of deadlines and reduce the risk of overdue tasks.
Step 1: Periodically identify and flag tasks approaching their due date using an alert feeder#
Create an alert feeder that regularly scans the list of tasks, identifies those due within the next six hours, and flags them.
Customize the time window to fit your needs
The six-hour time window used in this tutorial is provided as an example. You can adjust the amount and unit values in the query to align with your team’s operational timelines and escalation practices.
-
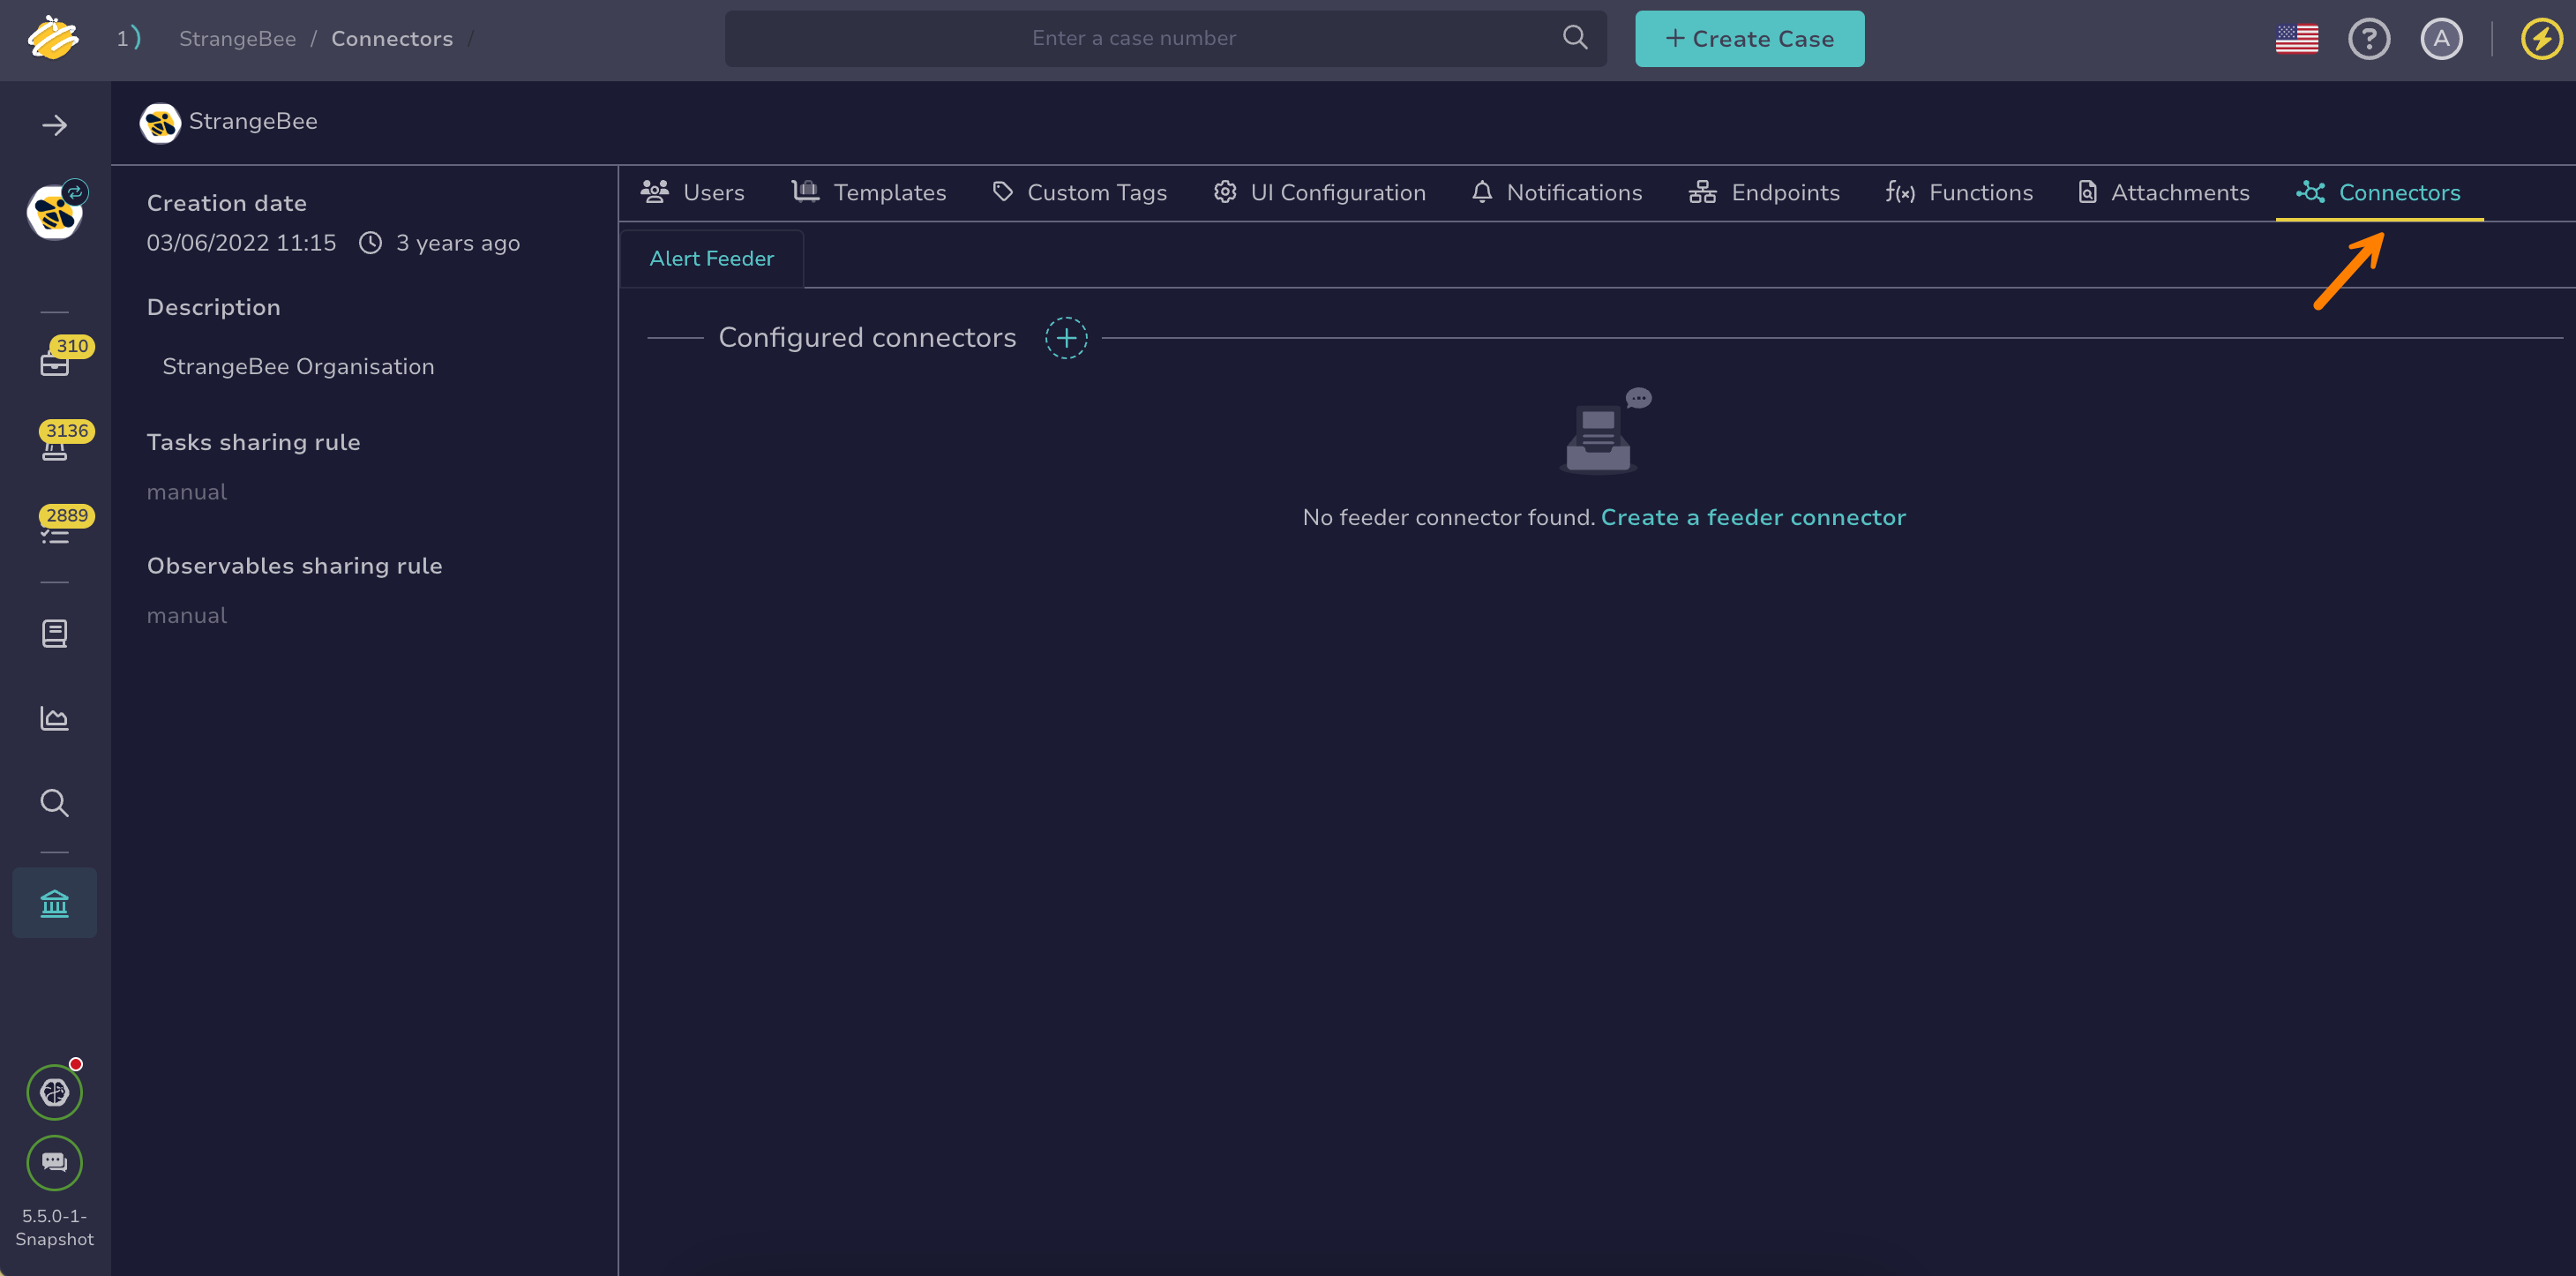
Go to the Organization view from the sidebar menu.
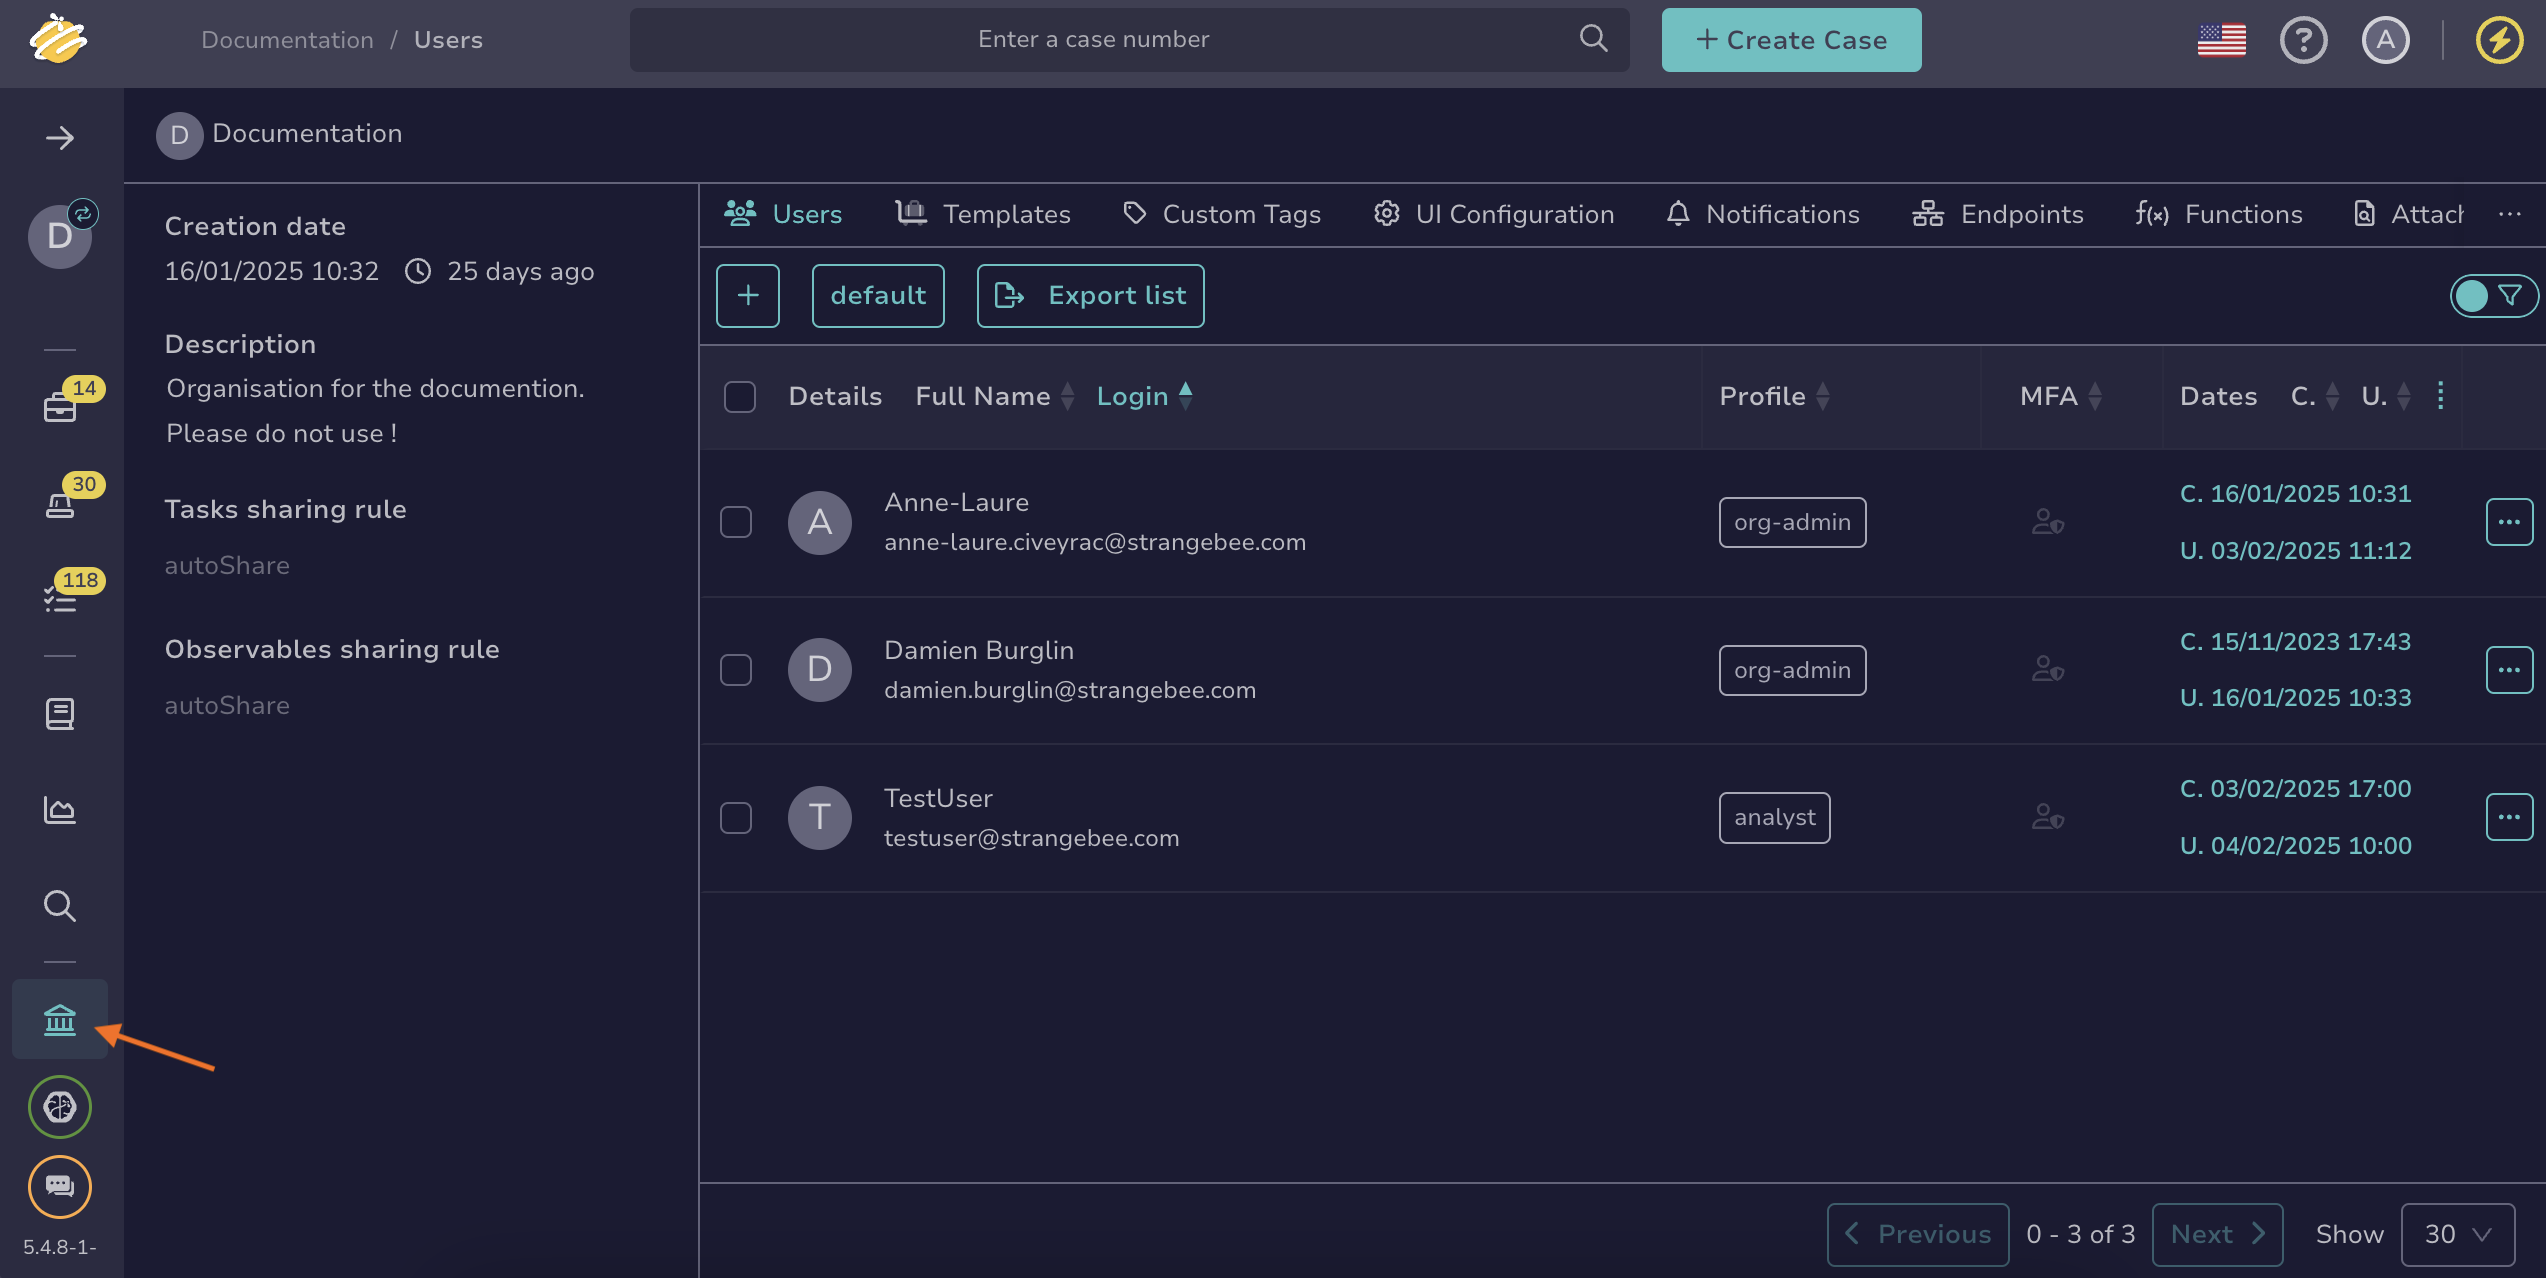
-
Select the Connectors tab.
-
In the General settings section, enter the following information:
- Name:
FlagTasksApproachingDueDateFeeder- Interval:
30 minutes- Request timeout time:
10 minutes- Request response max size:
10- Description:
This alert feeder periodically scans tasks and flags those due within the next six hours to help prevent overdue work. -
In the HTTP request section, enter the following information:
- Method:
POST- URL:
https://<thehive_url>/api/v1/query?name=get-global-tasksReplace
<thehive_url>with your actual TheHive URL.- Body:
{ "query": [ { "_name": "listTask" }, { "_name": "filter", "_and": [ { "_lt": { "_field": "dueDate", "_value": { "amount": 6, "unit": "hours", "look": "ahead" } } }, { "_gt": { "_field": "dueDate", "_value": { "amount": 1, "unit": "seconds", "look": "ahead" } } } ] } ] } -
In the Header section, select and configure the following headers:
Key Value Description Content-Typeapplication/jsonSpecifies that the request payload is formatted as JSON. X-Organisation<organization_name>Optional. Specifies the organization to use for the request when you belong to multiple organizations. If omitted, the default organization is used. Replace <organization_name>with the name of the organization in which you want the HTTP request to be executed. -
In the Authentication section, enter the following information:
- Auth type:
Bearer- Key: Your API key. For guidance on finding it, see Manage your API key.
-
Select Test connection to verify the connection to TheHive API.
-
In the Create function section, enter the following information:
- Function name:
FlagTasksApproachingDueDate- Description:
Flags tasks approaching their due date- Definition
Use this function definition:
// Name: FlagTasksApproachingDueDate // Type: Feeder // Desc: Flags tasks approaching their due date. function extractTasks(input) { if (!input) return []; // If input itself is already an array of tasks if (Array.isArray(input)) return input; // Common payload shapes const candidates = [ input.tasks, input.data, input.results, input.items, input.task, input.body, // sometimes integrations wrap it input.response, // sometimes integrations wrap it input?.tasks?.items, input?.data?.items, input?.results?.items ]; for (const c of candidates) { if (Array.isArray(c)) return c; if (c && Array.isArray(c.items)) return c.items; } return []; } function taskId(t) { if (!t) return null; if (typeof t === "string") return t; return t._id || t.id || null; } function normStatus(s) { return (s ?? "").toString().trim().toLowerCase(); } function handle(input, context) { const FLAG_FIELD = input?.flagField || "flag"; const EXCLUDE_CANCELLED = input?.excludeCancelled !== false; // default true const CANCELLED_VALUE = normStatus(input?.cancelledValue || "Cancel"); const tasks = extractTasks(input); if (!tasks || tasks.length === 0) { // Helpful debug: show what keys exist in input so you can align mapping const keys = input && typeof input === "object" ? Object.keys(input) : []; print(`[Function_task flagger] [INFO] No tasks found in input payload. input keys: ${JSON.stringify(keys)}`); return; } let ok = 0; let skipped = 0; let failed = 0; tasks.forEach(t => { // Optional skip cancelled if (EXCLUDE_CANCELLED) { const st = normStatus(t.status || t.state); if (st && st === CANCELLED_VALUE) { skipped++; return; } } // Skip already flagged if (t[FLAG_FIELD] === true) { skipped++; return; } const id = taskId(t); if (!id) { failed++; print("[ERROR] Task without _id/id in payload"); return; } try { context.task.update(id, { [FLAG_FIELD]: true }); ok++; } catch (err) { failed++; print(`[ERROR] Failed to flag task ${id}: ${err}`); } }); print(`[END] Received: ${tasks.length} | Flagged: ${ok} | Skipped: ${skipped} | Failed: ${failed}`); } -
In the Test function section, you can test your function as follows:
-
Enter input data by selecting input.
-
Select one of the following:
- Run function (dry-run) to simulate the function without sending data.
- Run function to execute the function with actual data.
-
After running the function, select one of the following to view results:
- result to view the function’s output
- stdout to display standard output from the function
- stderr to display errors and warnings
-
-
Select Confirm.
Step 2: Configure a notification to inform managers about flagged tasks#
Next, configure TheHive to send a notification to the manager about flagged tasks. You can send notifications by email, Slack, or Microsoft Teams.
-
Go to the Organization view from the sidebar menu.
-
Select the Notifications tab.
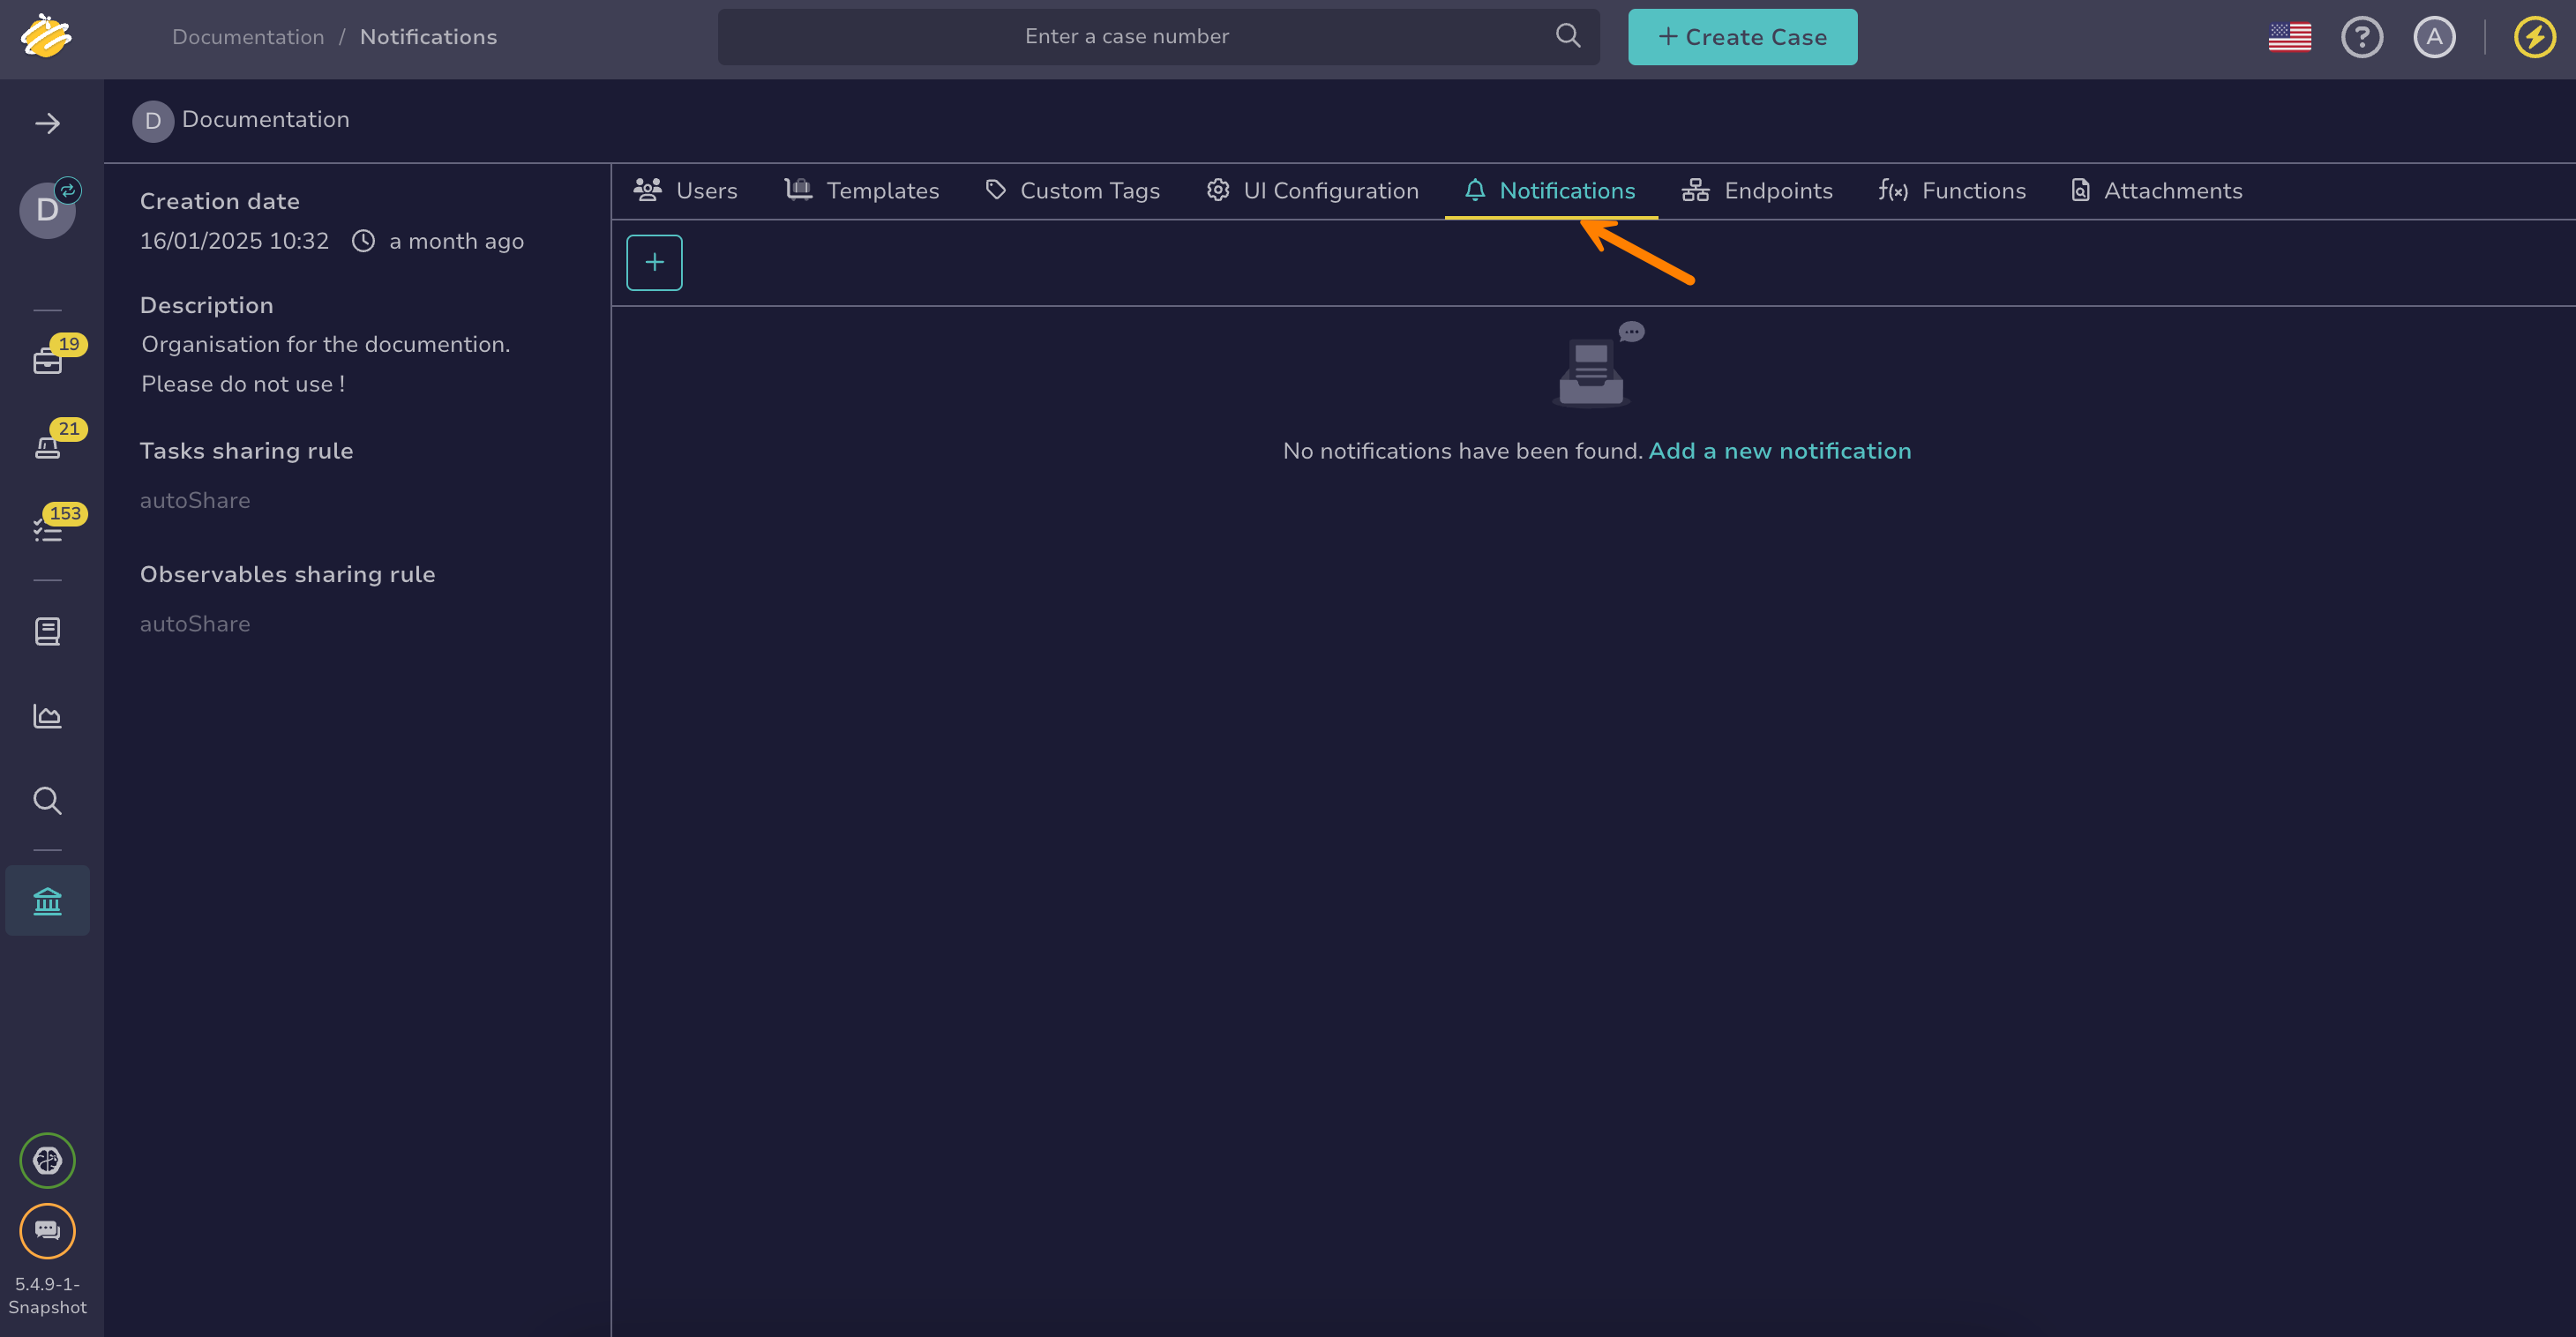
-
Select .
-
In the Add notification drawer, enter the name of the notification:
TasksDueSoonNotification -
Select the FilteredEvent trigger.
-
Enter the following custom filter:
{ "_and": [ { "_is": { "objectType": "Task" } }, { "_is": { "action": "update" } }, { "_is": { "details.flag": true } } ] } -
Depending on where you want to send the notification, configure one of the following notifiers:
SMTP server required
This step requires an SMTP server to be configured. If it's not already set up, follow the instructions in Configure an SMTP Server.
a. Select the EmailerToAddr notifier.
b. In the EmailerToAddr drawer, enter the required email information.
Email template example:
Subject: Task due soon [Case #{{context.number}} - {{object.title}}]
To: {{object.assignee}}

Hello,

A task is approaching its due date.

See details below:

Task title: {{object.title}}
Case number: {{context.number}}
Case title: {{context.title}}

Direct link to the task: {{url}}
c. Select Confirm.
a. Select the Slack notifier.
b. In the Slack drawer, enter the following information:
- Endpoint
Using Slack as a notifier requires at least one endpoint. This endpoint defines how TheHive connects to Slack.
Select an existing endpoint. Endpoints can be local, defined at the organization level, or global, defined at the client level for one or more organizations. You can add a new local endpoint by selecting Add a new endpoint.
- Text template
The message content to send to the Slack endpoint. Select JSON, Markdown, or plain text.
Plain text message example:
A task is approaching its due date.

See details below:

Task title: {{object.title}}
Case number: {{context.number}}
Case title: {{context.title}}

Direct link to the task: {{url}}
- Channel
The Slack channel where you want to send the data. This overrides the default channel set in the endpoint configuration.
- Username
A username that will appear as the sender of the message in Slack. This overrides the default username set in the endpoint configuration.
c. Select Confirm.
a. Select the Teams notifier.
b. In the Teams drawer, enter the following information:
- Endpoint
Using Microsoft Teams as a notifier requires at least one endpoint. This endpoint defines how TheHive connects to Microsoft Teams.
Endpoints can be local, defined at the organization level, or global, defined at the client level for one or more organizations. You can add a new local endpoint by selecting Add a new endpoint.
- Text template
The message content to send to the Microsoft Teams endpoint.
If an Adaptive Card template isn't provided, you must use a plain text template. Starting version 5.4.3, TheHive automatically converts plain text into an Adaptive Card format structured with JSON.
Tips to write text templates
Use the Adaptive Cards Designer#
Use the Adaptive Cards Designer as a starting point to design your Adaptive Cards.
Format dates#
- TheHive uses Handlebars string helpers to read dates.
- Formatting date and time in notifications requires using dedicated Java patterns.
Format other custom data from TheHive#
Few data custom to TheHive can be properly displayed using custom string handlers together with
objectdata in notifications:tlpLabelto display the TLP value (example:{{tlpLabel object.tlp}})papLabelto display the PAP value (example:{{papLabel object.pap}})severityLabelto display the severity value (example:{{severityLabel object.severity}})
c. Select Confirm.
-
Select Confirm again to save the notification.
That’s it—your automation is now fully set up and ready to monitor tasks approaching their due date.