Create a Custom Field#
Create custom fields in TheHive to extend the default set of fields available in cases and alerts with company-specific data.
Procedure
-
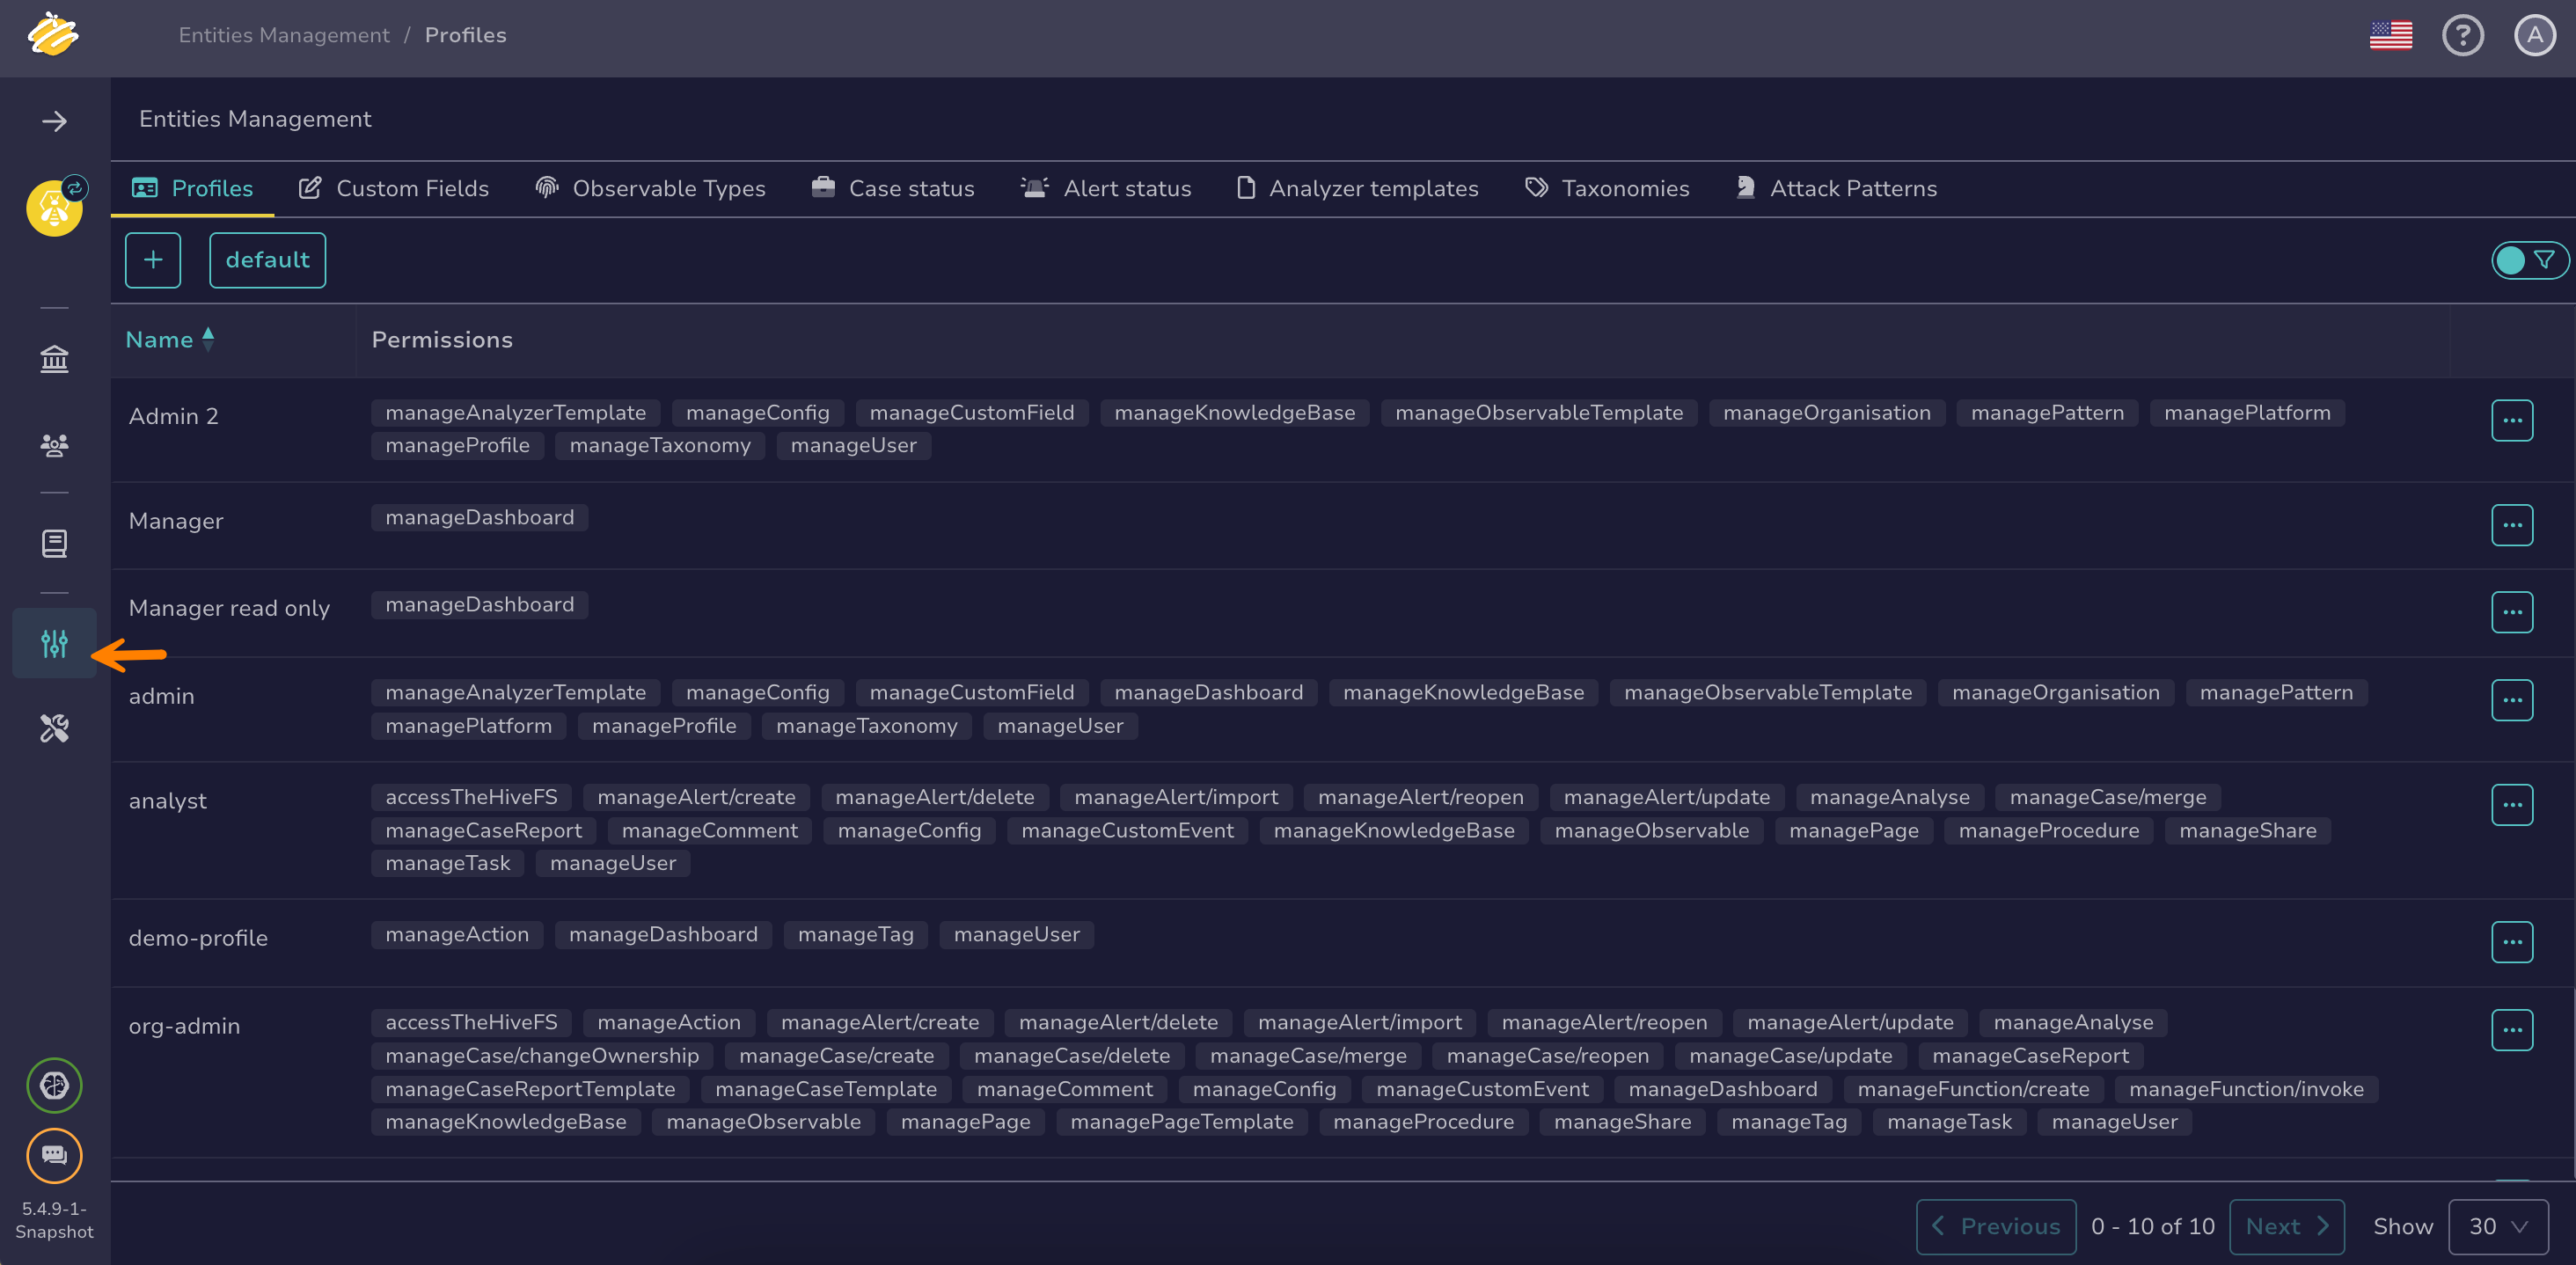
Go to the Entities management view from the sidebar menu.
-
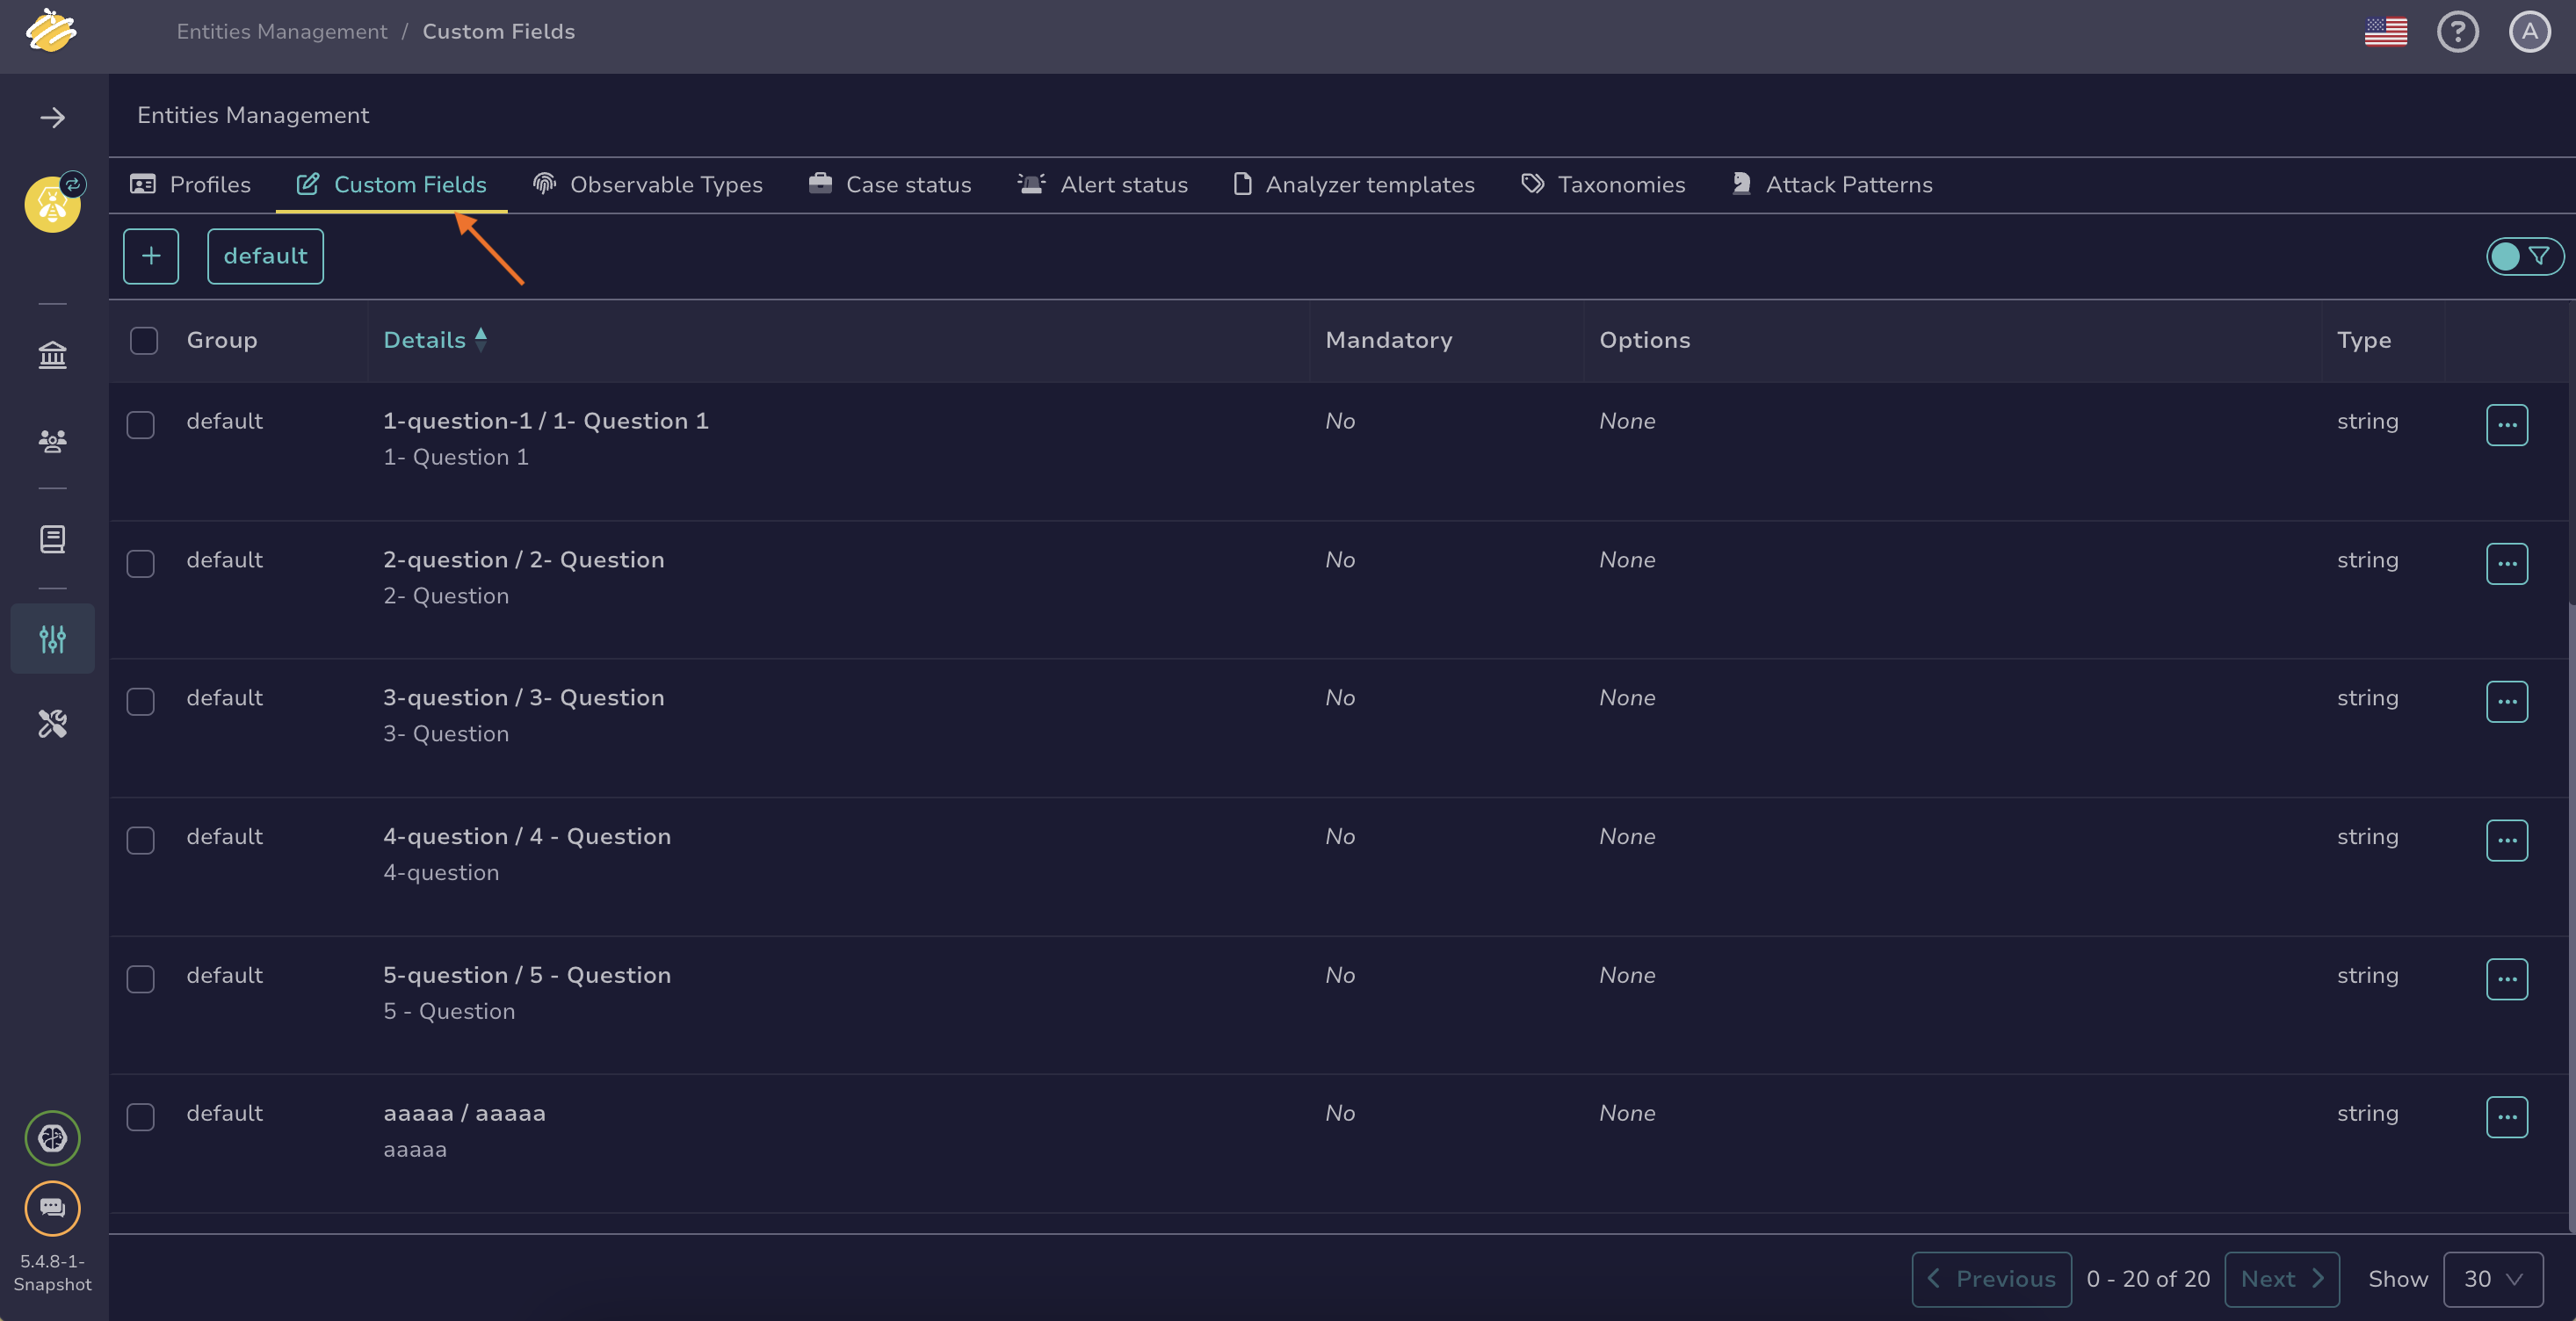
Select the Custom fields tab.
-
Select .
-
Enter the following information:
Fields marked with * are mandatory.
- Display name *
The name users will see when adding this custom field to their cases or alerts.
- Technical name *
By default, the technical name is automatically generated from the display name, but you can adjust it if needed. Users don't see the technical name when adding a custom field, but it's used when accessing the custom field via the API.
- Description *
A description to help users understand and use this custom field appropriately. It appears when users hover over the symbol next to the custom field in a case or alert.
- Group *
Select an existing group name or enter a new one to create a group. It organizes related custom fields when searching and appears as a tab in cases and alerts.
- Type *
The type of data the custom field contains:
- String: Text input
- Boolean: True/false values
- Integer: Whole numbers
- Float: Decimal numbers
- Date: Specific dates
- URL: Web links
Predefined values
For the string, integer, and float types, you can define predefined values by entering each value on a separate line in the Options field. If you choose to do this, users will only be able to select from the predefined values you specify. This helps maintain data consistency for reporting purposes.
- Mandatory
Turn on the toggle to require users to enter a value in this custom field.
Set a custom field as mandatory if you use it in dashboards or any automation workflow.
-
Select Confirm custom field creation.