Configure an OpenID Authentication Provider#
5.5 Platinum One
Configure an OpenID authentication provider in TheHive.
Procedure
Prerequisites
- Users must have an existing account in TheHive local database to authenticate successfully.
- These steps assume that you have already followed the instructions to configure the authentication settings.
- The base URL is set to the public URL of TheHive. TheHive uses it to build the URL the identity provider (IdP) redirects users to after they sign in. With the default value
http://localhost:9000, users are sent back to localhost.
Login flow with multiple OpenID providers
You can configure multiple OpenID providers in TheHive. When a user attempts to log in, TheHive queries each provider sequentially, following the defined order. The process stops as soon as a provider grants authorization.
-
Go to the Platform management view from the sidebar menu.
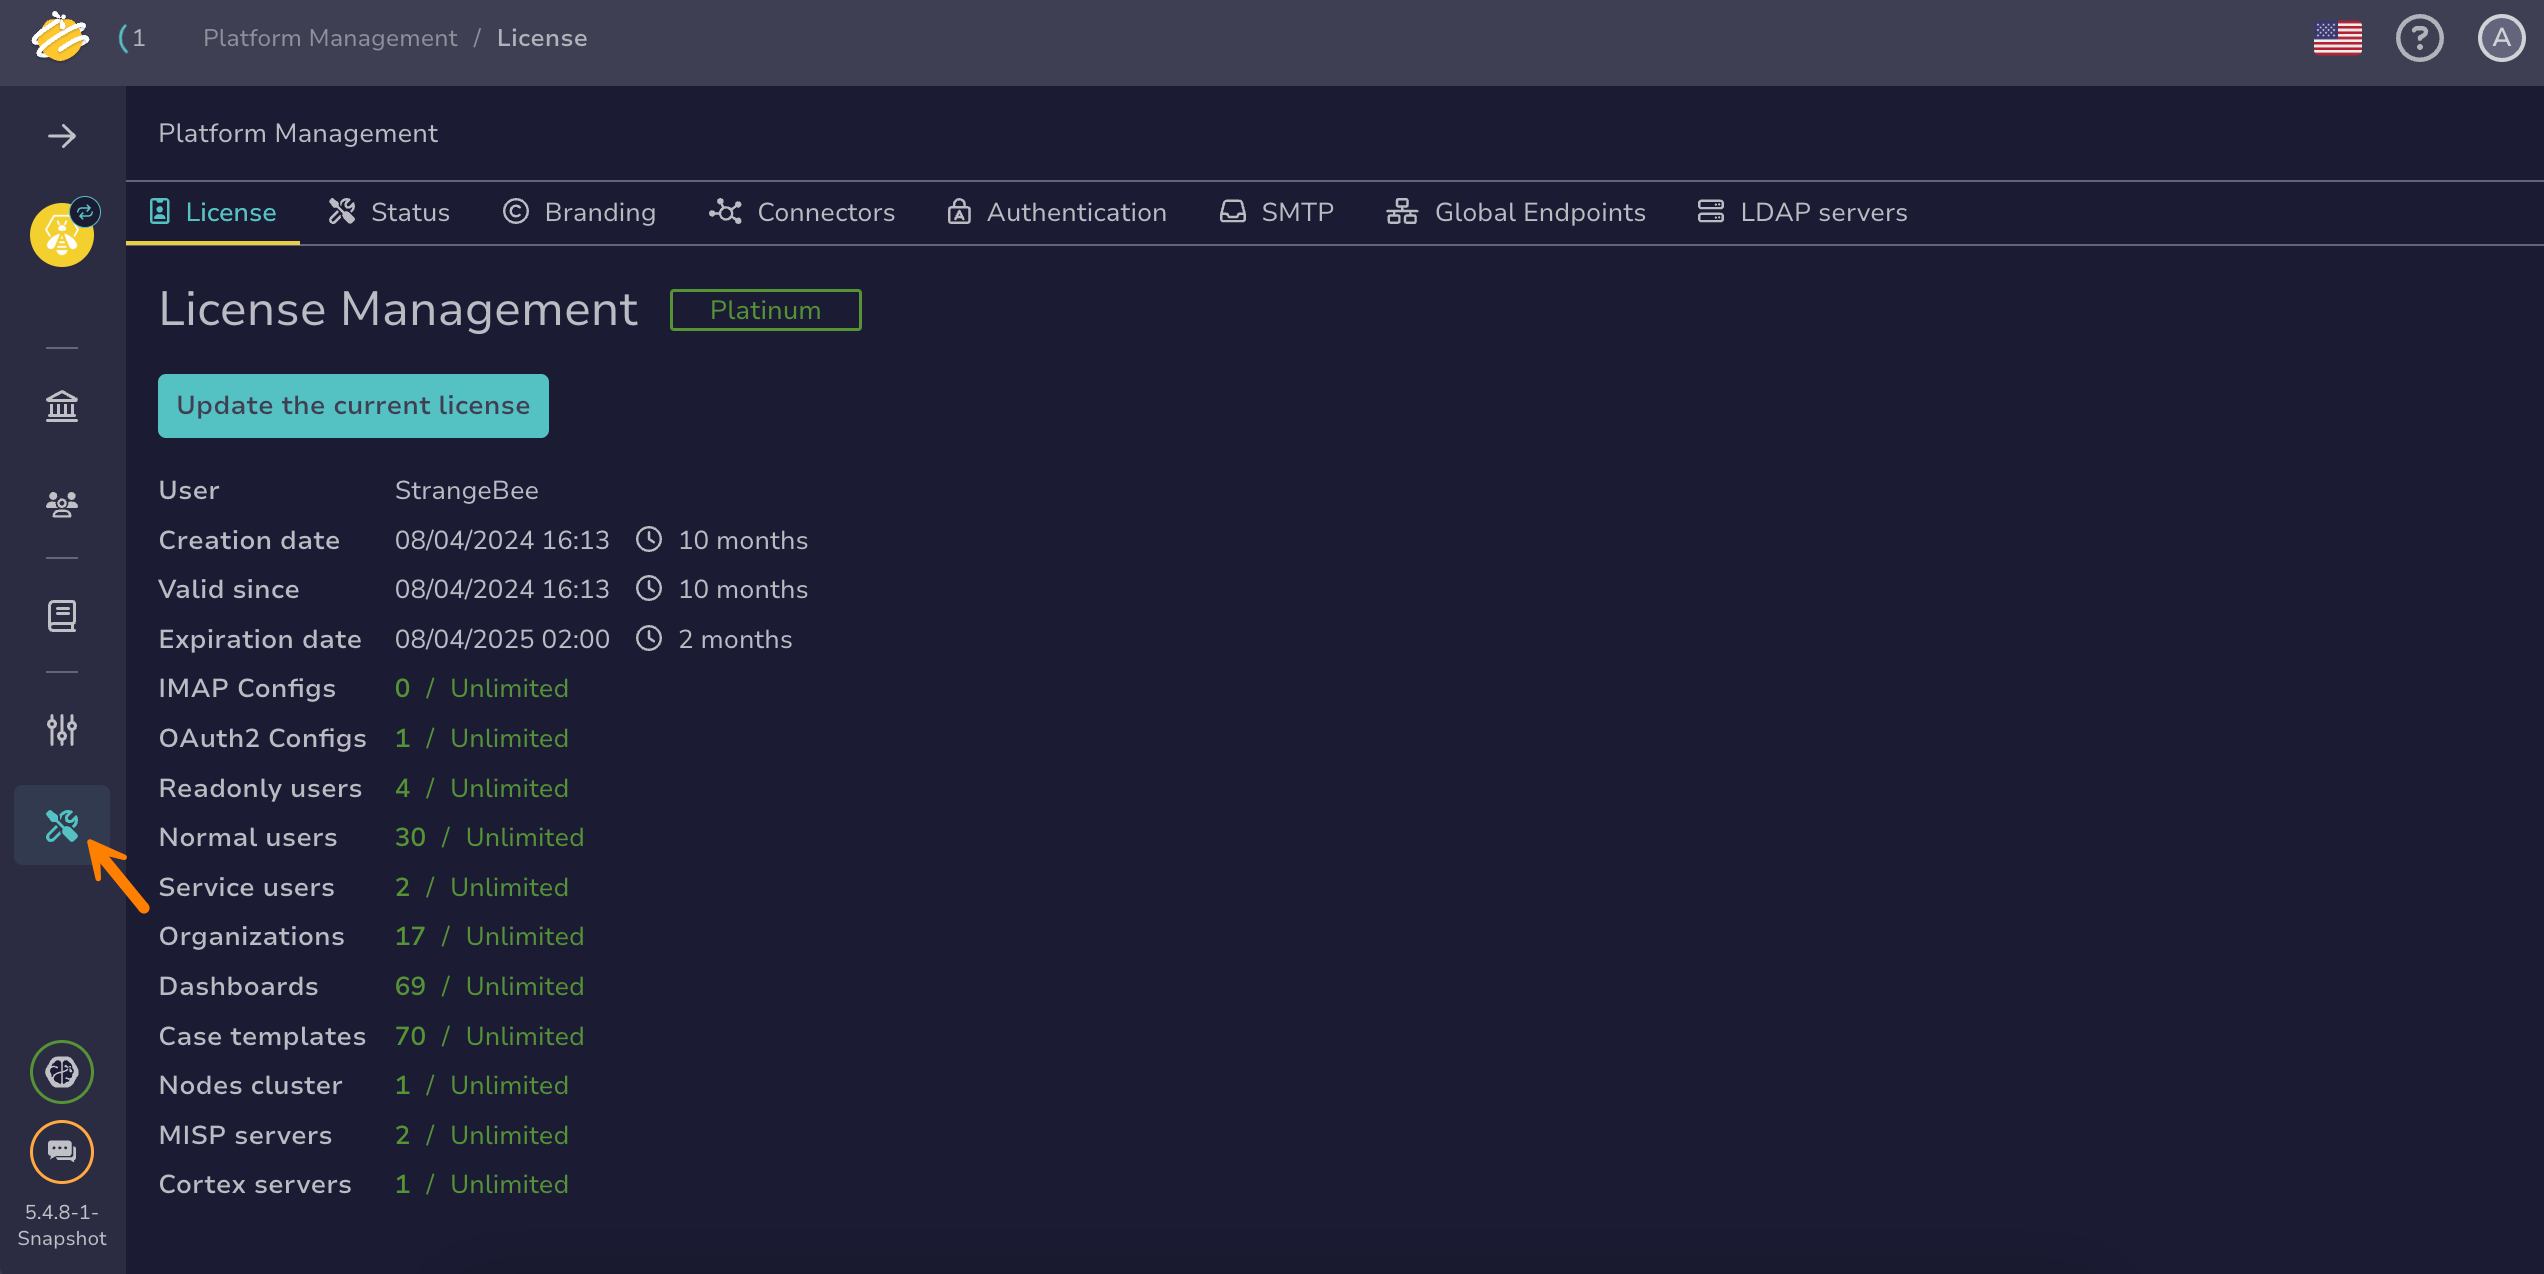
-
Select the Authentication tab.
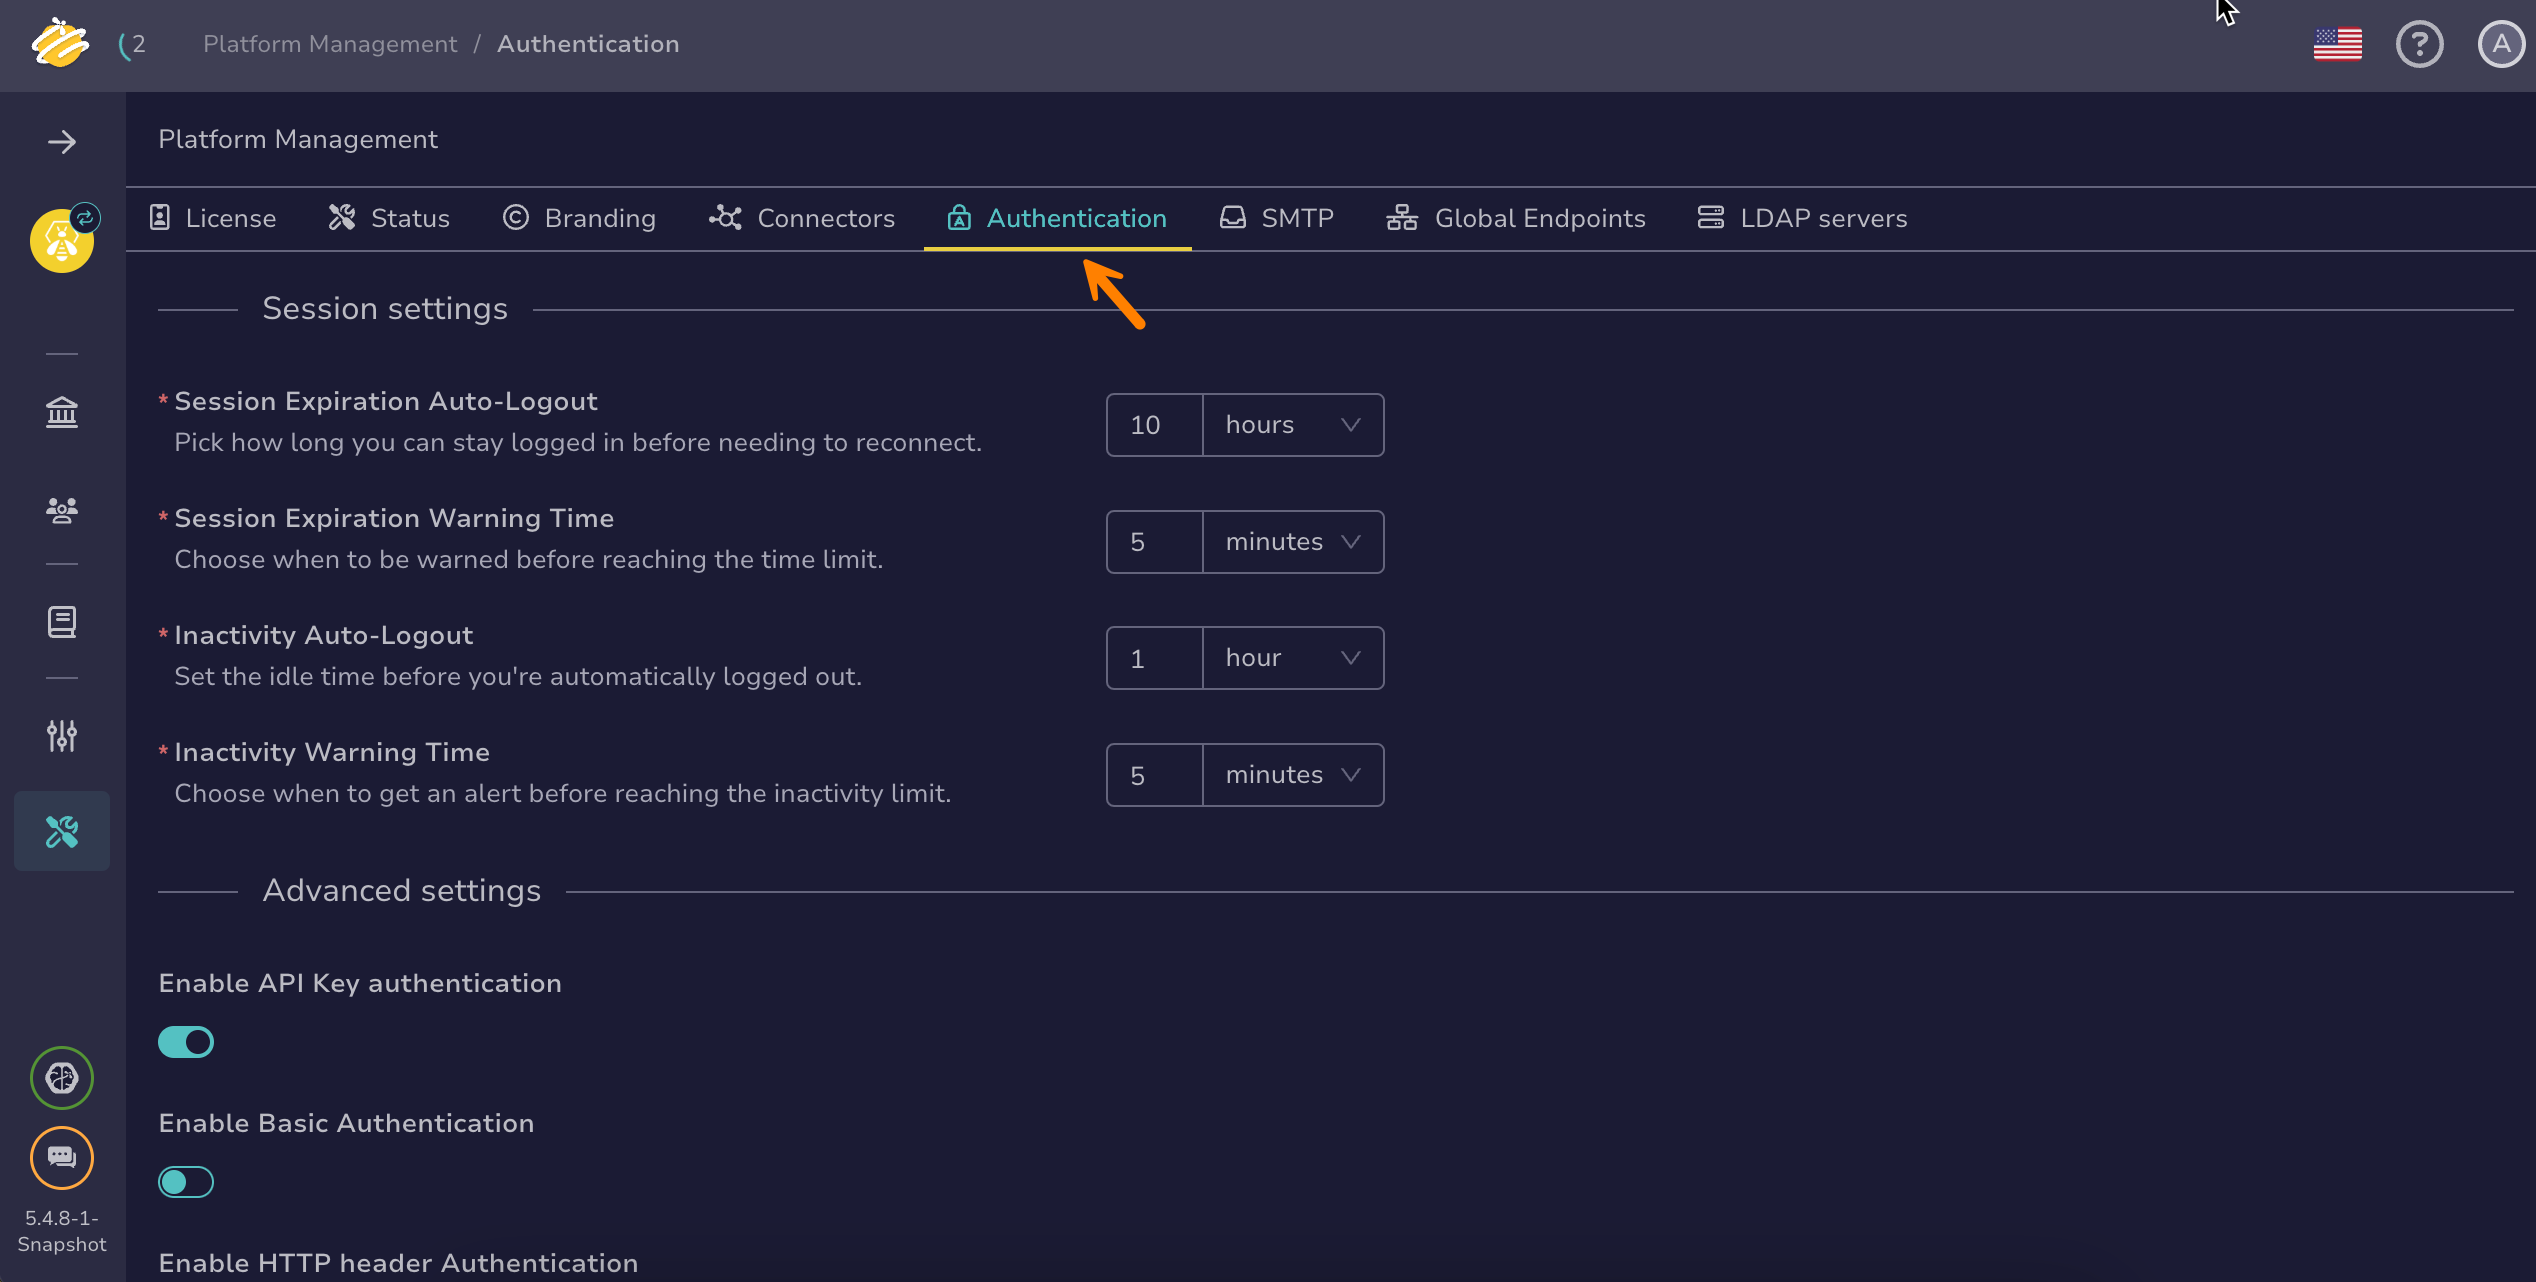
-
Select SSO authentication in the Authentication providers section.
-
In the SSO authentication drawer, turn on the Enable SSO toggle.
-
Select Add a provider or select .
-
Select OpenID from the dropdown list.
-
Enter the following information:
Fields marked with * are mandatory.
- Name *
A recognizable name for the IdP in TheHive.
Example: Microsoft Entra ID
- Client ID *
The unique identifier for the OpenID application registered with the IdP.
- Secret *
The secret key associated with the Client ID.
- Identity provider metadata type *
Select how TheHive retrieves configuration information for the IdP—either from an JSON file or a URL.
-
If you choose url, provide the full link to the metadata document.
Examples:
- Microsoft Entra ID:
https://login.microsoftonline.com/<tenant_id>/.well-known/openid-configuration - Okta:
- With the org authorization server:
https://<okta_domain>/.well-known/openid-configuration?client_id=<client_id> - With a custom authorization server:
https://<okta_domain>/oauth2/<authorization_server_id>/.well-known/openid-configuration
- With the org authorization server:
- Microsoft Entra ID:
-
If you choose json, paste the JSON content directly into the field.
Example:
{
    "issuer": "https://login.microsoftonline.com/<tenant_id>/v2.0",
    "authorization_endpoint": "https://login.microsoftonline.com/<tenant_id>/oauth2/v2.0/authorize",
    "token_endpoint": "https://login.microsoftonline.com/<tenant_id>/oauth2/v2.0/token",
    "userinfo_endpoint": "https://graph.microsoft.com/oidc/userinfo"
}
- User login attribute
The name of the attribute from the IdP that contains the user's login information (such as email or username).
-
-
Copy the URL from the Callback URL / IDP-Initiated SSO URL field, then add it as a redirect URI in the application registered with the IdP.
Format:
https://<thehive_url>/api/sso/<provider_name>TheHive builds
<provider_name>from the Name field. If you rename the provider, update the redirect URI in the IdP.Callback URL and base URL
The Callback URL / IDP-Initiated SSO URL field shows the address in your browser. TheHive sends the IdP a URL built from the base URL. If they don't match, the IdP rejects the sign-in or redirects users to the wrong address.