Manage Workflows#
6.0 One
Workflows in TheHive Flow consist of interconnected nodes that define automated processes. They begin with a trigger and can include flow, transformation, action, and integration nodes. Workflows are scoped to the organization and shared among all members with sufficient permissions. There's no personal or user-isolated workspace.
Relationship to existing automation features
TheHive Flow workflows cover most of the use cases handled by existing automation features in TheHive, including notifications, alert feeders, functions, and Cortex responders. These features remain available and usable on their own. TheHive Flow adds multi-step logic, conditional branching, scheduled execution, and a visual workflow editor, all natively within TheHive, without requiring code or an external tool.
Reusing workflows
You can import workflows from other TheHive instances or organizations.
Create a workflow#
Create workflows in TheHive Flow to automate operations when specific events occur.
-
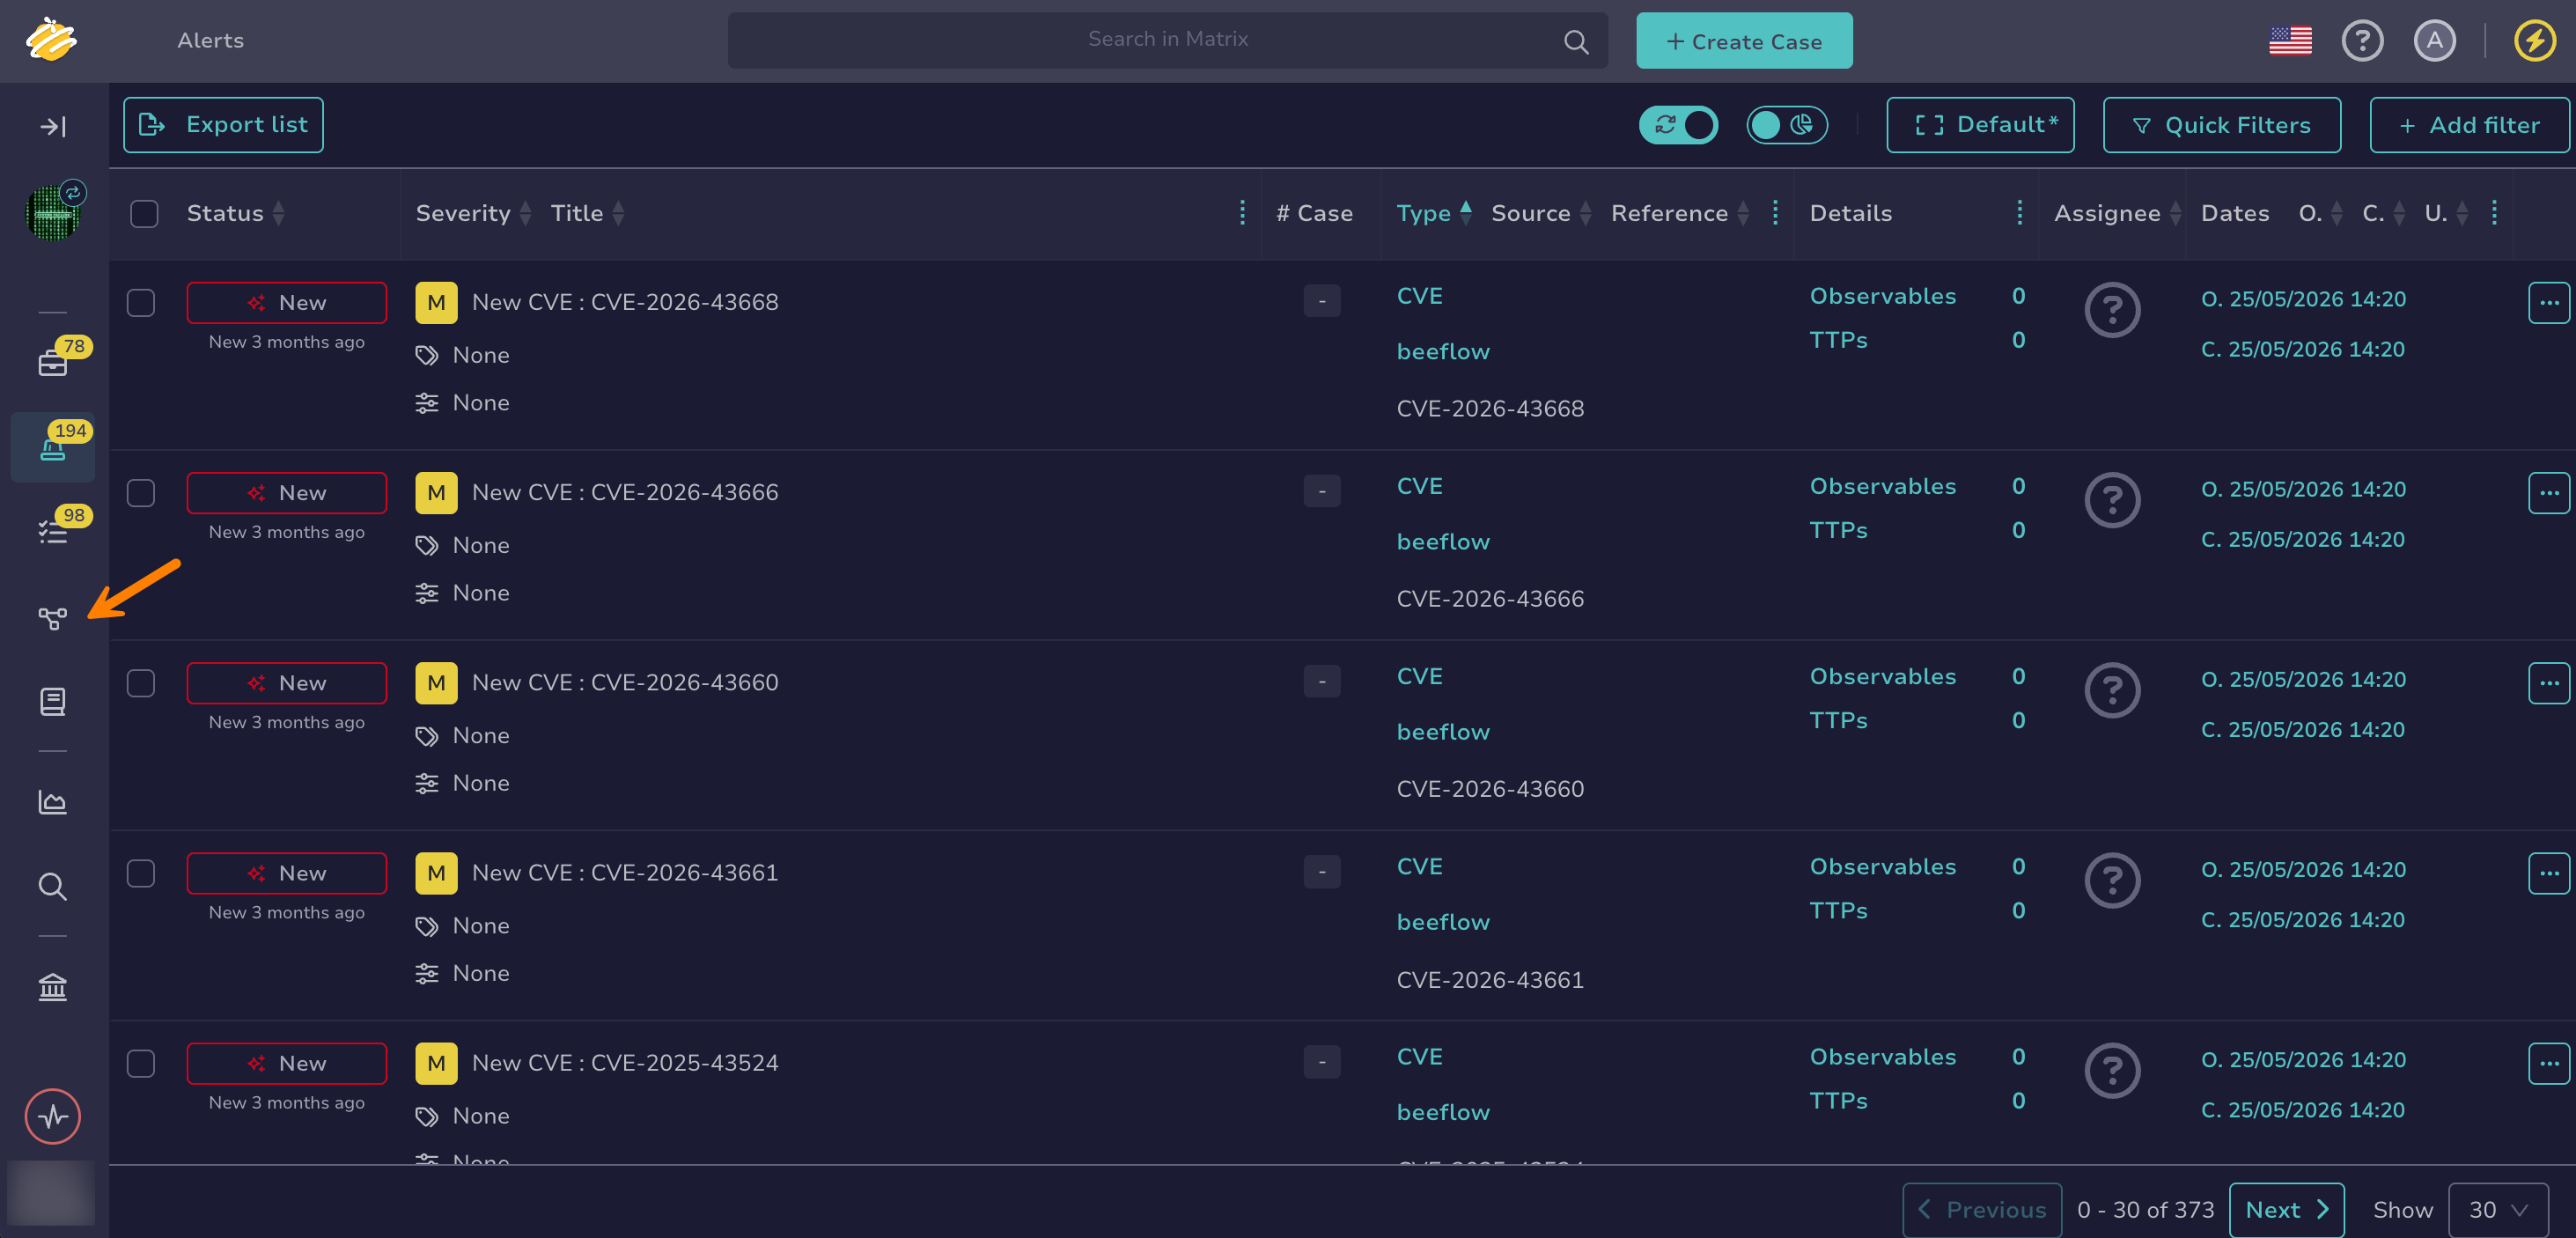
Go to the Flow view from the sidebar menu.
-
Select .
-
In the Workflow information drawer, enter the following information:
Fields marked with * are mandatory.
- Name *
The name of your workflow.
- Description
A description of your workflow.
- Tags
Free text tags to categorize and filter workflows.
- Timeout
The maximum allowed execution time for the entire workflow. Defaults to 1 hour if left blank. The minimum allowed value is 30 seconds.
You can also configure different timeout values at the node level. In that case, the shortest timeout value applies.
The timeout also prevails over the duration of a Sleep flow node: if the duration exceeds the workflow timeout, the execution times out before the pause completes.
-
Select Save.
TheHive creates a workflow with a default trigger node. The trigger node is the entry point that initiates workflow execution.
-
Optional: To declare the workflow's input and exit variables, select , then Settings, and fill in the Input variables and Output variables sections.
You can also declare and assign input variables directly when configuring a Webhook trigger. A run from a case or alert page assigns the case or alert identifier to an input variable named
case_idoralert_idwhen the workflow declares it. The identifier is also always available in the trigger payload. -
Optional: Create global variables to store fixed values shared across workflows. See Manage Global Variables for detailed instructions.
Local variables
If you need variables whose values are set during execution, use local variables. They're scoped to a single workflow and created with a Set local variable transformation node.
-
Select Add a trigger to configure one or more triggers in the trigger node.
For configuration instructions, see Add a Trigger.
Manual trigger from the workflow editor
The trigger node always lists a Manual entry, alongside any triggers you configure. It requires no configuration and can't be removed: you can manually run a workflow from the workflow editor even without configuring any triggers.
-
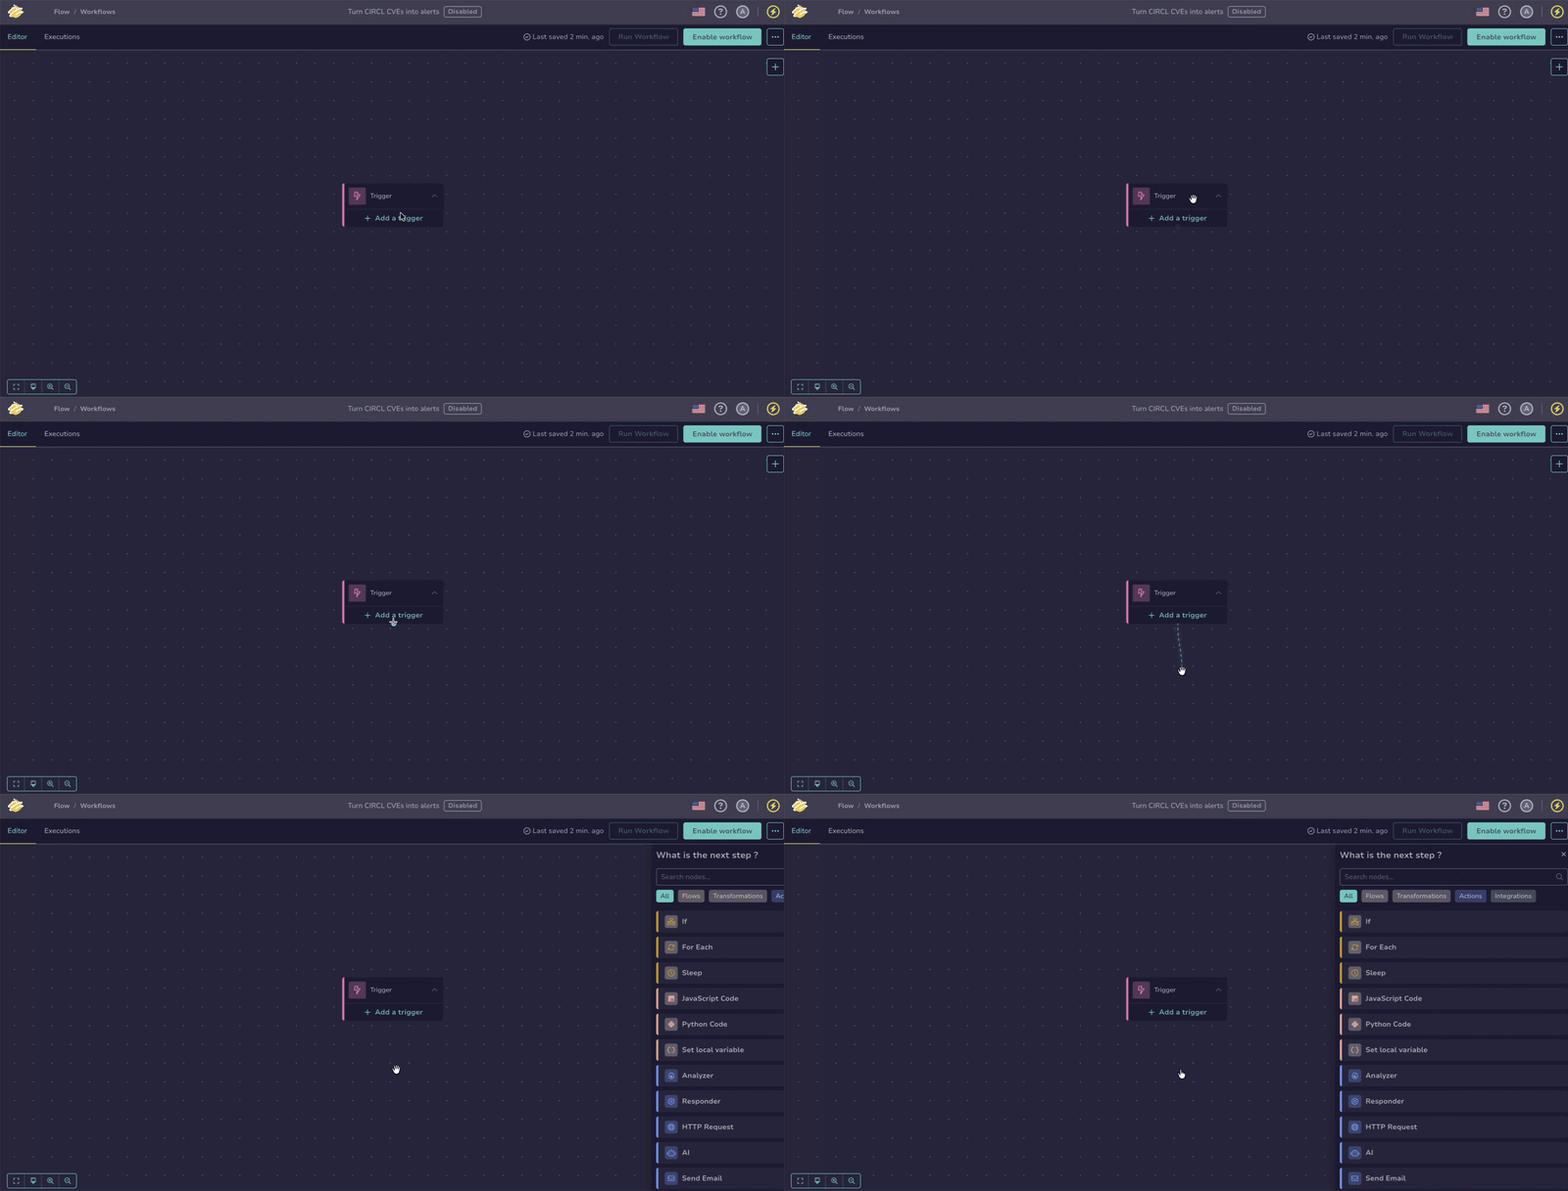
Add nodes to build your workflow by dragging the previous node connector to an empty area of the canvas.
-
Select the node you want to add:
- Flow nodes to control workflow branching and loops
- Transformation nodes to process and manipulate data
- Action nodes to perform generic operations such as sending requests or messages, running Cortex analyzers and responders, or calling an LLM
- Integration nodes to perform operations in TheHive or third-party products through their APIs
For configuration instructions, see Configure a Flow Node, Configure a Transformation Node, Configure an Action Node, or Configure an Integration Node.
Once created, the workflow is automatically saved.
Duplicate a workflow#
Duplicate a workflow to reuse its structure, or to keep a copy before making significant changes, because workflows have no versioning.
-
In the workflow list, select next to the workflow you want to duplicate.
-
Select Duplicate.
The copy takes the name of the original workflow followed by - Copy. To rename it, select next to the copy, then Settings. The copy starts turned off and has no Webhook or Scheduler trigger: add the triggers it needs, then enable it.
Duplicate a node#
No versioning
There's no workflow versioning. Any modification is applied immediately to the active workflow. Duplicate a workflow before making significant changes. To keep a history, export your workflows and version them in a Git repository.
-
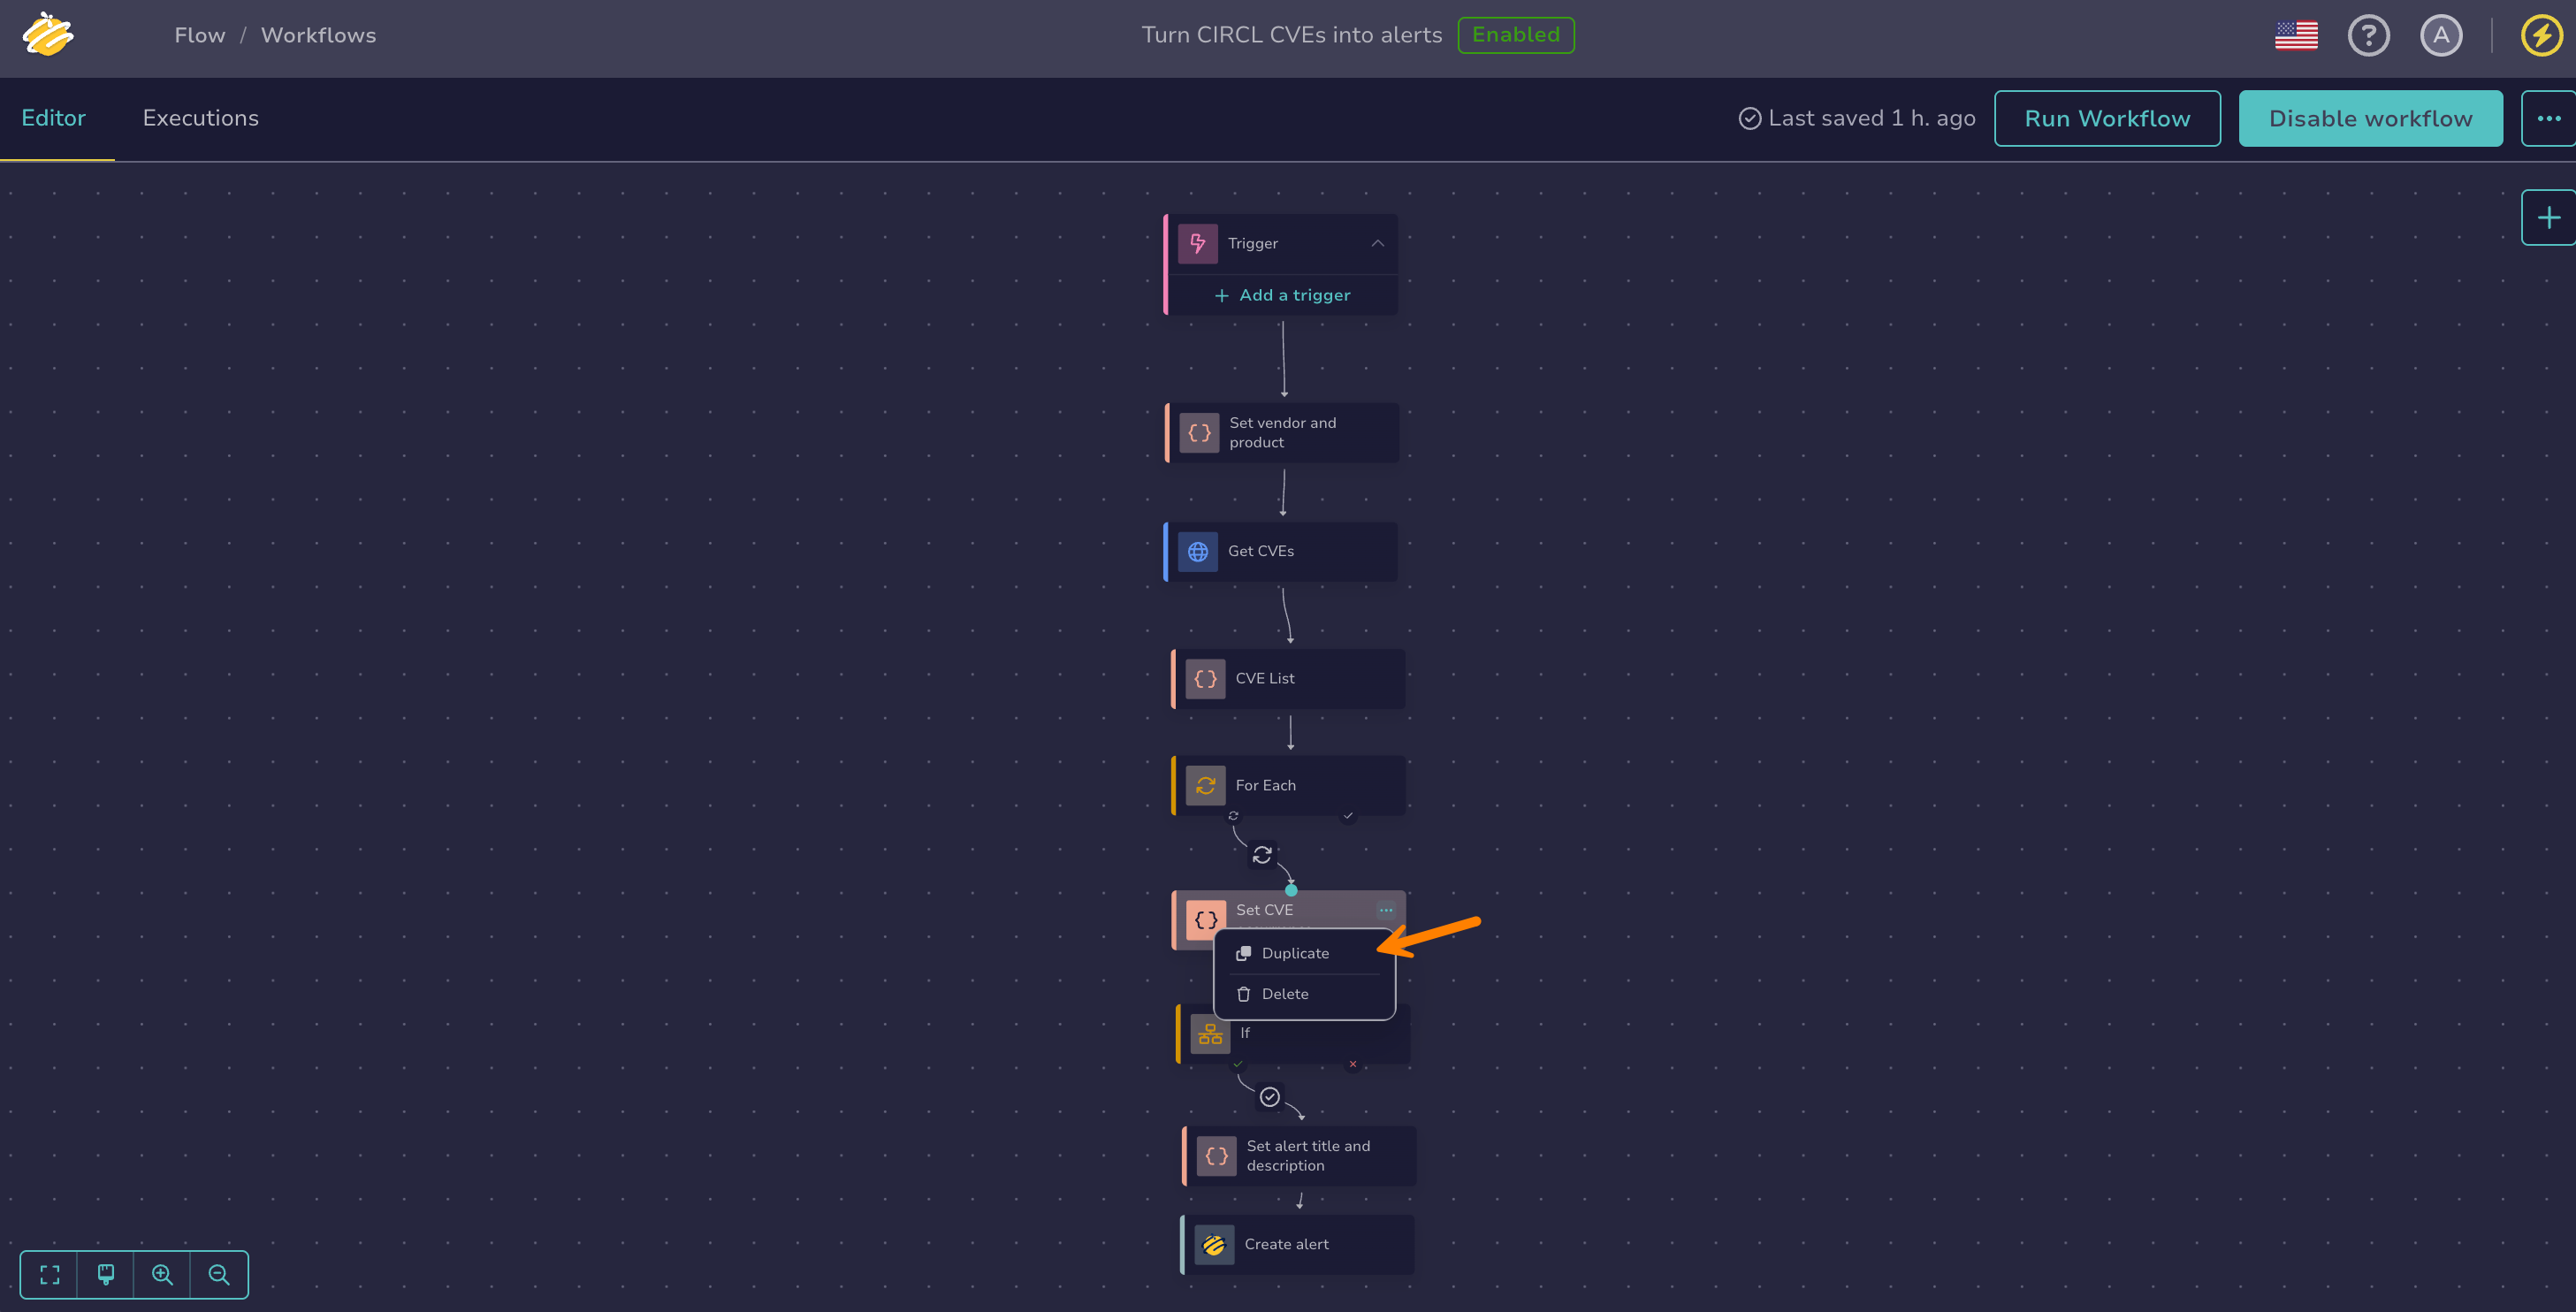
In a workflow, select on the node you want to duplicate.
-
Select Duplicate.
Delete a node#
Trigger node can't be deleted
The trigger node is mandatory and can't be deleted from a workflow. However, you can delete individual triggers inside the trigger node.
Deleting a node invalidates references to its outputs
Later nodes can reference the deleted node's output or local variables. After the deletion, these references become invalid and the affected nodes report errors. Until you update or remove the invalid references, a workflow can't be enabled, and an already enabled workflow rejects every run attempt, whether triggered or manual.
No versioning
There's no workflow versioning. Any modification is applied immediately to the active workflow. Duplicate a workflow before making significant changes. To keep a history, export your workflows and version them in a Git repository.
-
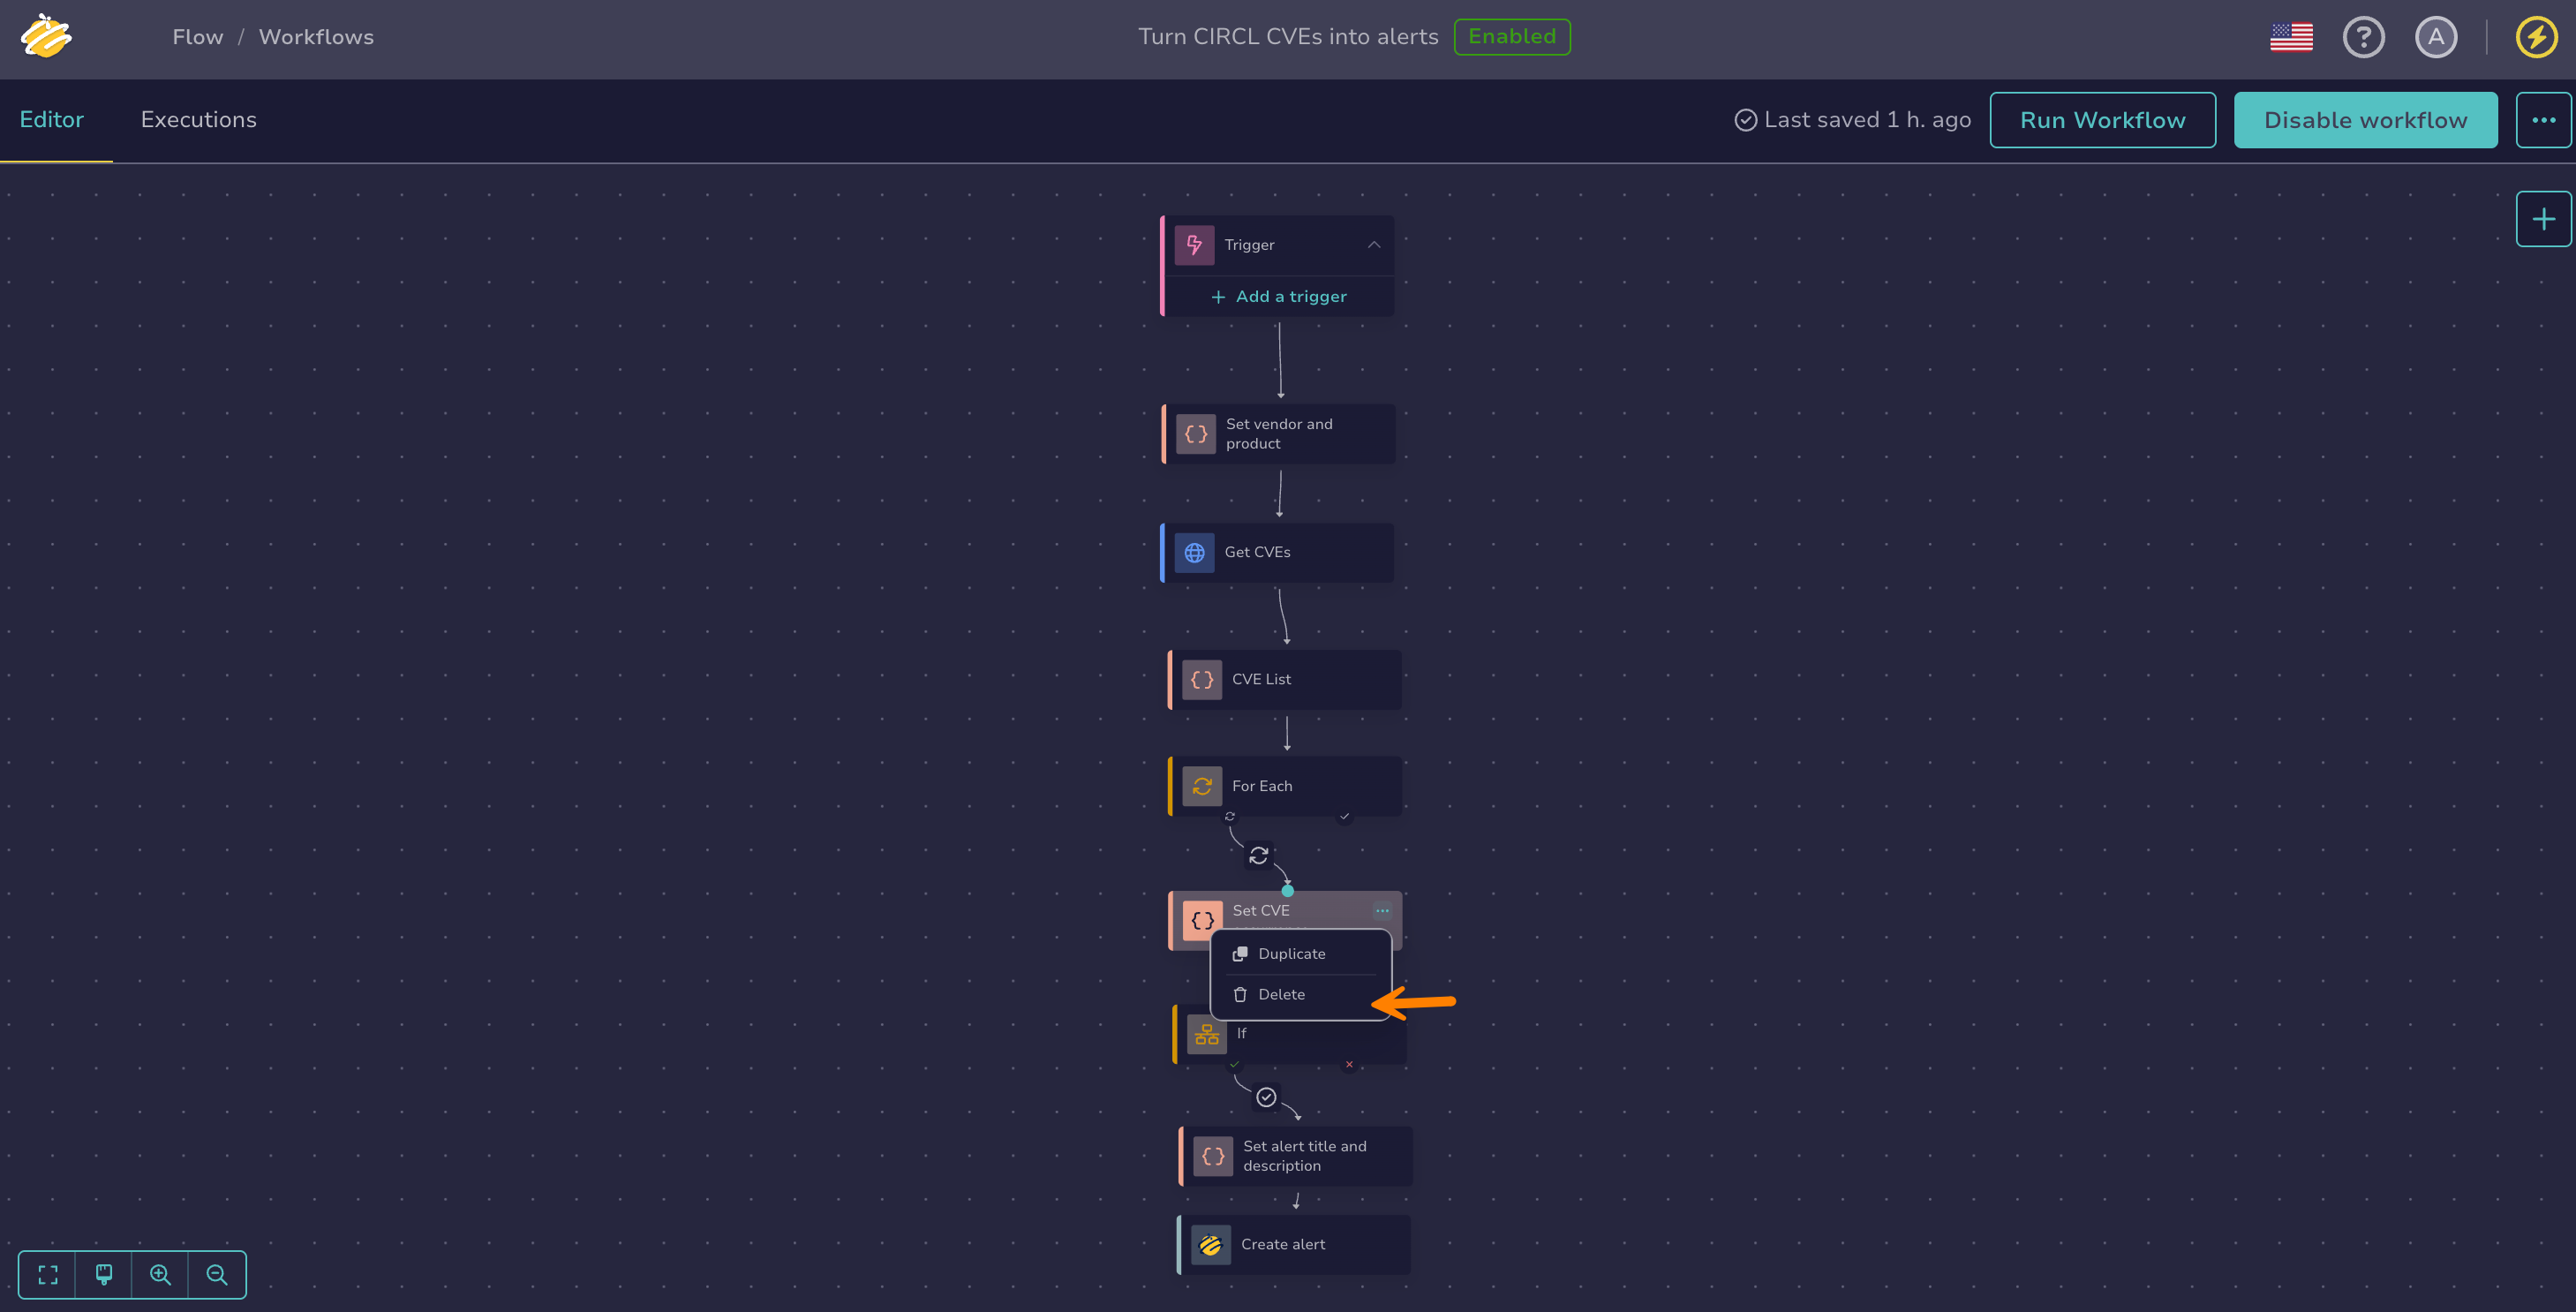
In a workflow, select on the node you want to delete.
-
Select Delete.
Delete a branch#
Deleting a branch can invalidate references to outputs
When the branch is the only path to a node whose output variables are referenced downstream, the confirmation shows a warning. After the deletion, these references become invalid and the affected nodes report errors. Until you update or remove these references, a workflow can't be enabled, and an already enabled workflow rejects every run attempt, whether triggered or manual.
No versioning
There's no workflow versioning. Any modification is applied immediately to the active workflow. Duplicate a workflow before making significant changes. To keep a history, export your workflows and version them in a Git repository.
-
In a workflow, hover over the branch between two nodes to reveal its actions.
-
Select .
-
Select Delete.
Enable a workflow#
Enable a workflow to run it automatically when triggered. You can also run an enabled workflow manually from the workflow editor or from a case or alert page.
Resolve errors before enabling
You can't enable a workflow that contains errors. Errors are marked in the workflow with . Resolve all errors before enabling the workflow.
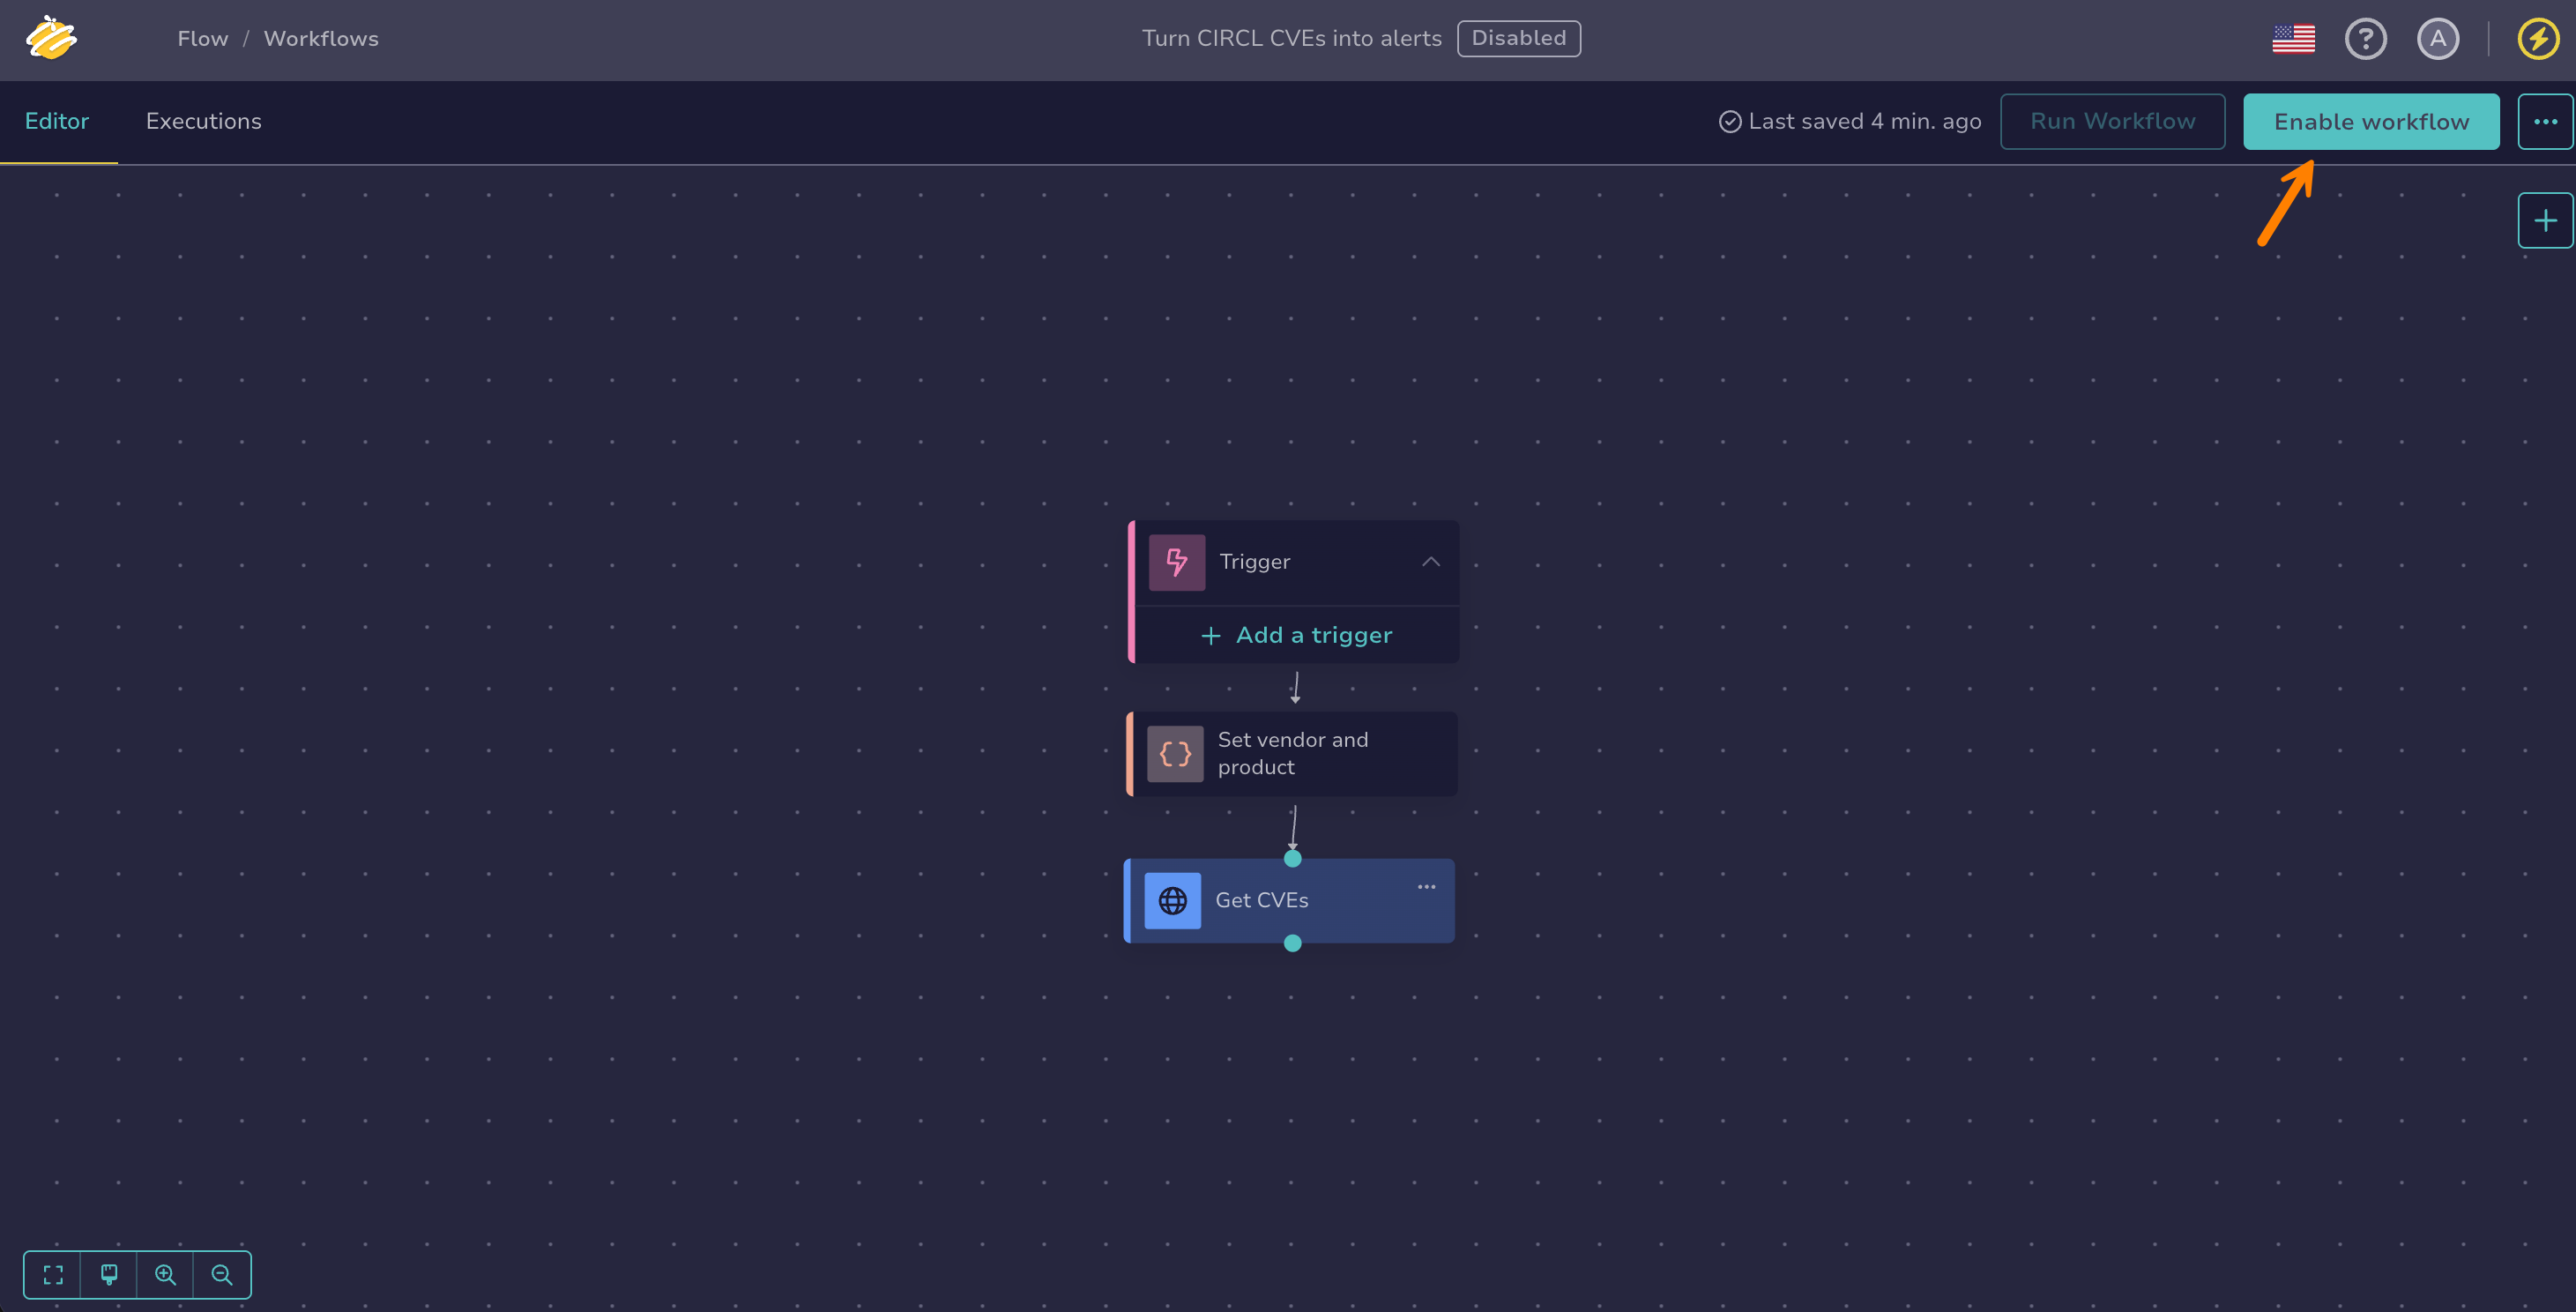
In the workflow editor, select Enable workflow.
Turn off a workflow#
Turn off a workflow to edit it without affecting production operations. A workflow that's turned off never runs. Its triggers are ignored and manual runs are unavailable. A Subworkflow node that calls it fails, so turning it off also affects the workflows that call it.
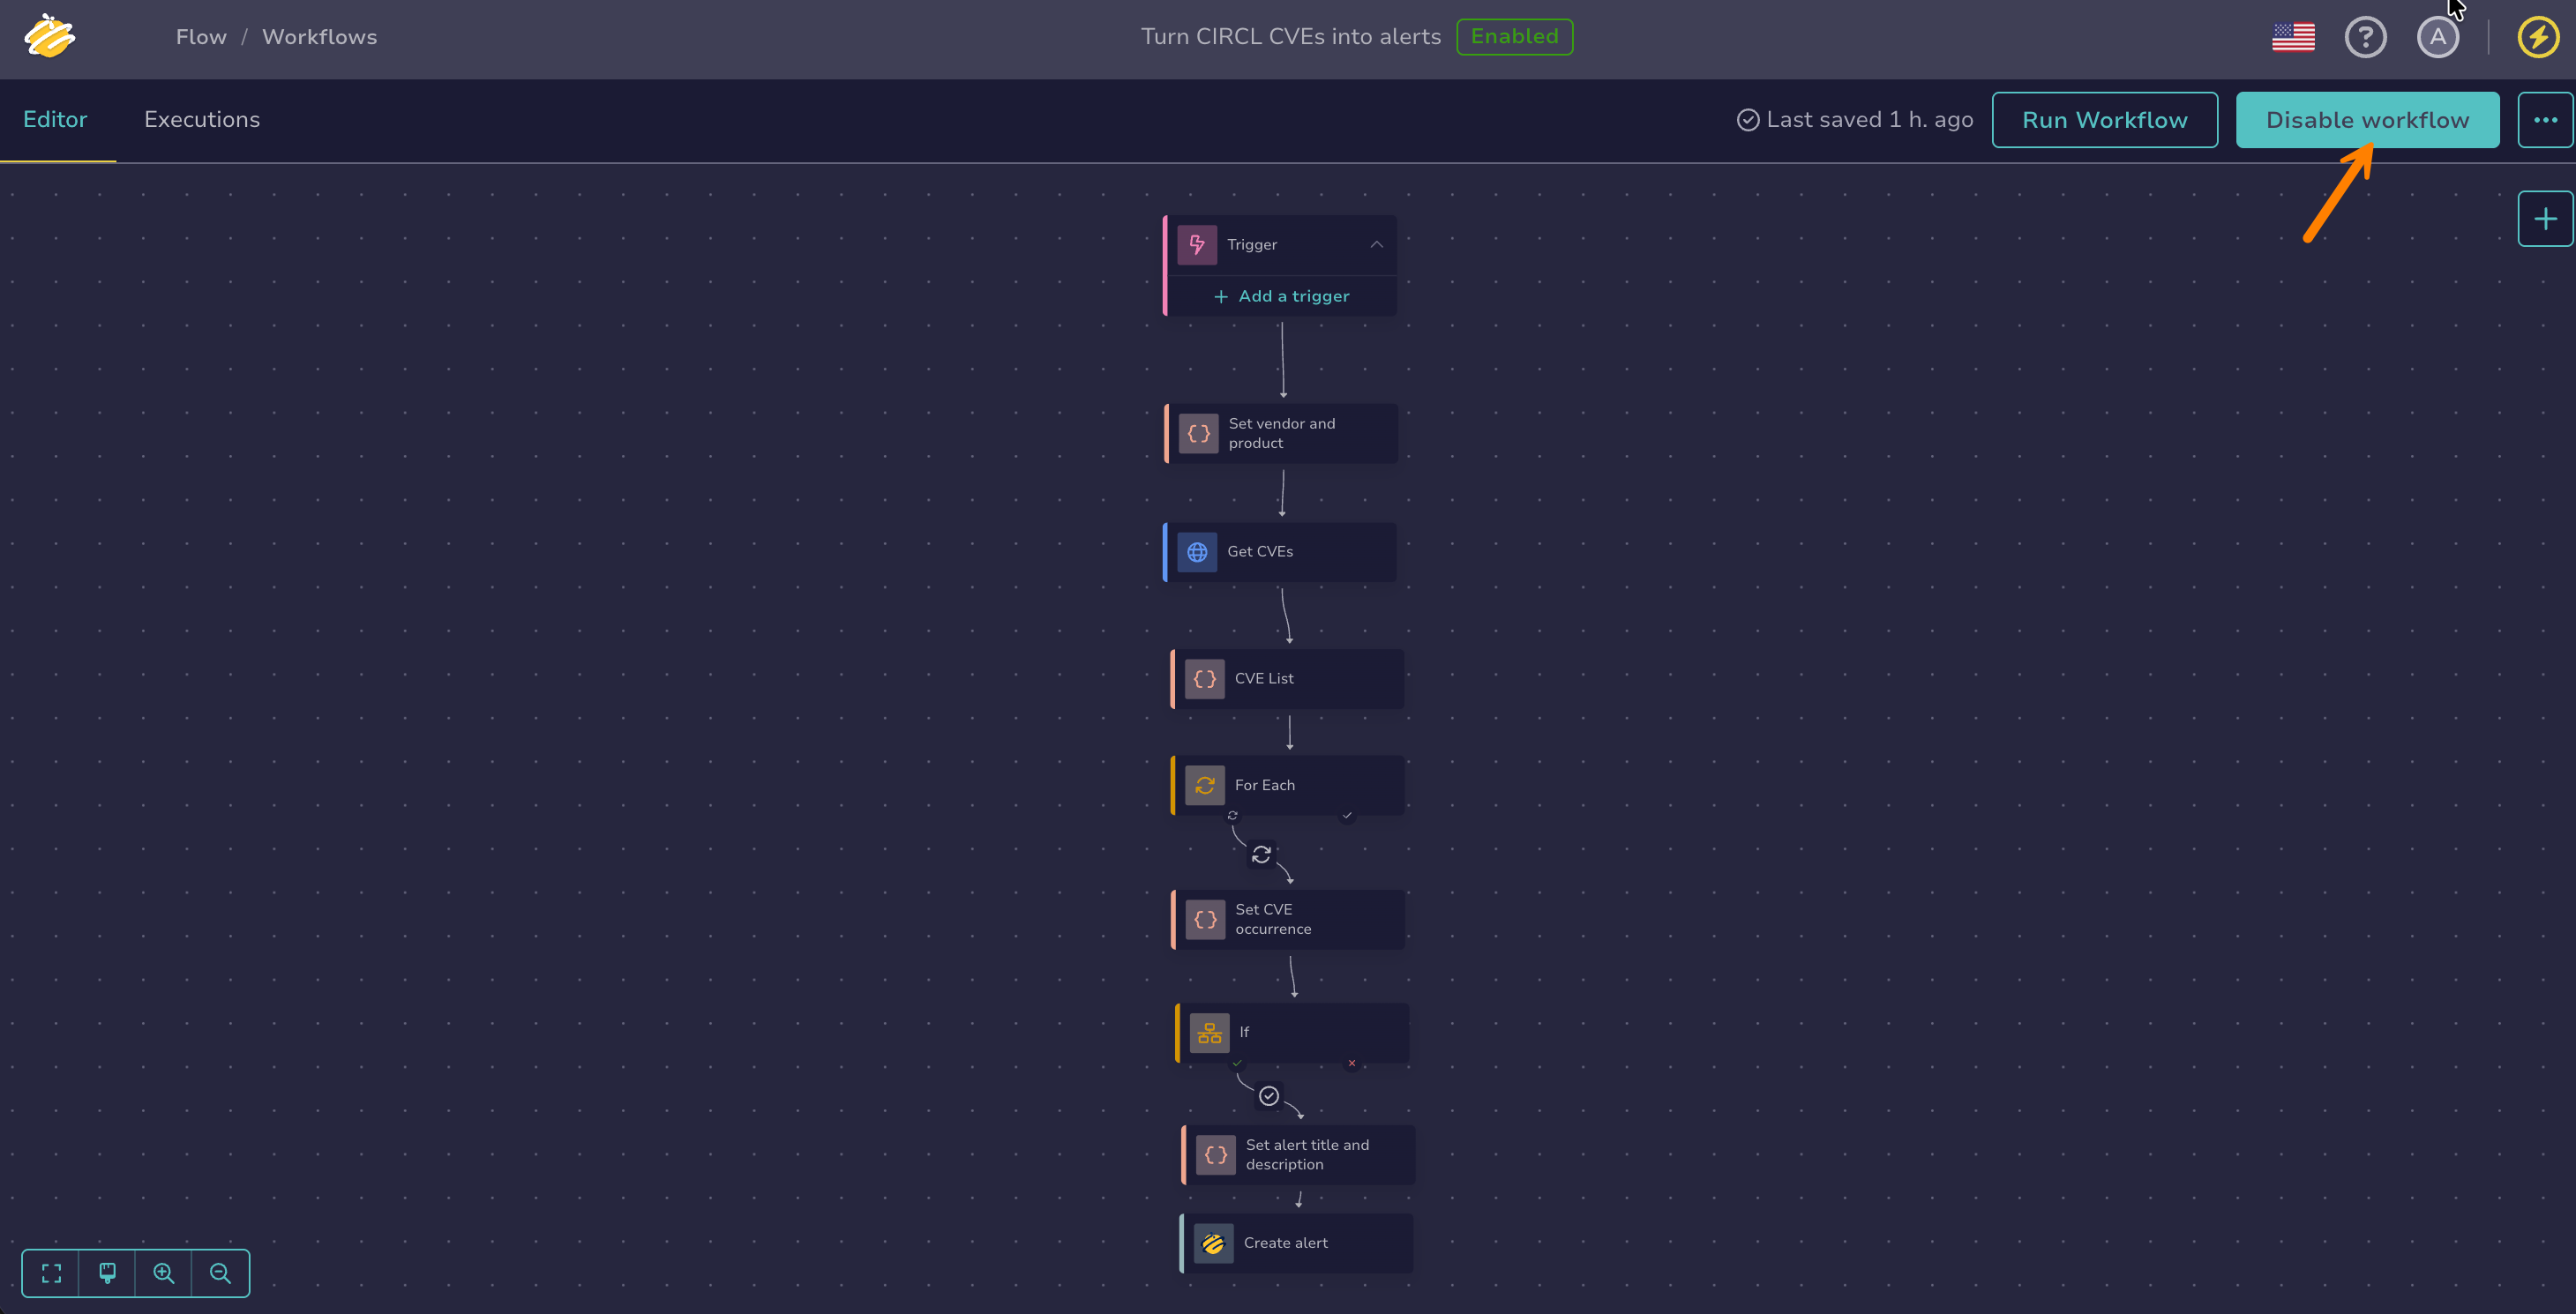
In the workflow editor, select Disable workflow.
Delete a workflow#
Permanent action
Deleting a workflow is permanent and can't be undone. To pause a workflow temporarily, turn it off instead.
Workflows that call the deleted workflow through a Subworkflow node can't run until another workflow is selected in that node.
-
In the workflow list, select next to the workflow you want to delete.
-
Select Delete.
-
Select OK.