Add a Trigger#
6.0 One
Define how your workflow automatically starts in TheHive Flow. A workflow can have multiple triggers configured simultaneously, working as OR conditions: any one of them independently starts the workflow.
Manual trigger from the workflow editor
The trigger node always lists a Manual entry, alongside any triggers you configure. It requires no configuration and can't be removed: you can manually run a workflow from the workflow editor even without configuring any triggers.
Add a Webhook trigger#
Configure a Webhook trigger that starts the workflow automatically when the webhook URL receives an HTTP request, from an external system or TheHive itself.
The webhook URL points at TheHive Flow, not at TheHive, so the calling system must be able to reach TheHive Flow.
-
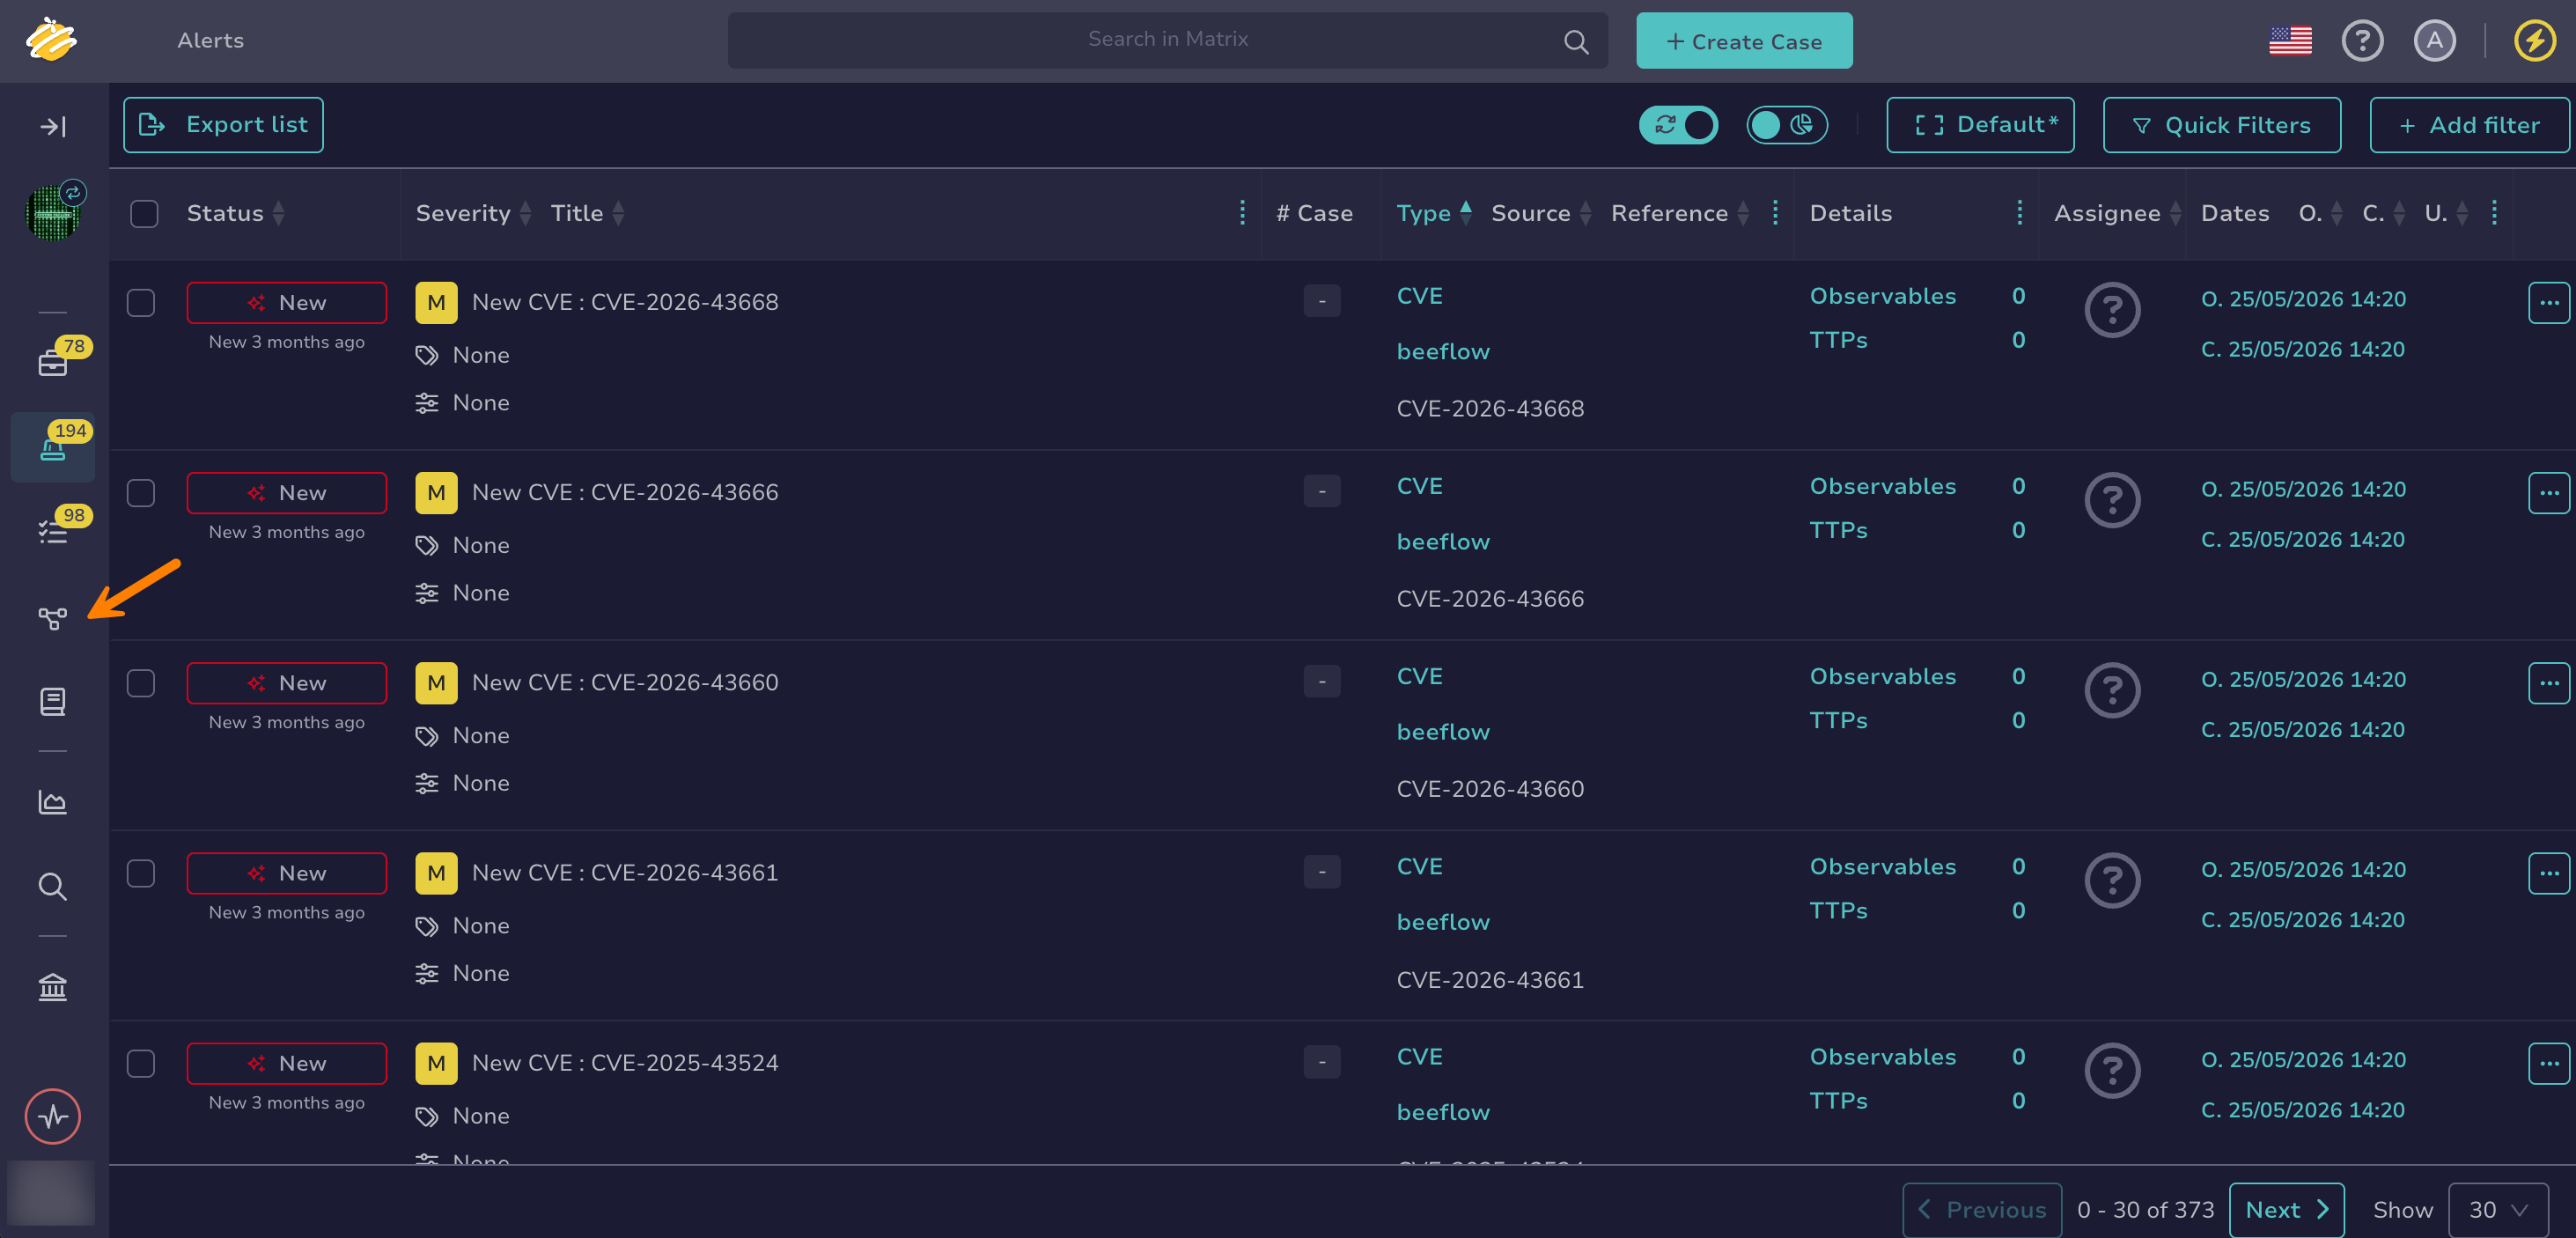
Go to the Flow view from the sidebar menu.
-
Select a workflow from the list.
-
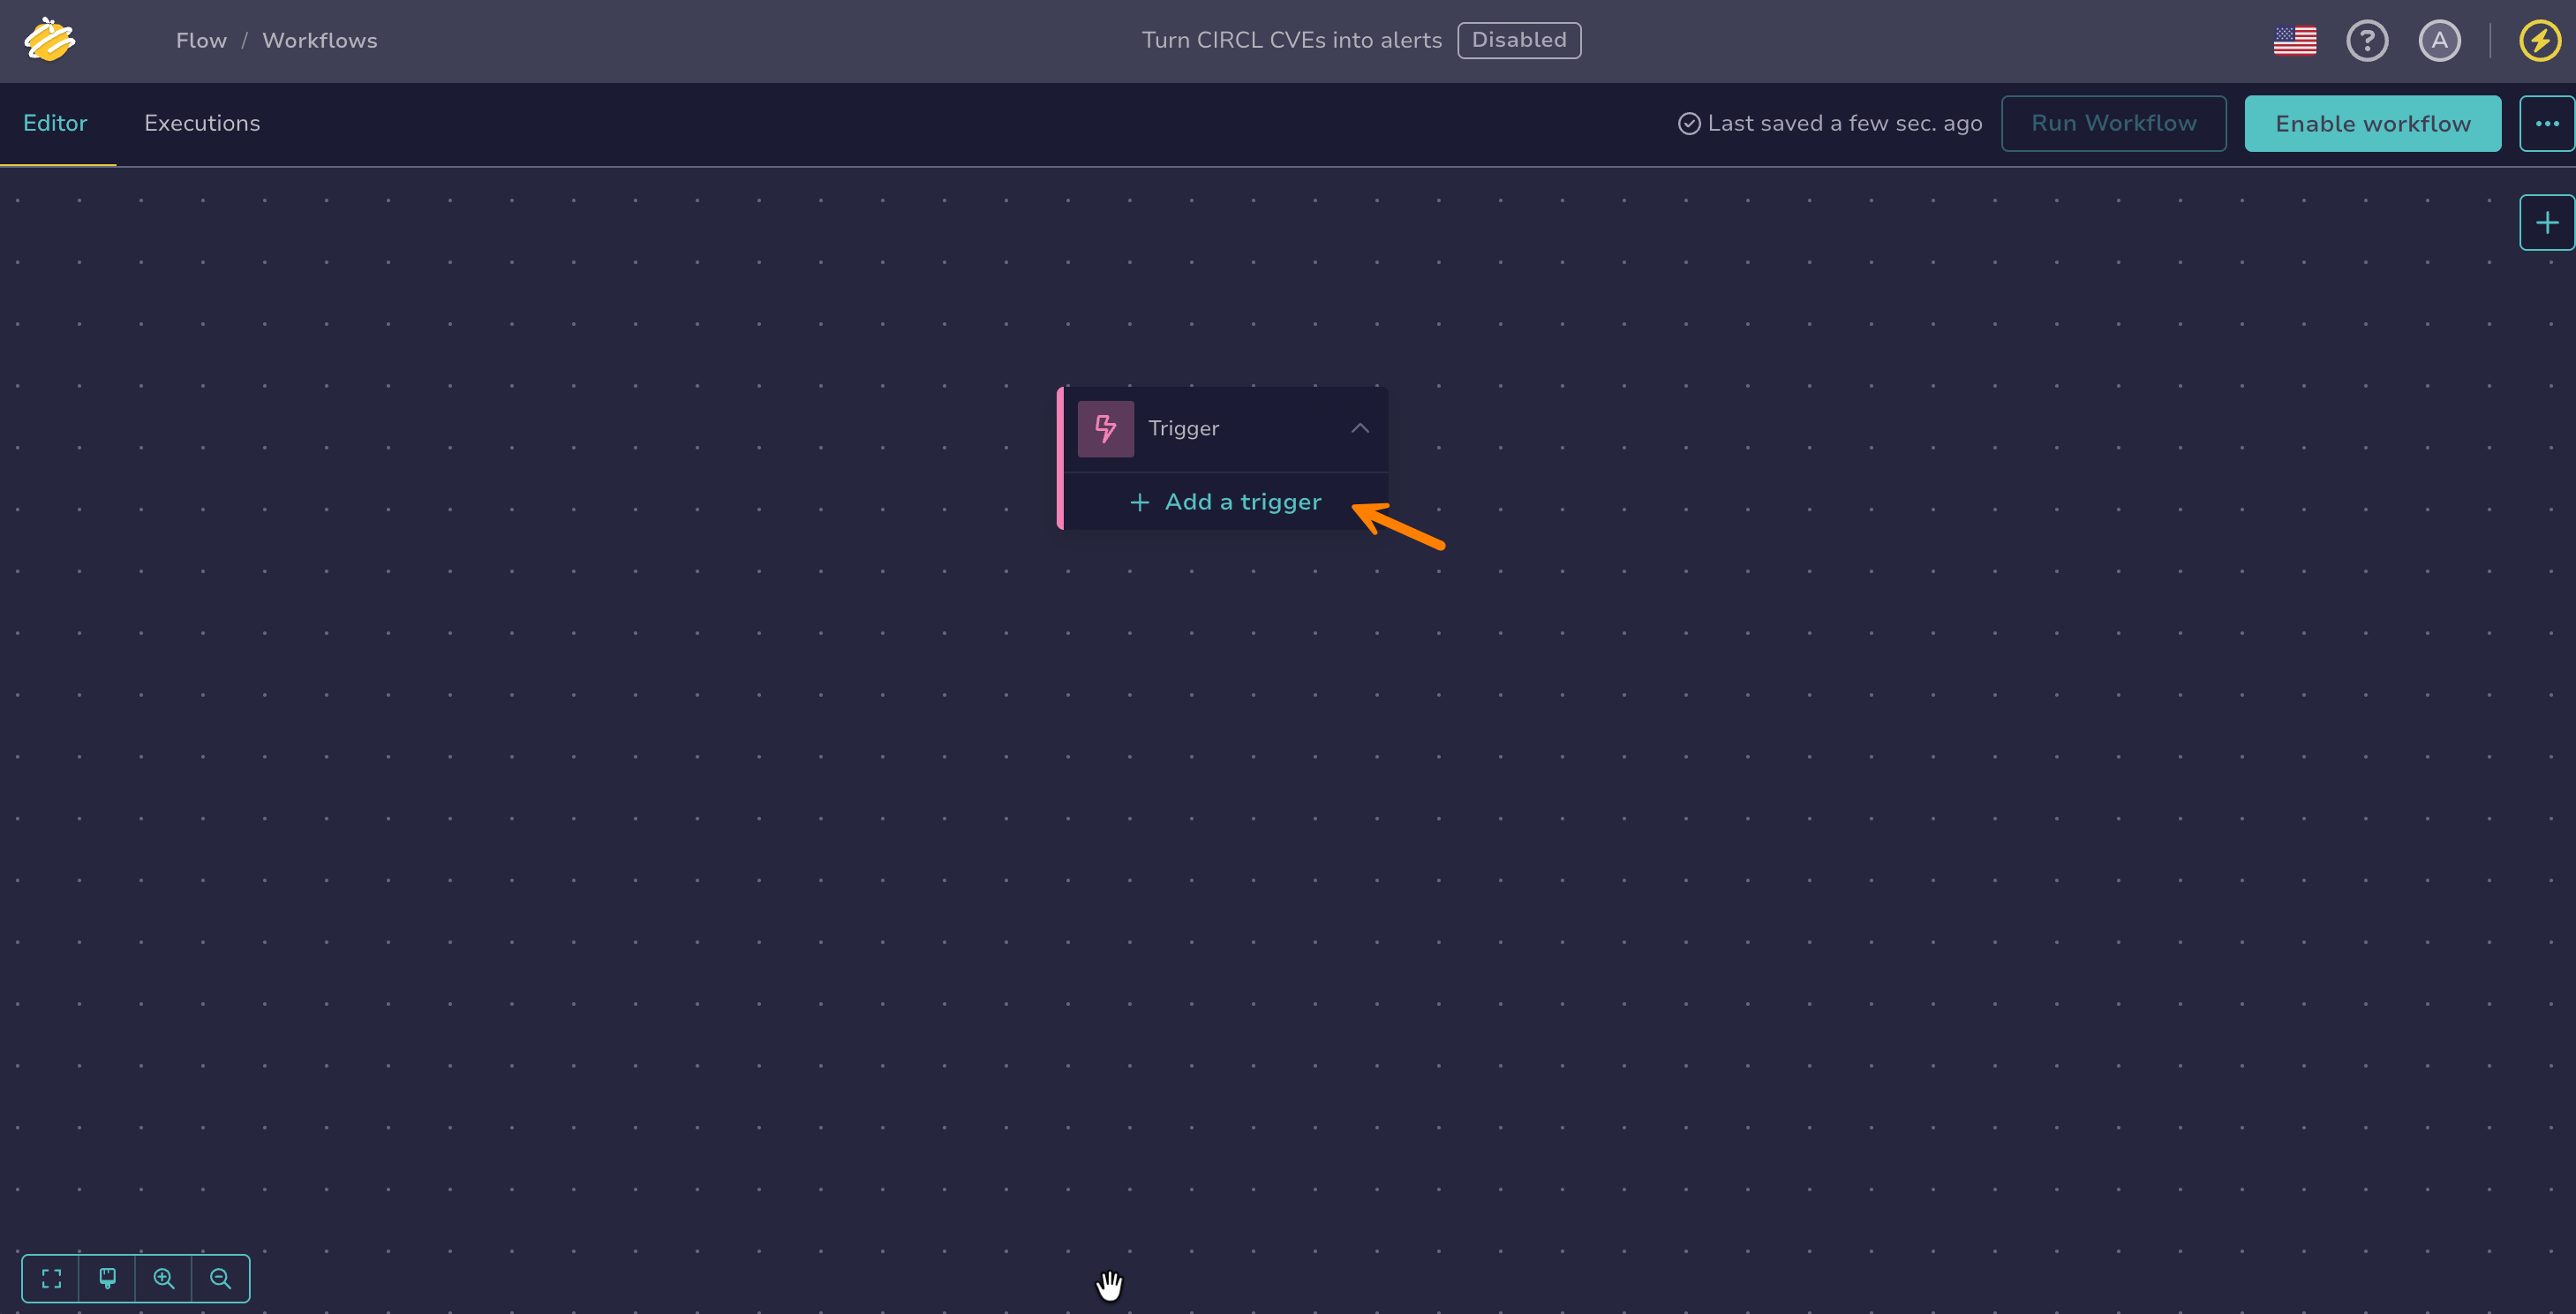
In the trigger node, select Add a trigger.
-
In the Select a trigger drawer, select Webhook.
-
Optional: In the Allowed HTTP methods field, select which of
GET,POST,PUT,DELETE,PATCH,HEAD, andOPTIONSthe webhook accepts.Leave the field empty to accept any of these methods. Once you restrict the list, the webhook rejects every other method with a
403response. -
Copy the URL from the Webhook URL field.
-
Configure the webhook URL in the appropriate location:
- For external system events: Paste the copied webhook URL into your external system following its documentation.
- For TheHive events: Create a notification with a Webhook notifier. When configuring the notifier, add a webhook endpoint and paste the copied webhook URL into the URL field.
-
Optional: To assign values to the workflow's input variables, go to the Workflow input section. It lists every input variable declared for the workflow, each with its own field. To declare a new input variable, select , enter its name in the Input variable field, select its type, then select Save. The Raw type isn't available here. To receive a file uploaded with the request, declare a Raw input variable in the workflow settings first, then assign it with
$request.files.<field>.Edit input variables
The Workflow input section declares new input variables and assigns their values. To manage input variables for all nodes of the workflow, for example to rename, describe, or delete them, use the workflow settings.
In the field of each input variable, enter a jq expression that defines what value to assign from the incoming request. You can transform the value with the functions listed in Jq Functions. The incoming request exposes the following references:
$request.body: The entire request body$request.body.<field>: A specific field$request.headers["<header_name>"]: A specific HTTP header from the request. Enter the header name with a capital letter at the start of each hyphen-separated part, for exampleX-Api-Key.$request.query.<parameter_name>: A specific query string parameter from the webhook URL$request.method: The HTTP method of the request$request.form.<field>: A specific form field, for a request sent asmultipart/form-data$request.files.<field>: A file uploaded with the request, as a file reference
Once mapped, reference input variables in workflow nodes with the $var button, or by entering
$and selecting the variable from the suggestions. An inserted reference is displayed as$input.<variable_name>.Accessing the request without an input variable
Every run also exposes the incoming request through the built-in
$input.payloadvariable, with no declaration or assignment required. The namepayloadis reserved for this variable and can't be used as an input variable name. -
Recommended: In the Authentication section, select a Method * to control who can start the workflow.
The webhook URL is reachable without signing in to TheHive, and the endpoint applies no other authentication. The method you select here is what protects the workflow. Regardless of the method, each webhook accepts up to 120 requests per minute by default. TheHive Flow rejects requests beyond that limit with a
429response carrying aRetry-After: 60header. For how the limit works, see Rate limiting.Fields marked with * are mandatory.
Method Fields Description None — No authentication. Anyone who knows the webhook URL can start the workflow. This is the default. Basic Auth Username *, Password * The caller sends the credentials in an Authorizationheader using the HTTP Basic scheme.Key / Header Auth Header name *, Header value * The caller sends the header you define, with an exact, case-sensitive value. Use it for a shared secret or an API key, for example an X-Api-Keyheader.JWT Token Secret key *, Algorithm *, Require token expiration The caller sends a signed token in an Authorizationheader using the Bearer scheme. TheHive Flow validates the token against the secret key and the algorithm, and tolerates a clock difference of 30 seconds. In Algorithm, enter the HMAC algorithm the token is signed with, for exampleHS256,HS384, orHS512. Turn on Require token expiration to reject tokens that carry no expiration claim. It's turned off by default, so tokens that never expire are accepted.Leaving the method set to None
With None, the webhook URL is the only secret protecting the workflow. The URL can't be rotated without recreating the trigger, and it leaks through access logs, proxy logs, the
Refererheader, and browser history. Select another method for any webhook reachable from outside your network.Keeping credentials out of the configuration
Credential fields accept a reference to a secret global variable instead of a literal value. The reference resolves on every incoming request, so rotating the variable takes effect on the next call without editing the trigger.
Add a Scheduler trigger#
Configure a Scheduler trigger that starts the workflow automatically on a recurring schedule. A trigger node can carry multiple scheduler blocks, each with its own independent schedule.
-
Go to the Flow view from the sidebar menu.
-
Select a workflow from the list.
-
In the trigger node, select Add a trigger.
-
In the Select a trigger drawer, select Scheduler.
-
Select an interval type, then enter an interval time and any additional fields that appear.
Available interval types and their fields:
Interval type Interval value Additional fields Seconds 10 to 60 — Minutes 1 to 60 — Hours 1 to 24 Trigger at minute (0 to 59) Days 1 to 31 Trigger at hour (0 to 23), Trigger at minute (0 to 59) Weeks Fixed at 1 Trigger on day of the week, Trigger at hour (0 to 23), Trigger at minute (0 to 59) Months 1 to 12 Trigger at day of the month (1 to 31), Trigger at hour (0 to 23), Trigger at minute (0 to 59) Hours and minutes are in UTC.