Manage Your Account Settings#
Manage various settings of your user account in TheHive, including your avatar, name, email address, API key, multifactor authentication (MFA), homepage, date format, and beta features.
Edit your avatar#
-
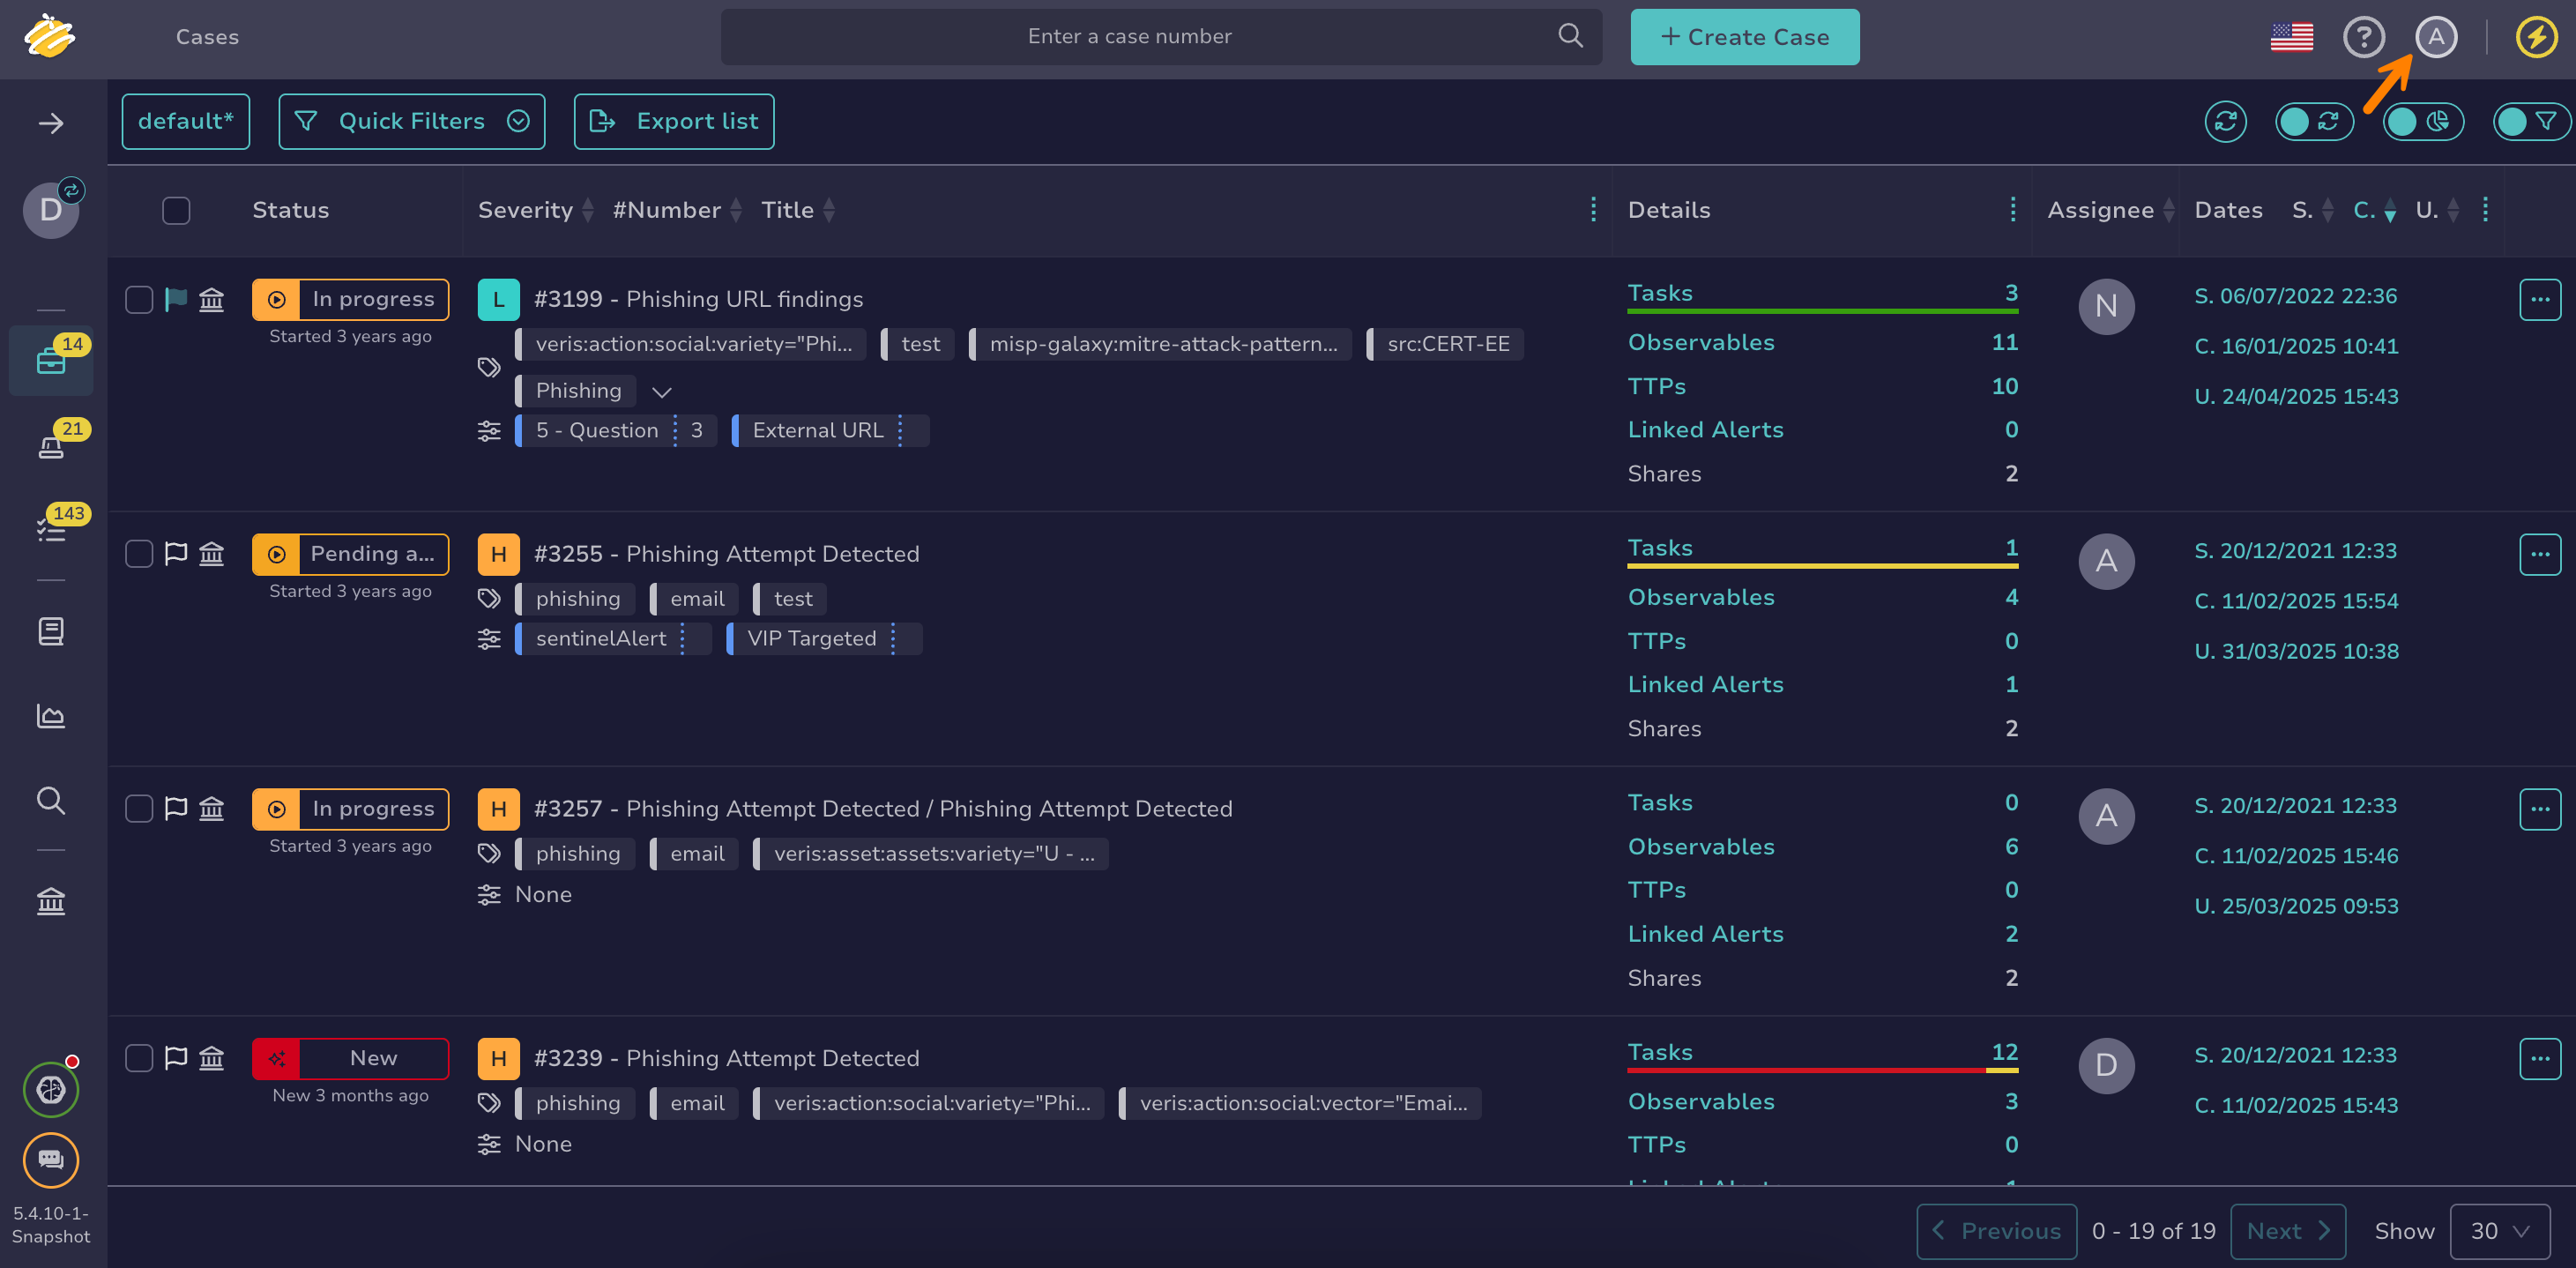
From any view, select the user symbol.
-
Select Settings.
-
In the Infos tab, select the avatar, then select a new image in PNG or JPG format. The file must be smaller than 500 KB.
-
Select Confirm.
Edit your name#
-
From any view, select the user symbol.
-
Select Settings.
-
In the Infos tab, edit your name.
-
Select Confirm.
Edit your email address#
-
From any view, select the user symbol.
-
Select Settings.
-
In the Infos tab, edit your email address. The email address is used to send you notifications and password-related information.
-
Select Confirm.
Manage your API key#
-
From any view, select the user symbol.
-
Select Settings.
-
In the API key tab, select Renew, Reveal, or Revoke, depending on the action you want to take.
-
Select Confirm.
Activate multifactor authentication#
Use this procedure to add an extra layer of security to your account.
-
From any view, select the user symbol.
-
Select Settings.
-
In the MFA tab, follow the on-screen instructions to activate MFA.
Edit your homepage#
-
From any view, select the user symbol.
-
Select Settings.
-
In the Options tab, select the page you want to use as your homepage.
-
Select Confirm.
Edit the default date format#
-
From any view, select the user symbol.
-
Select Settings.
-
In the Options tab, select the date format you want to use.
-
Select Confirm.
Customize status style#
Customize the status style for cases, alerts, and tasks.
-
From any view, select the user symbol.
-
Select Settings.
-
In the Options tab, go to the Customization section.
-
Select the status style you want:
- Outlined: The status label displays a colored border and text, with no background fill.
- Filled: The status label background is filled with the status color.
-
Select Confirm.
The chosen style applies to cases, alerts, and tasks across lists only.